
热门标签
当前位置: article > 正文
linux(ubuntu20)下载安装RabbitMQ_ubuntu中rabbitmq3.12.2安装包下载
作者:你好赵伟 | 2024-06-17 18:08:16
赞
踩
ubuntu中rabbitmq3.12.2安装包下载
1.尽量使用root用户,在 /etc/apt/sources.list.d/目录下新增:/etc/apt/sources.list.d/rabbitmq.list (就是添加下边这个文件)
- 1
## Provides modern Erlang/OTP releases
##
## Replace $distribution with the name of the Ubuntu release used.
## On Debian, "deb/ubuntu" should be replaced with "deb/debian"
deb [signed-by=/usr/share/keyrings/io.cloudsmith.rabbitmq.E495BB49CC4BBE5B.gpg] https://dl.cloudsmith.io/public/rabbitmq/rabbitmq-erlang/deb/ubuntu $distribution main
deb-src [signed-by=/usr/share/keyrings/io.cloudsmith.rabbitmq.E495BB49CC4BBE5B.gpg]  https://dl.cloudsmith.io/public/rabbitmq/rabbitmq-erlang/deb/ubuntu $distribution main

## Provides RabbitMQ
##
## Replace $distribution with the name of the Ubuntu release used.
## On Debian, "deb/ubuntu" should be replaced with "deb/debian"
deb [signed-by=/usr/share/keyrings/io.cloudsmith.rabbitmq.9F4587F226208342.gpg] https://dl.cloudsmith.io/public/rabbitmq/rabbitmq-server/deb/ubuntu $distribution main
deb-src [signed-by=/usr/share/keyrings/io.cloudsmith.rabbitmq.9F4587F226208342.gpg] https://dl.cloudsmith.io/public/rabbitmq/rabbitmq-server/deb/ubuntu $distribution main
- 1
- 2
- 3
- 4
- 5
- 6
- 7
- 8
- 9
- 10
- 11
- 12
- 13
2.sudo apt-get update -y
- 1
第二步是更新包
3.sudo apt-get install -y erlang-base \
                    erlang-asn1 erlang-crypto erlang-eldap erlang-ftp erlang-inets \
                    erlang-mnesia erlang-os-mon erlang-parsetools erlang-public-key \
                    erlang-runtime-tools erlang-snmp erlang-ssl \
                    erlang-syntax-tools erlang-tftp erlang-tools erlang-xmerl


4. sudo apt-get install rabbitmq-server -y --fix-missing
- 1
- 2
- 3
- 4
- 5
- 6
- 7
- 8
- 9
- 10
(如果不行,前边加sudo)查看状态 service rabbitmq-server status
启动服务service rabbitmq-server start
重启服务service rabbitmq-server stop
5.安装插件,进入目录 cd /usr/lib/rabbitmq/bin
rabbitmq-plugins enable rabbitmq_management
6.再次重启服务service rabbitmq-server restart
访问:http://ip:15672 (这里的ip是你自己的地址)
7.创建用户,授权 rabbitmqctl add_user admin 123456
8.授予角色 rabbitmqctl set_user_tags admin administrator
这时可以去网站登录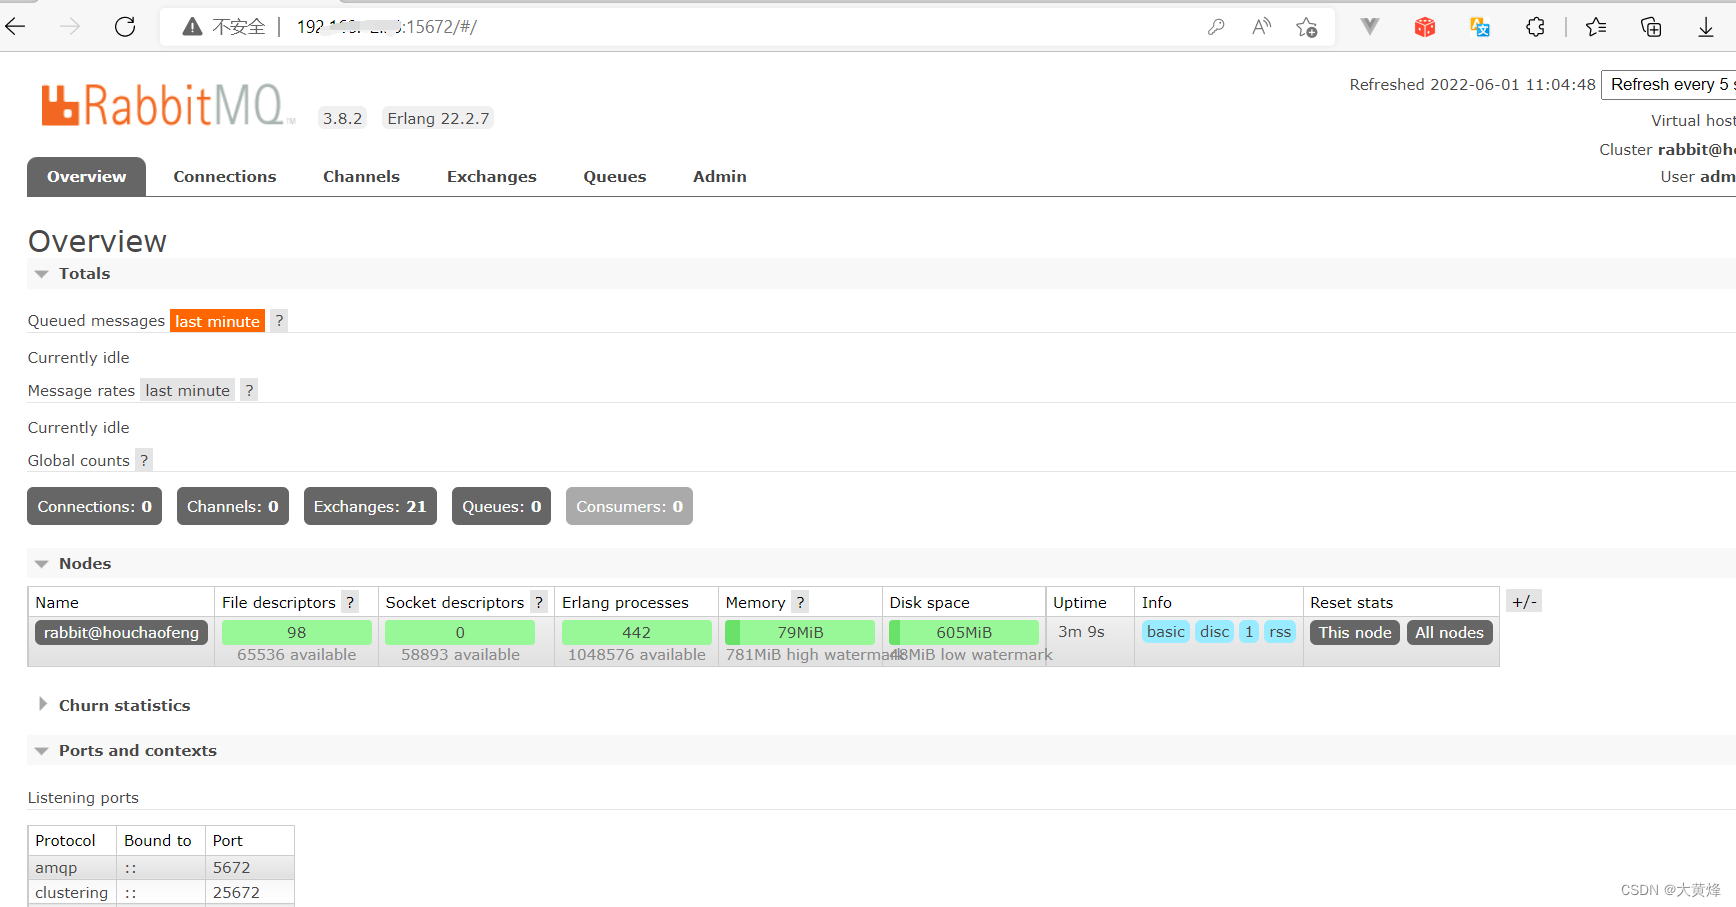
声明:本文内容由网友自发贡献,不代表【wpsshop博客】立场,版权归原作者所有,本站不承担相应法律责任。如您发现有侵权的内容,请联系我们。转载请注明出处:https://www.wpsshop.cn/w/你好赵伟/article/detail/732259
推荐阅读
相关标签

