
热门标签
热门文章
- 1ZeeKeeper 集群 伪分布式配置 zookeeper的使用_zeekooper作用
- 2python迁移数据教程
- 3机器学习之朴素贝叶斯_朴素贝也是
- 42023首届大学生算法大赛 - 逆序对_首届大学生算法设计大赛
- 5Windows Azure公有云服务相关方案
- 6金融行业数据安全法律法规清单_银行保险机构数据安全办法
- 7redis配置
- 8Docker的安装部署_docker安装部署
- 9【2024最新版】BurpSuite安装和基础使用教程(已破解),三分钟手把手教会,非常简单_burp suite2024.3.3安装使用
- 10开源模型应用落地-LangChain高阶-集成vllm-QWen1.5-OpenAI-Compatible Server(三)_langchain 集成qwen
当前位置: article > 正文
SpringBoot框架之SpringBoot+Echarts使用案例入门_springboot echarts
作者:从前慢现在也慢 | 2024-06-27 05:51:11
赞
踩
springboot echarts
为能够正确运行本次案例,希望大家认真看,首次学习务必按照本次教程的包名跟类名一样,防止出现不必要的bug哈!!!
一、基础需要:
SpringBoot基础知识
javaWeb基础知识
SpringBoot创建Web基础
二、下载echarts
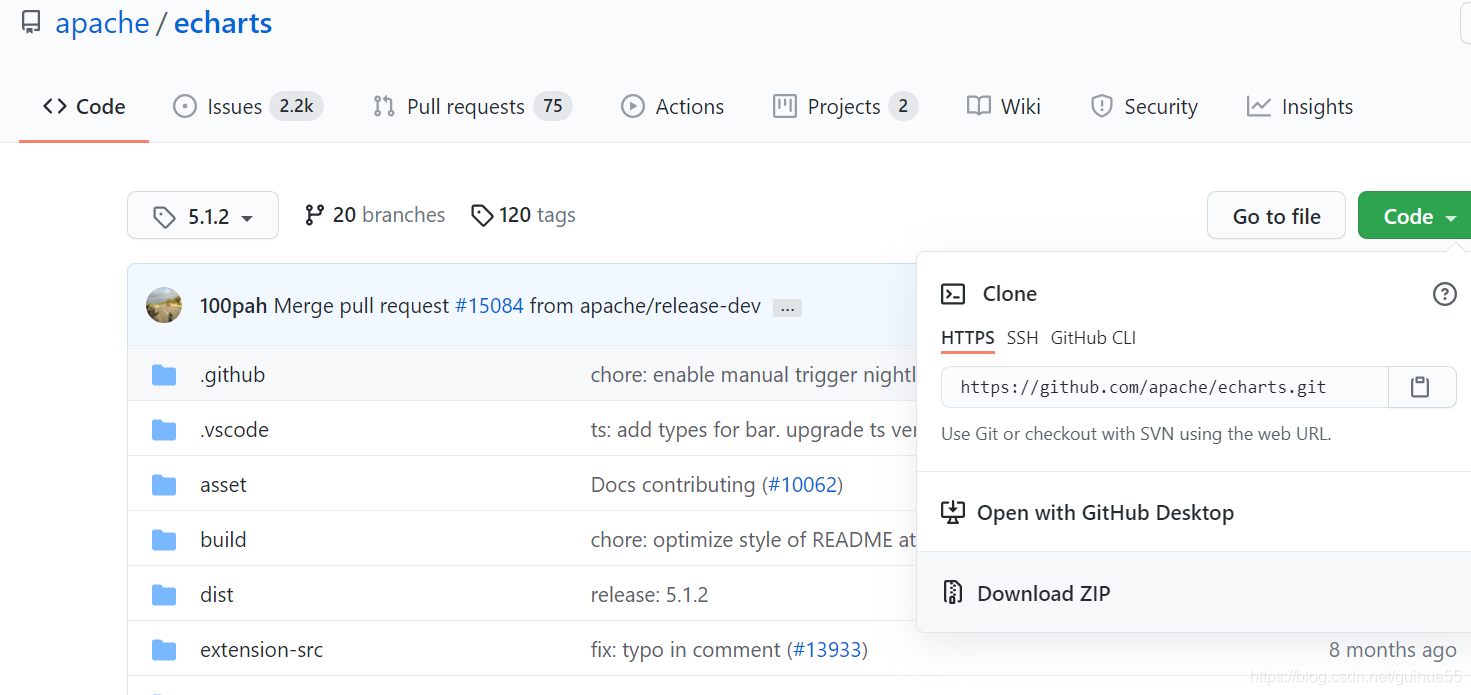
1.在Github下载echarts所需的js文件:https://github.com/apache/echarts/tree/5.1.2
2.如图进入下载好后,进入dist目录下
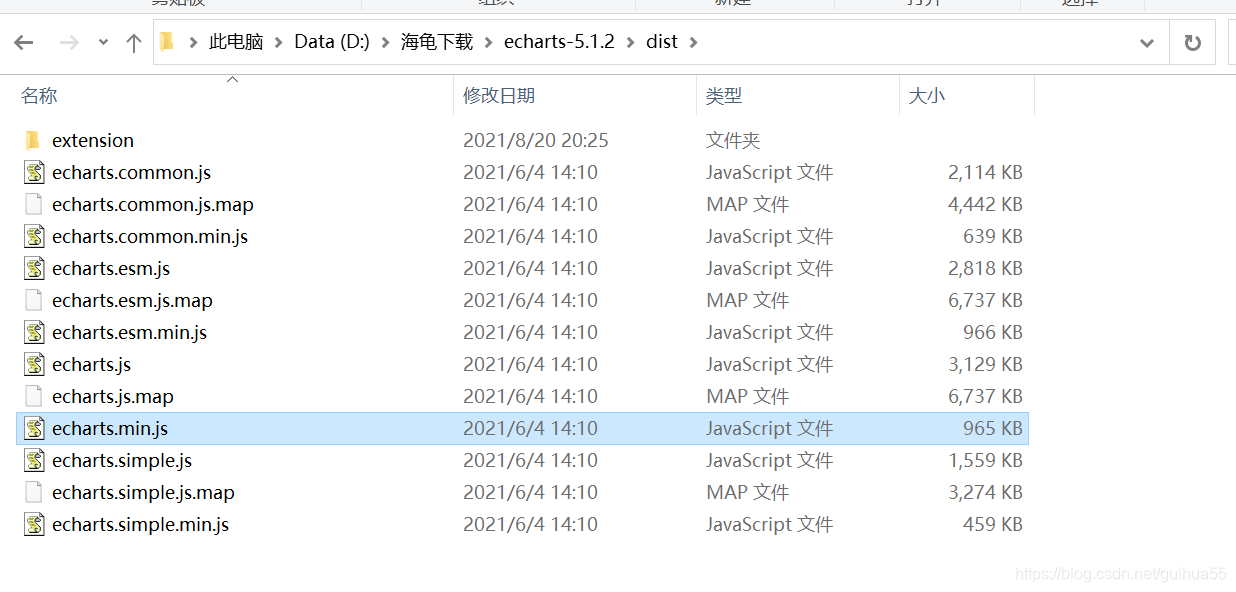
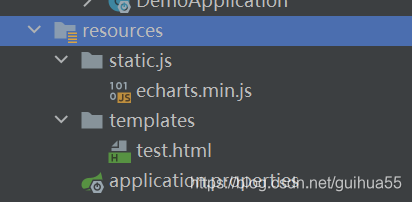
3.在resourse的static文件创建js文件夹,(因为springboot默认static跟templates是同级,所有js自动和static合并),然后把echart.min.js文件放到static.js下

三、添加Echarts官方示例的html文件
1.方便大家使用,可以直接把下面的test.html文件复制(需要在下面注意echarts.min.js的路径)
- <!DOCTYPE html>
- <html>
- <head>
- <meta charset="utf-8">
- <title>ECharts</title>
- <!-- 引入 echarts.js -->
- <script type="text/javascript" src="js/echarts.min.js"></script>
- </head>
- <body>
- <!-- 为ECharts准备一个具备大小(宽高)的Dom -->
- <div id="main" style="width: 1000px;height:400px;"></div>
- <script type="text/javascript">
- //初始化echarts实例
- var myChart = echarts.init(document.getElementById('main'));
- // 指定图表的配置项和数据
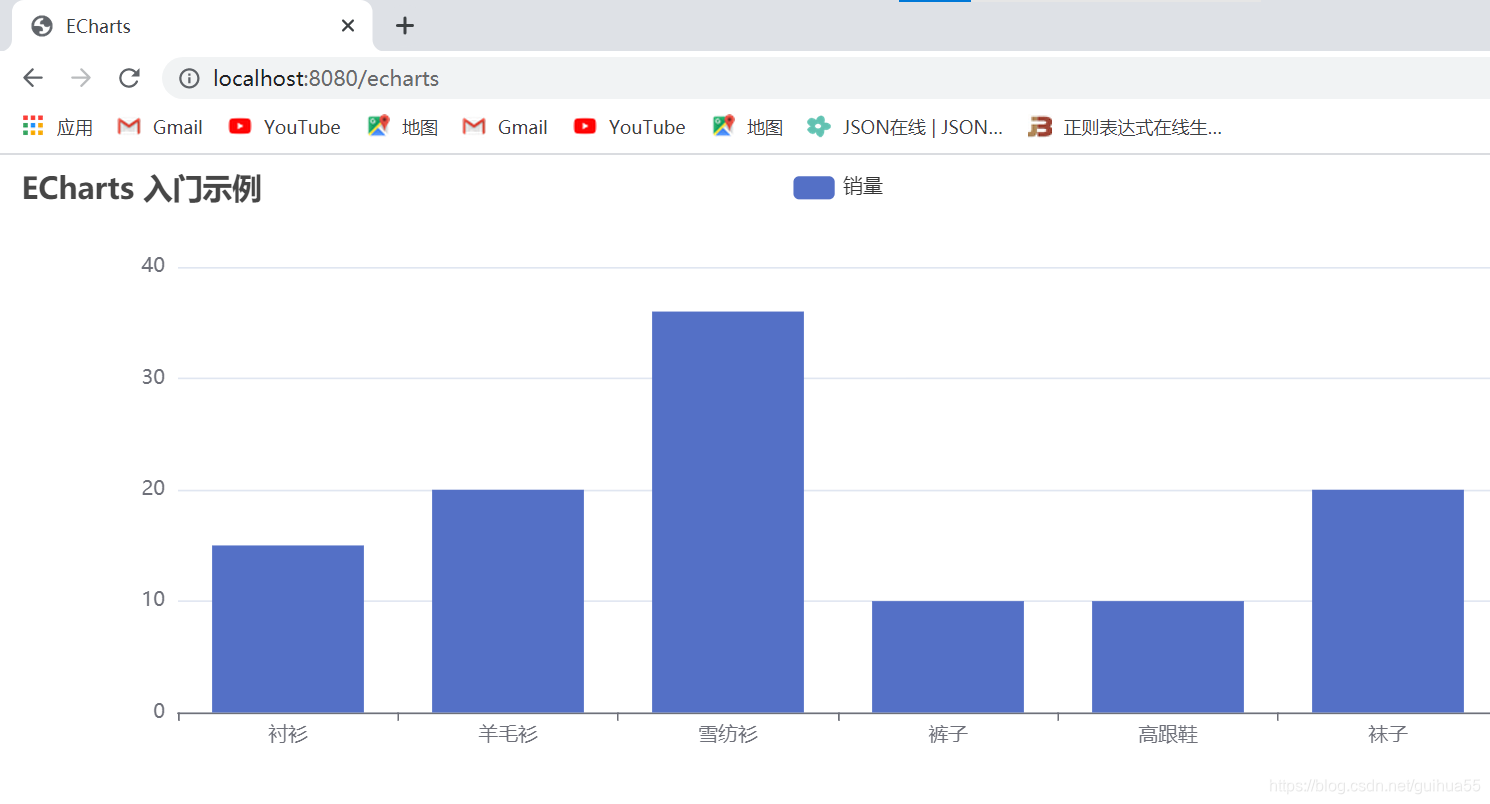
- var option = {
- title: {
- text: 'ECharts 入门示例'
- },
- tooltip: {},
- legend: {
- data:['销量']
- },
- xAxis: {
- data: ["衬衫","羊毛衫","雪纺衫","裤子","高跟鞋","袜子"]
- },
- yAxis: {},
- series: [{
- name: '销量',
- type: 'bar',
- data: [15, 20, 36, 10, 10, 20]
- }]
- };
- // 使用刚指定的配置项和数据显示图表。
- myChart.setOption(option);
-
- </script>
- </body>
- </html>

2.把test.html文件必须放在resources下面的templates下:
四、添加thymeleaf模板和创建Controller
1.为了能够网页显示html文件,必须使用thymeleaf模板,在pom文件中添加如下依赖:
- <dependency>
- <groupId>org.springframework.boot</groupId>
- <artifactId>spring-boot-starter-thymeleaf</artifactId>
- </dependency>
2.在Application所在包下创建一个Echarts包
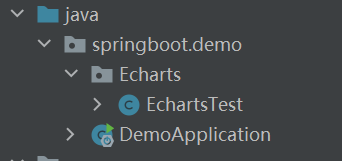
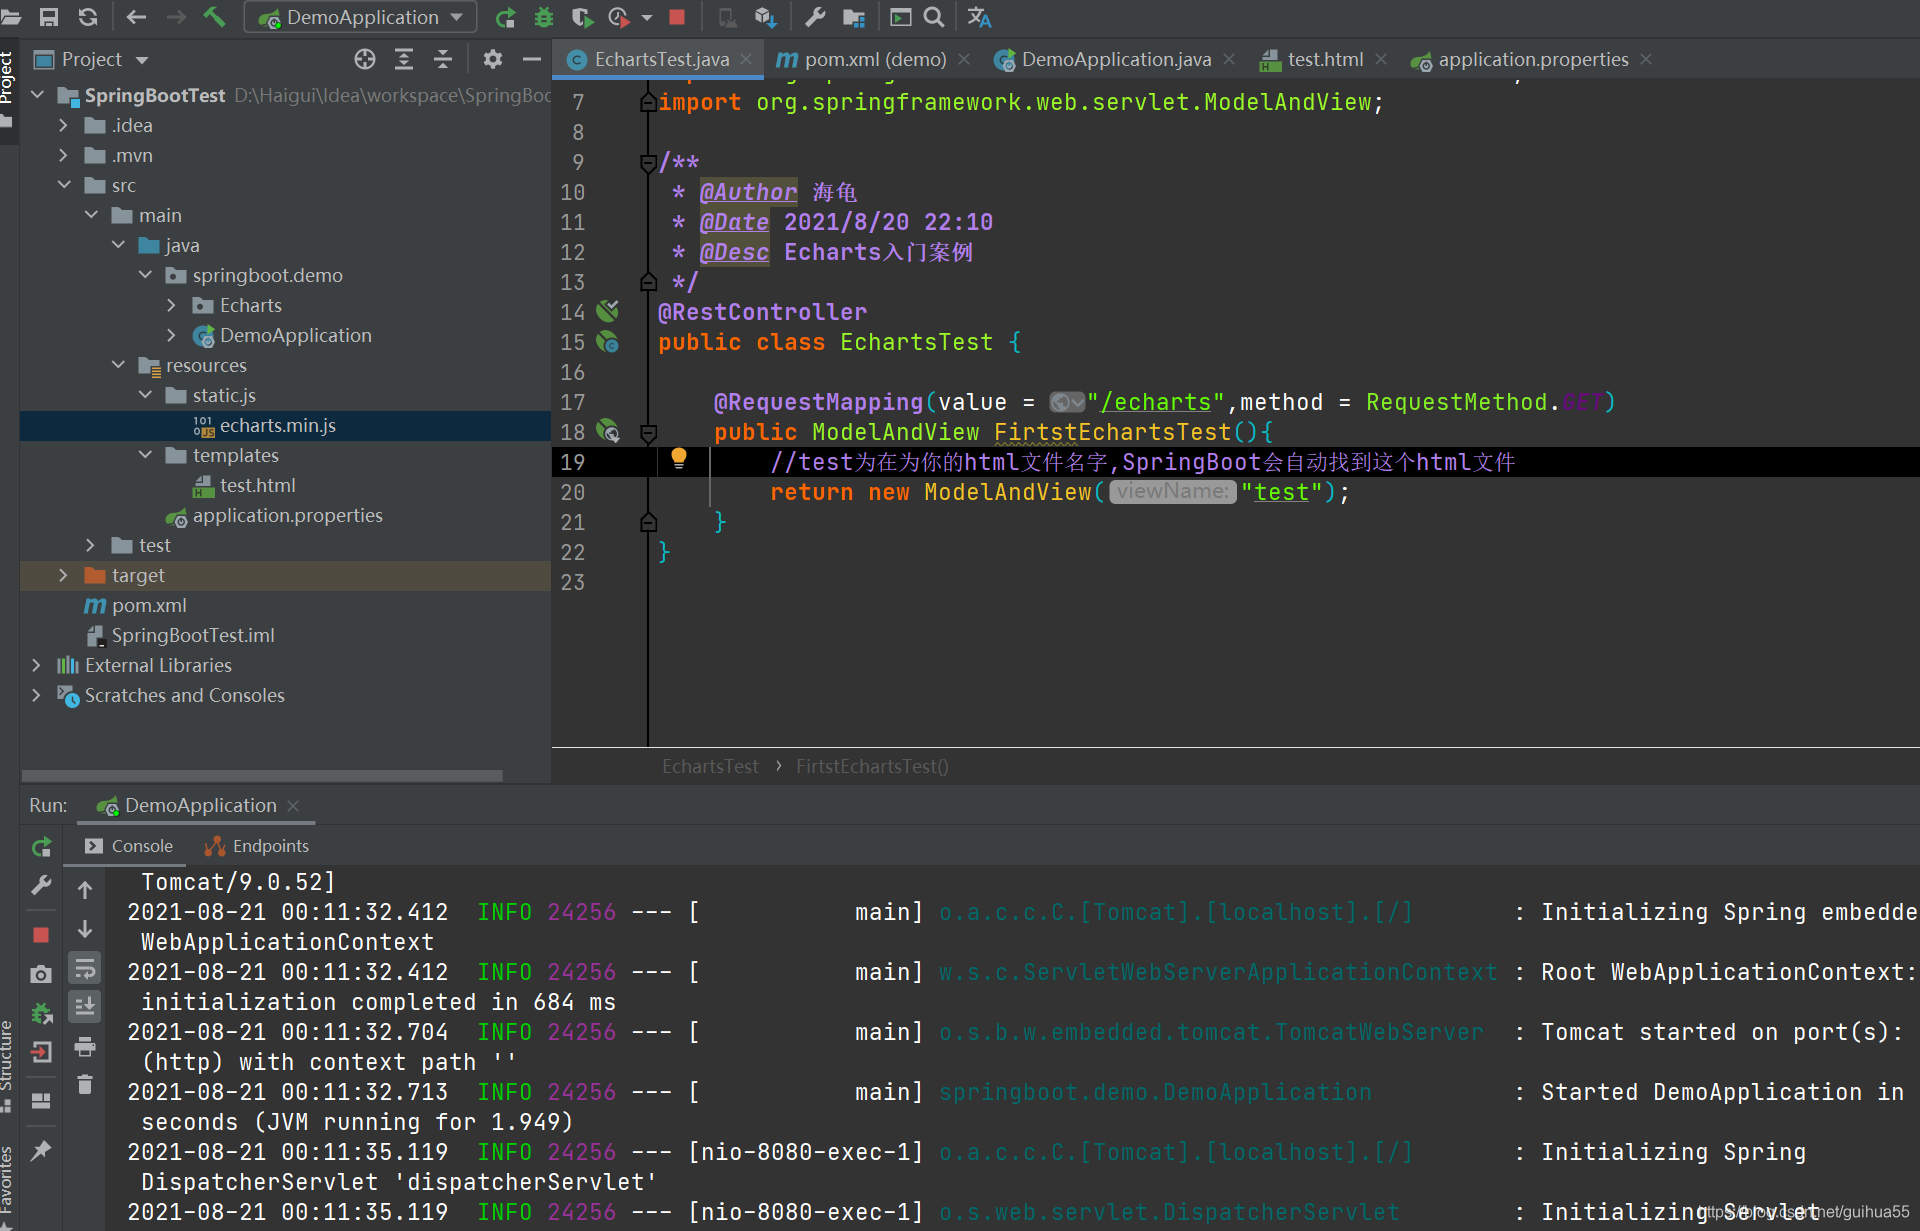
3.创建一个名字为EchartsTest的 Controller
- package springboot.demo.Echarts;
-
- import org.springframework.web.bind.annotation.RequestMapping;
- import org.springframework.web.bind.annotation.RequestMethod;
- import org.springframework.web.bind.annotation.RestController;
- import org.springframework.web.servlet.ModelAndView;
-
- /**
- * @Author 海龟
- * @Date 2021/8/20 22:10
- * @Desc Echarts入门案例
- */
- @RestController
- public class EchartsTest {
- @RequestMapping(value = "/echarts",method = RequestMethod.GET)
- public ModelAndView FirtstEchartsTest(){
- //test为在为你的html文件名字,SpringBoot会自动找到这个html文件
- return new ModelAndView("test");
- }
- }
五、运行SpringBoot
六、打开浏览器输入:localhost:8080/echarts
SpringBoot+Echarts使用案例入门就到这里结束了,本次教程只是告诉大家怎么简单在SpringBoot搭建Echarts,更多好玩复杂的Echarts需要大家自己在此基础上慢慢探索哈,感谢大家!!
声明:本文内容由网友自发贡献,不代表【wpsshop博客】立场,版权归原作者所有,本站不承担相应法律责任。如您发现有侵权的内容,请联系我们。转载请注明出处:https://www.wpsshop.cn/w/从前慢现在也慢/article/detail/761485
推荐阅读

相关标签

