
热门标签
热门文章
- 1【从入门到高阶】NLP 算法的流程、主要任务及涉及算法,全都囊括了(Python 实战)_nlpir算法
- 2postman连接websocket, 建立连接、聊天测试(v8.5.1)
- 3在Linux系统下微调Llama2(MetaAI)大模型教程—Qlora_autodl 微调llama2
- 4LLMs:MMLU基准(大规模多任务语言理解)的简介(MMLU-ZS/MMLU-FS)、安装、使用方法之详细攻略
- 5基于Spring Boot的职称评审管理系统
- 6(学习笔记2)特征融合
- 7ChatGPT和爬虫组合在一起能做什么?_chatgpt和爬虫结合
- 8论文阅读:很火的chatdoctor_chatdoctor: a medical chat model fine-tuned on a l
- 9基于深度学习模型(1D CNN)实现钓鱼网站检测_1dcnn
- 10IOS 项目包瘦身(二)_lsunusedresources下载
当前位置: article > 正文
CentOS8安装Mysql8_centos8安装mysql8.0
作者:不正经 | 2024-03-24 09:21:02
赞
踩
centos8安装mysql8.0
CentOs下安装Mysql8非常简,只需要下载、安装、配置自动启动这三个步骤即可。配置自动启动是可选项,一般来说都需要设置自动启动。
1、下载
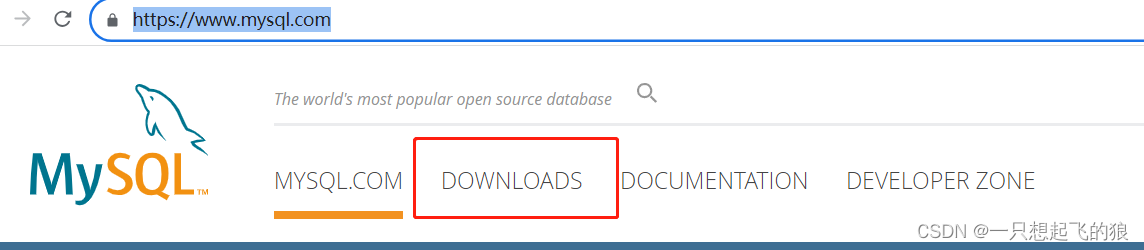
打开mysql官网:MySQL
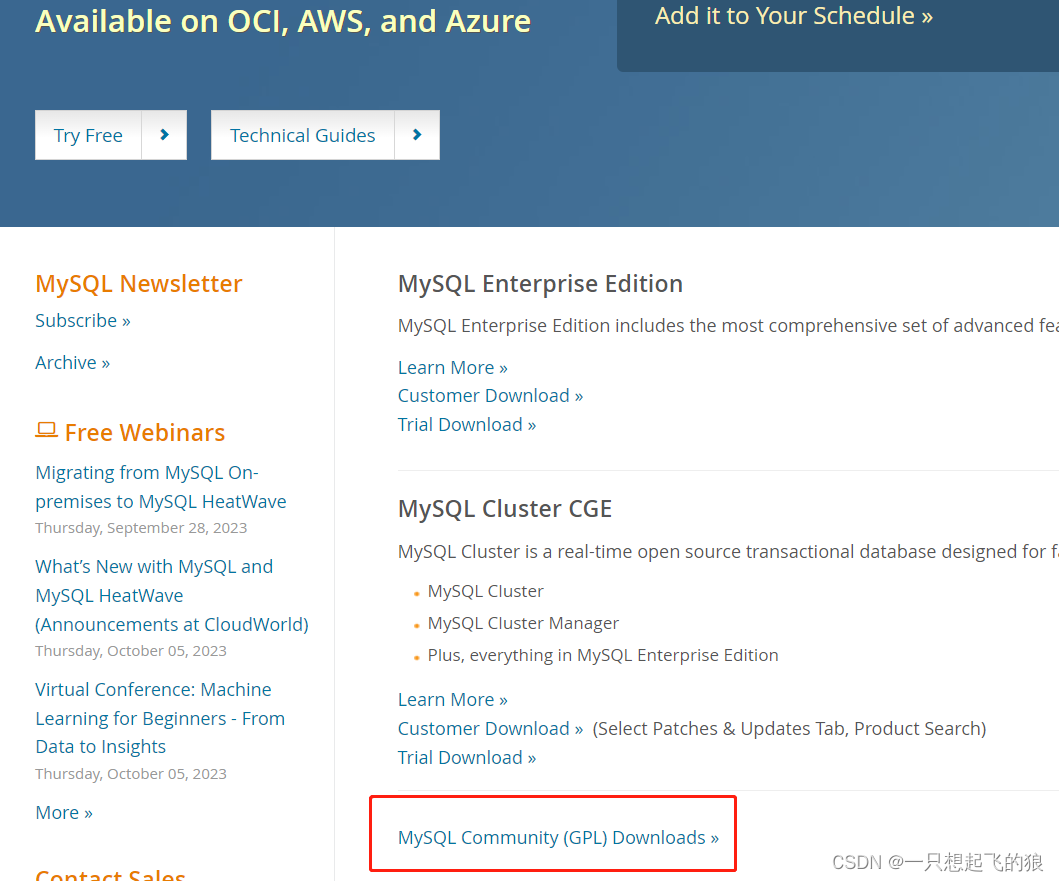
页面滚动到下方,点击:MySQL Community (GPL) Downloads »进入软件下载社区
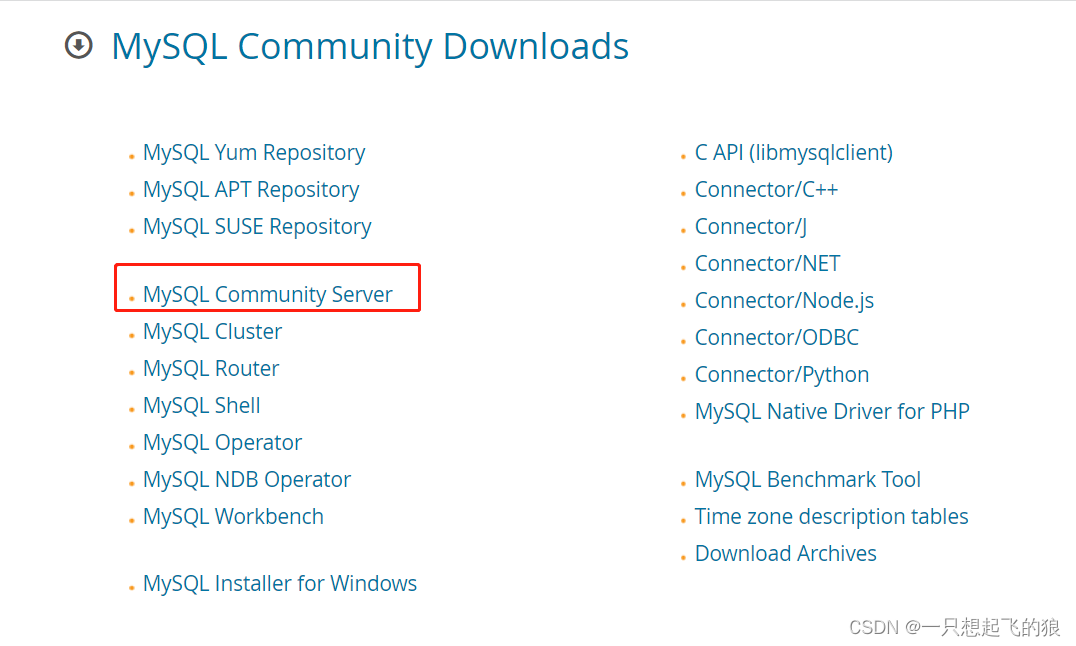
点击MySQL Community Server
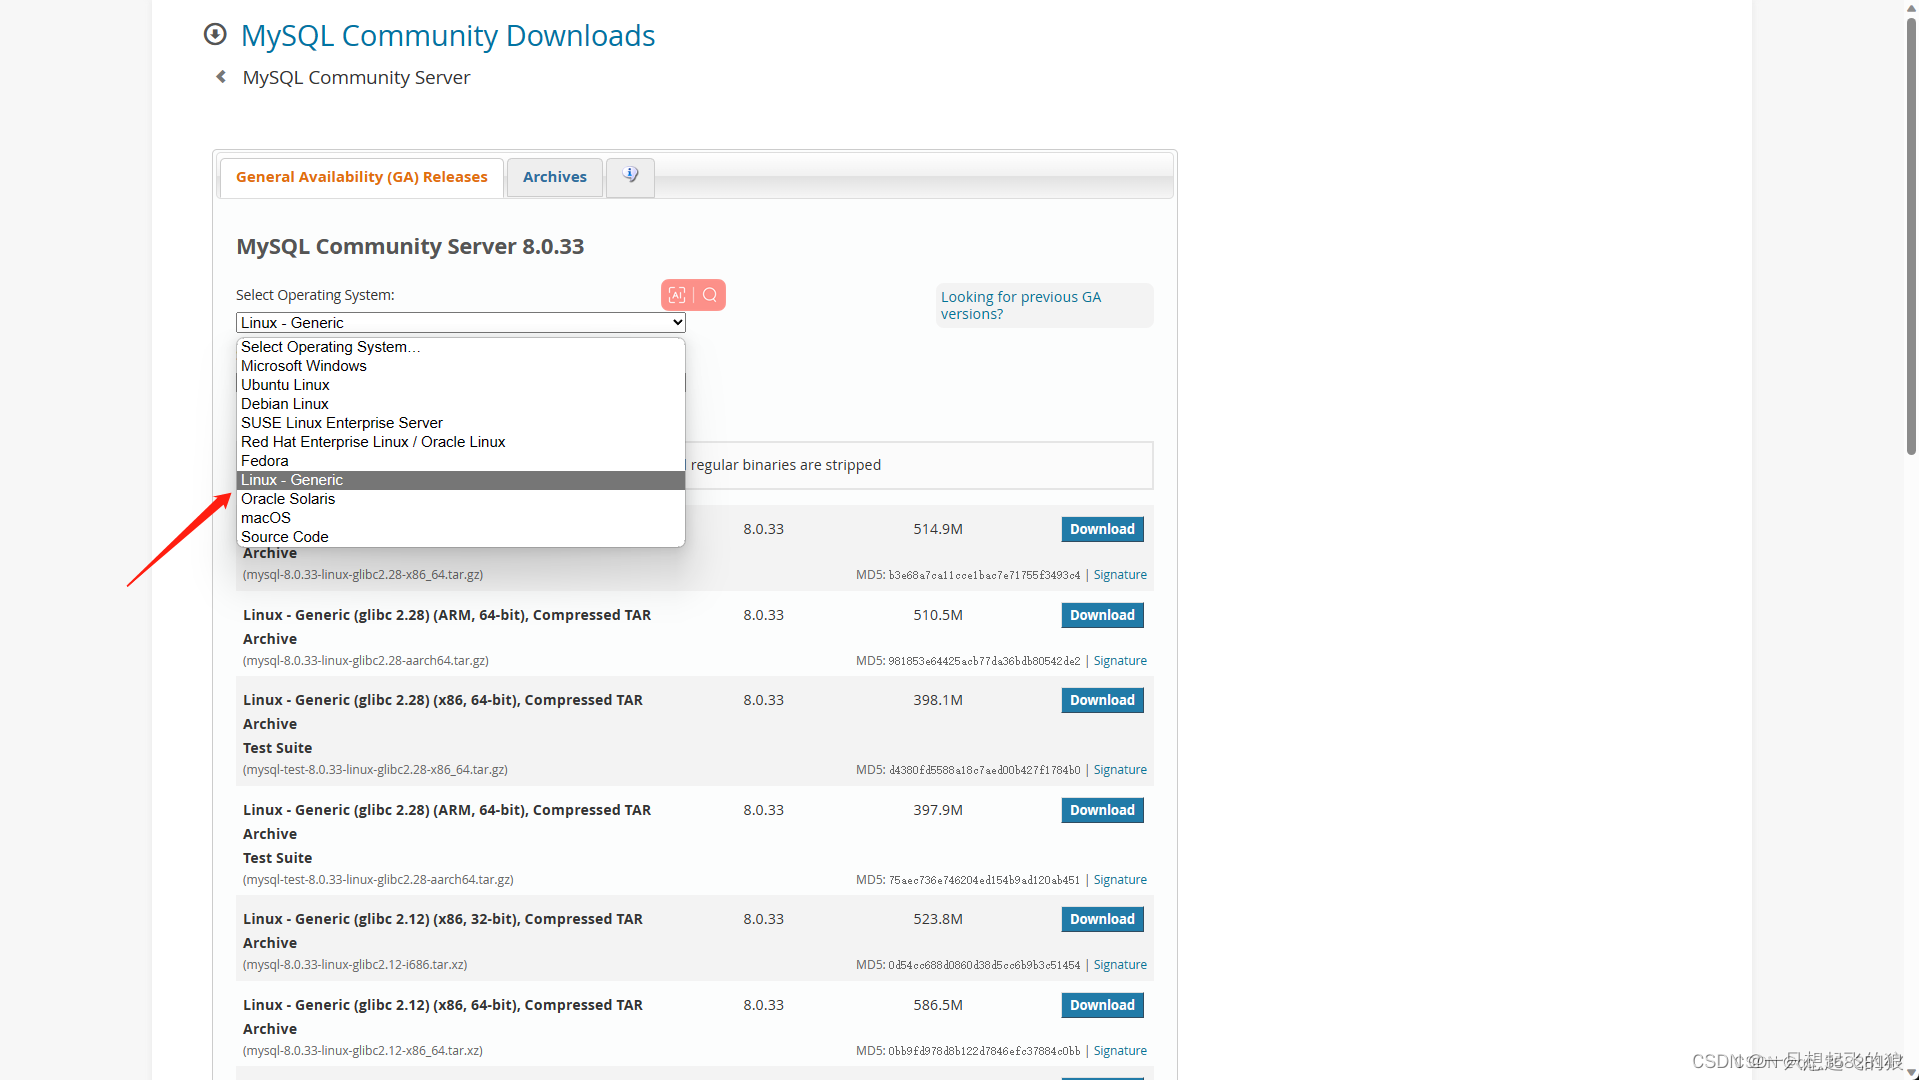
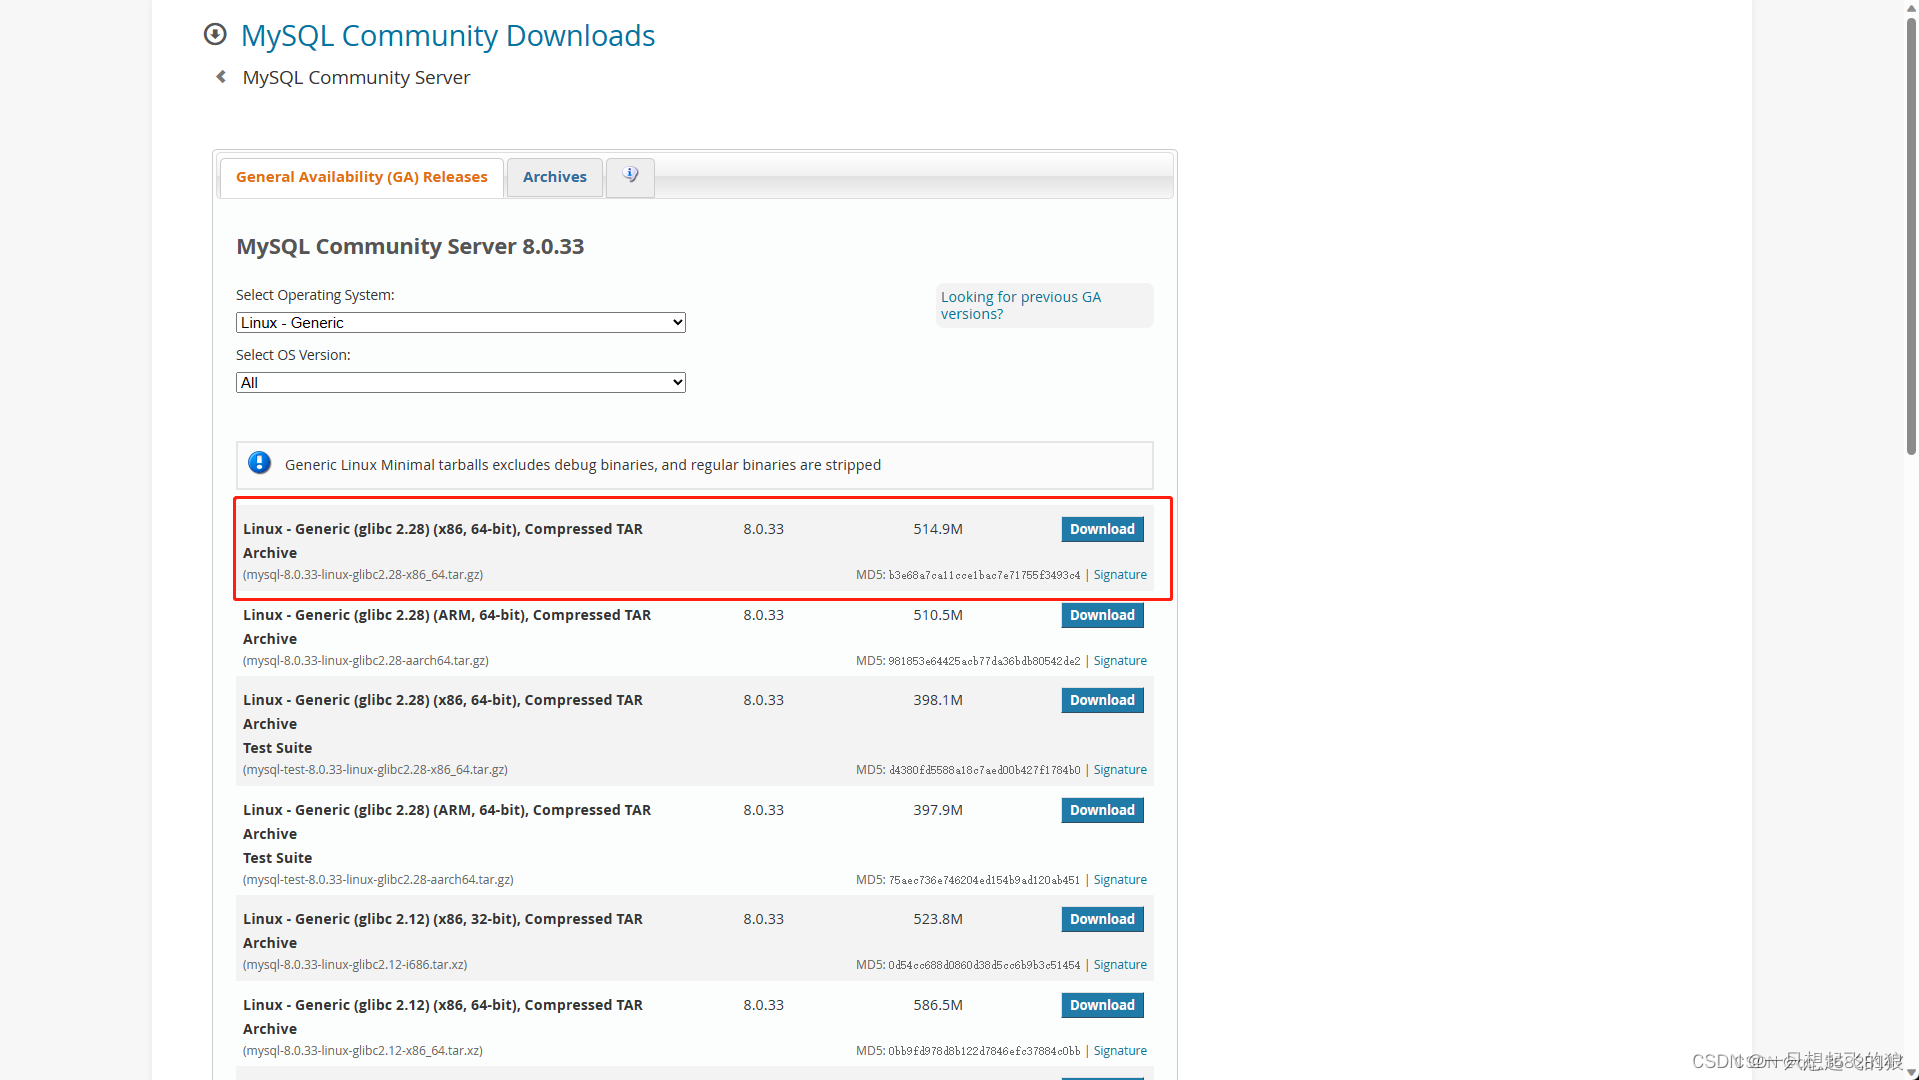
选择linux-Generic,选择需要下载的版本
2、安装
2.1解压文件
- # 解压至指定目录。
- tar -zvxf mysql-8.0.33-linux-glibc2.28-x86_64.tar.gz -C /usr/local
- # 修改mysql目录名称。
- mv /usr/local/mysql-8.0.33-linux-glibc2.28-x86_64 /usr/local/mysql
2.2配置环境变量
- # 使用vim命令打开环境变量配置文件
- vim /etc/profile
- # 按PageDown键,将光标移动到文件最后端键入下面两行内容。
- # 按i键进入编辑文档模式。即可输入内容。
- export MYSQL_HOME=/usr/local/mysql
-
- export PATH=$PATH:MYSQL_HOME/bin; # 将二进制执行路径拼接到原path后方。
-
- # 按键盘的Esc键退出编辑模式,并直接输入两个大写的字母Z,即可退出并保存该文件。
- # 然后使用source命令重新加载此配置文件使配置生效。
- source /etc/profile
2.3初始化数据库
- # 使用mysqld命令初始化数据库。 mysqld命令的路径已经被包含在环境配置中的PATH路径上了。所以这里可以直接执行。
- mysqld --basedir=/usr/local/mysql --datadir=/usr/local/mysql/data --initialize
-
- # 下面是输出内容
- 2023-05-29T03:49:56.481868Z 0 [System] [MY-013169] [Server] /usr/local/mysql/bin/mysqld (mysqld 8.0.33) initializing of server in progress as process 39315
- 2023-05-29T03:49:56.489884Z 1 [System] [MY-013576] [InnoDB] InnoDB initialization has started.
- 2023-05-29T03:49:57.417576Z 1 [System] [MY-013577] [InnoDB] InnoDB initialization has ended.
- 2023-05-29T03:49:59.479434Z 6 [Note] [MY-010454] [Server] A temporary password is generated for root@localhost: z/yH%7!EXj9L
2.4启动数据库
- # 进入数据库中的support-files目录
- cd /usr/local/mysql/support-files/
- # 使用mysql.server start 命令启动mysql服务
- ./mysql.server start
- # 这时一般会看到以下报错。
- # Starting MySQL.Logging to '/usr/local/mysql/data/VM-12-5-xxx.err'.
- # ERROR! The server quit without updating PID file (/usr/local/mysql/data/VM-12-5-opencloudos.pid).
- # 这是由于mysql服务器启动失败导致的。我们需要修改一下这个文件,让他可以正常启动mysql服务。
- vim /usr/local/mysql/support-files/mysql.server
- # 在vim中 set nu打开行号显示
- :set nu
- # 找到 $bindir/mysqld_safe --datadir="$datadir" --pid-file="$mysqld_pid_file_path" $other_args >/dev/null & wait_for_pid created "$!" "$mysqld_pid_file_path"; return_value=$? 这句话。笔者这里是266行的位置,读者需要自己在266行附近寻找
- # 这句命令会使用mysqld_safe来启动mysql服务,但如果使用root账号使用这个服务需要增加一个启动用户的参数。我们这里正巧使用的是root账号。所以对他进行如下修改。
-
- # 使用i键进入输入模式,在$bindir/mysqld_safe 后方,--datadir="$datadir"前方增加 --user=root这个参数如:$bindir/mysqld_safe --user=root --datadir="$datadir"
- # 修改好后按ESC键退出编辑模式,输入两个大写的Z字母退出并保存。
- # 然后我们再次启动服务。这次我们可以看到启动成功。
- ./mysql.server start
- # Starting MySQL.Logging to '/usr/local/mysql/data/VM-12-5-opencloudos.err'.
- # SUCCESS!

2.5登录数据库
- mysql -u root -p
- # 输入你的默认密码,笔者这里是06A+0Rau9neo,密码输入正确后会看到以下信息
- # Enter password:
- # Welcome to the MySQL monitor. Commands end with ; or \g.
- # Your MySQL connection id is 8
- # Server version: 8.0.33
-
- # Copyright (c) 2000, 2023, Oracle and/or its affiliates.
-
- # Oracle is a registered trademark of Oracle Corporation and/or its
- # affiliates. Other names may be trademarks of their respective
- # owners.
-
- # Type 'help;' or '\h' for help. Type '\c' to clear the current input statement.
-
- # mysql>
-
- # 由于给的默认密码太随机,根本记不住。所以我们需要给他改一个正常的密码。
- alter user 'root'@'localhost' identified by 'root';
- # 语法没问题就可以看见 Query OK, 0 rows affected (0.01 sec)。
- # 这时我们使用exit命令退出数据库并重新使用新密码链接。发现已经可以正常使用。
- exit
-
- mysql -u root -p
3、配置服务器开机自启动
- # 将mysql启动文件丢到init.d目录中
- cp /usr/local/mysql/support-files/mysql.server /etc/init.d/mysqld
- # 配置mysql自启
- chkconfig --add mysqld
- chkconfig mysqld on
声明:本文内容由网友自发贡献,不代表【wpsshop博客】立场,版权归原作者所有,本站不承担相应法律责任。如您发现有侵权的内容,请联系我们。转载请注明出处:https://www.wpsshop.cn/w/不正经/article/detail/301376
推荐阅读
相关标签

