
- 1jmeter 压测 kafka_kafkajmeter.jar
- 2关于各种Stable diffusion模型,看这篇就可以了!_stable diffusion 模型
- 3城市级联选择优化:H5使用的vant,后管使用Element_使用vant省市区数据+element plus 实现省市区的选择
- 4MySQL 慢查询优化案例_mysql distinct 慢查询优化
- 5Qt/QML学习-动画元素
- 6OPenGL 学习笔记之 VAO VBO EBO 以及SHADER 并使用其绘制三角形_使用vao,vbo, ebo绘制一个三维图像
- 7第二十四记·Spark SQL配置及使用_如何配置spark sql
- 8java的JDK选择和在win11的安装与配置_win11 安装jdk
- 9Hadoop项目(一个类似于云盘的文件存储系统)_基于hadoop的项目
- 10python tokenize怎么用_tokenize --- 对 Python 代码使用的标记解析器 — Python 3.9.1 說明文件...
SpringBoot3.x 整合 Spring AI_spring boot pgvector
赞
踩
Spring AI 已经发布了一段时间,虽然推出的时候就被人说只是一个套了 API 的壳,但是作为 Spring 生态的一个开源项目,用它来结合到现有业务系统中还是一个比较好的方案,毕竟像笔者当初为了接入 OpenAI 的 API,还专门学了一些 Python 代码,还使用了 fastapi 框架搭建了一套接口
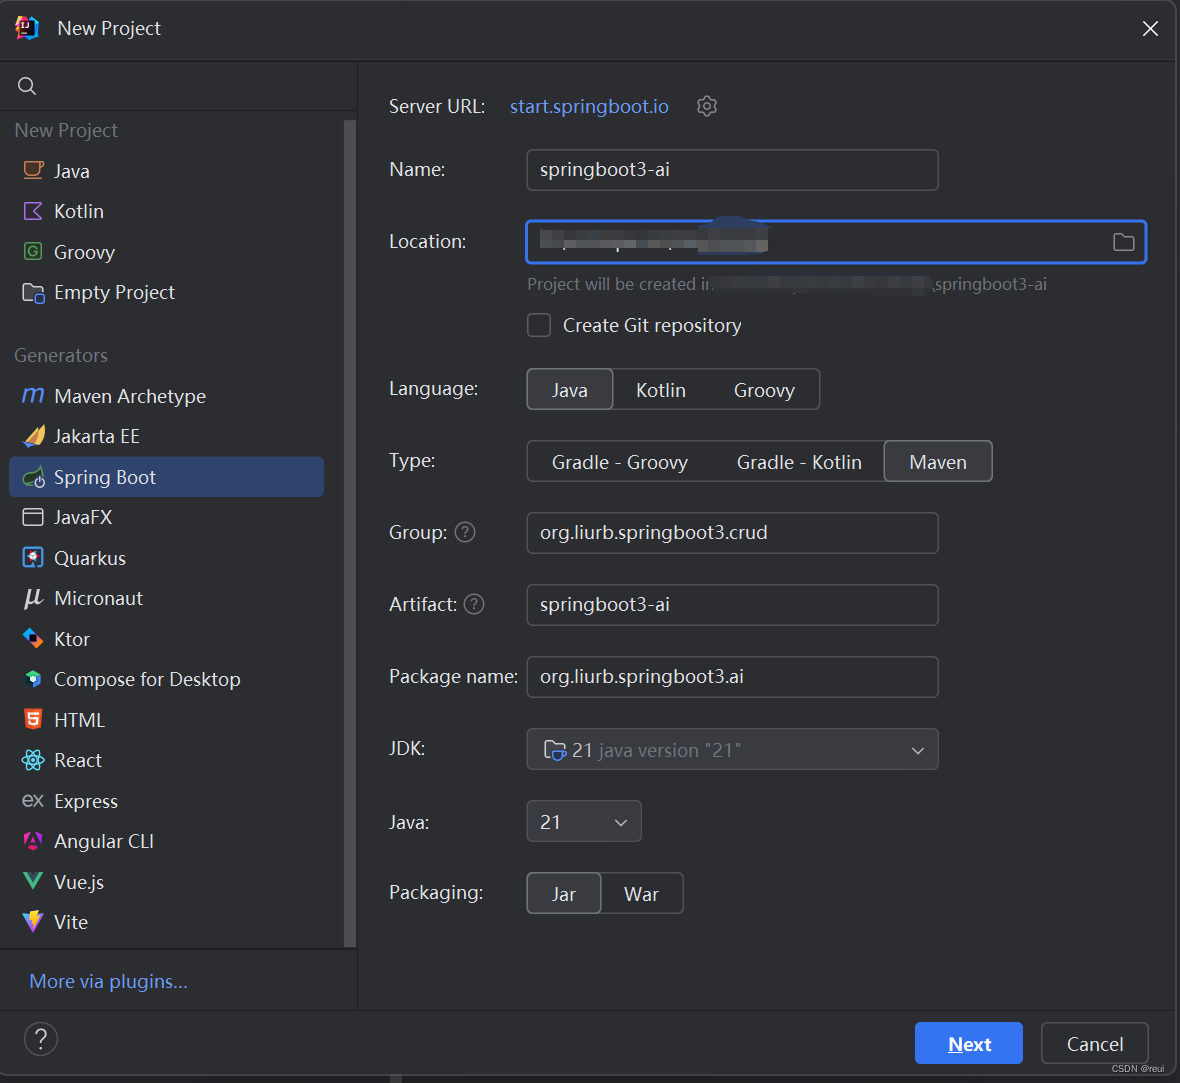
创建项目
填写项目名等信息,JDK版本选择使用 21
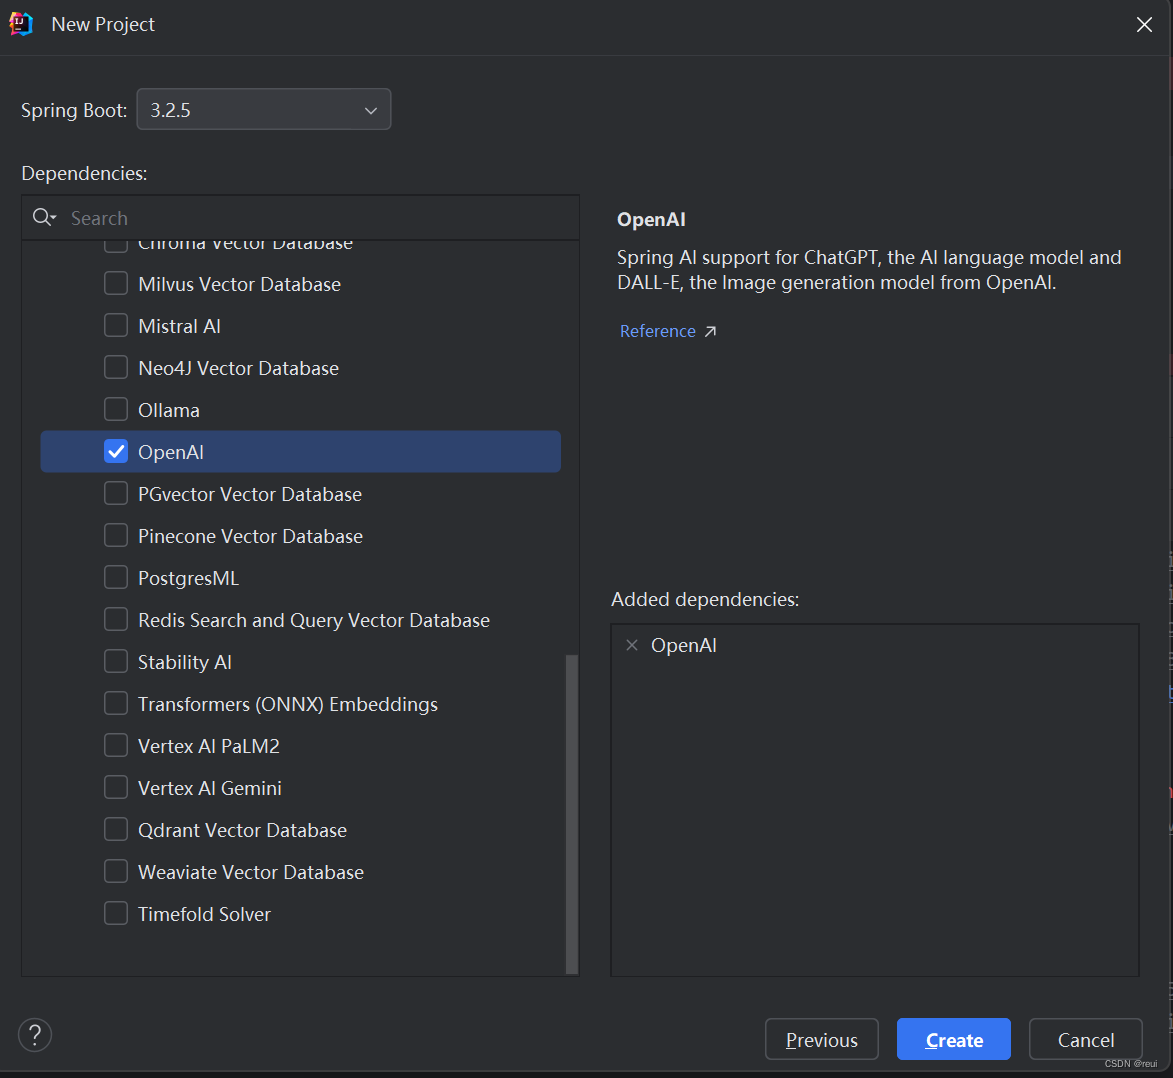
可以看到依赖库中,最下面有一个AI模块
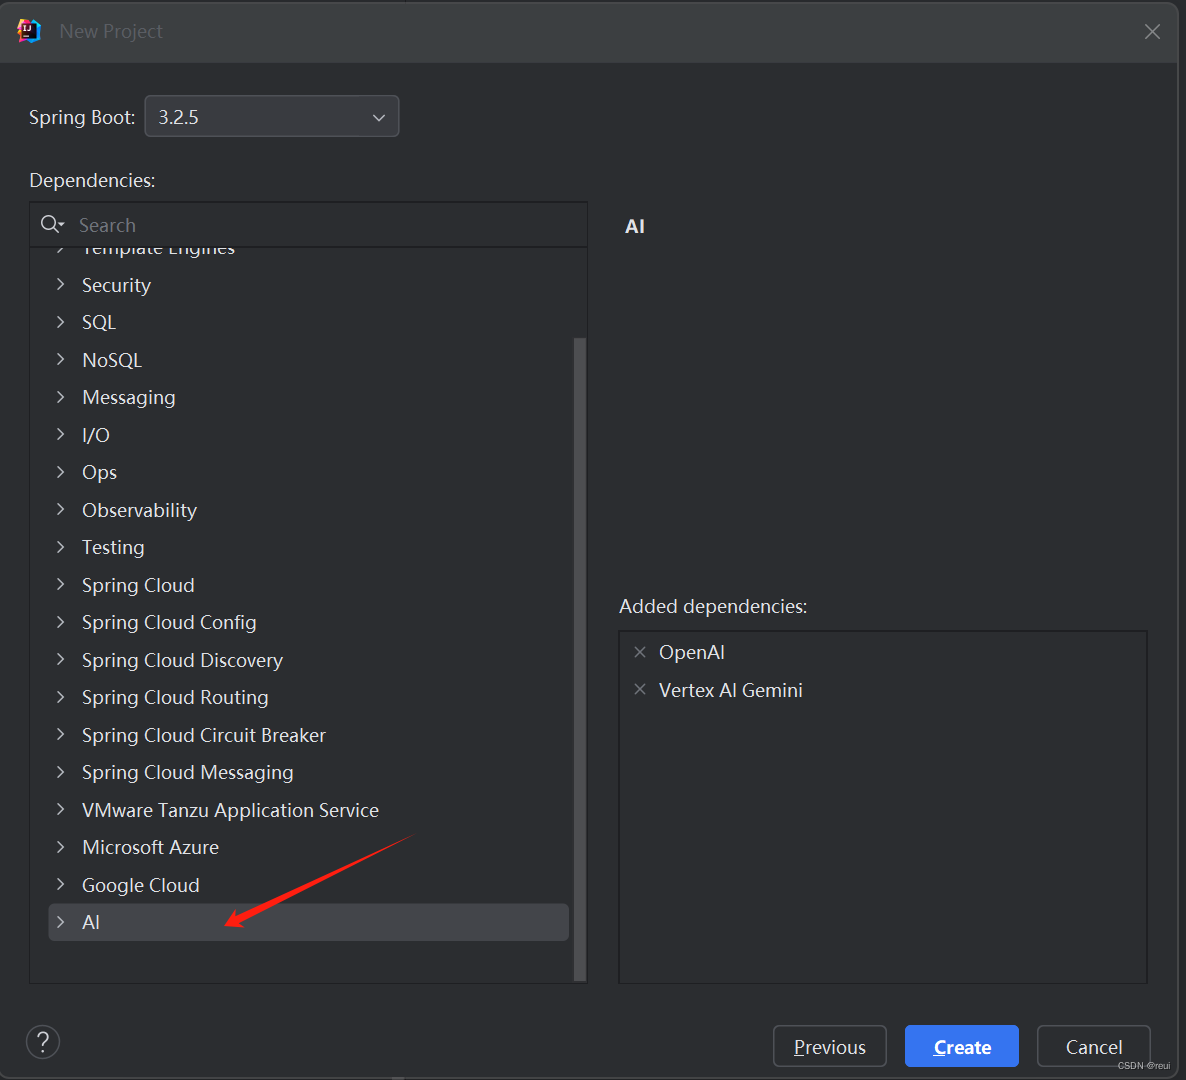
点开后可以看到有很多不同的AI接口模块可以选择,像比较热门的 OpenAI、谷歌的Gemini等
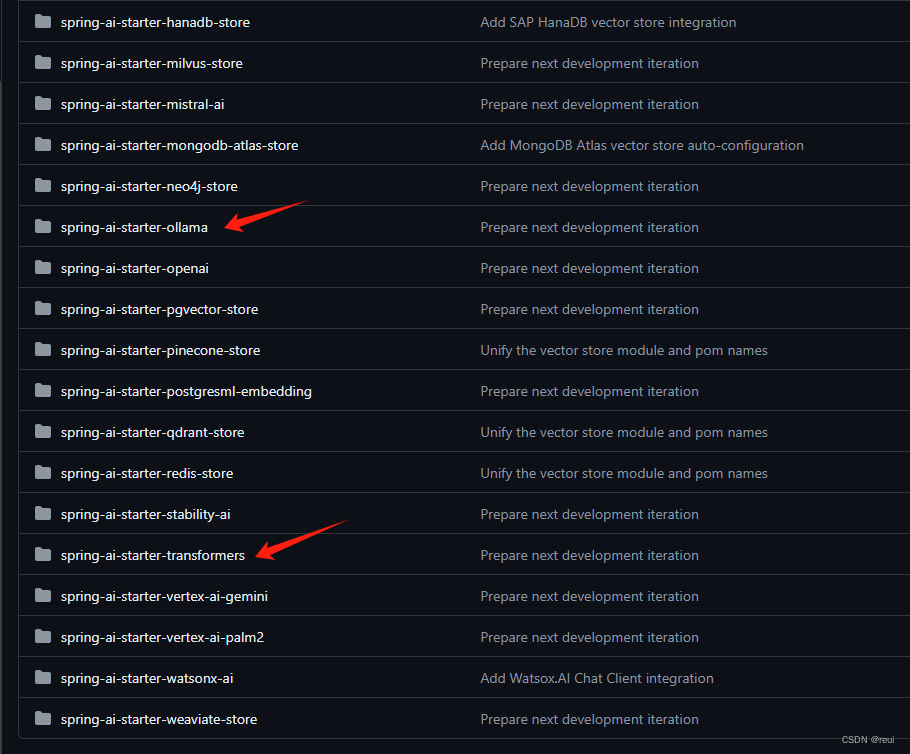
除此以外,还可以到官方的仓库中查看最新的 starters
spring-ai/spring-ai-spring-boot-starters at main · spring-projects/spring-ai · GitHubAn Application Framework for AI Engineering. Contribute to spring-projects/spring-ai development by creating an account on GitHub.![]() https://github.com/spring-projects/spring-ai/tree/main/spring-ai-spring-boot-starters像目前比较火热的 ollama、还有transformers框架也是有的
https://github.com/spring-projects/spring-ai/tree/main/spring-ai-spring-boot-starters像目前比较火热的 ollama、还有transformers框架也是有的
调整 pom 文件
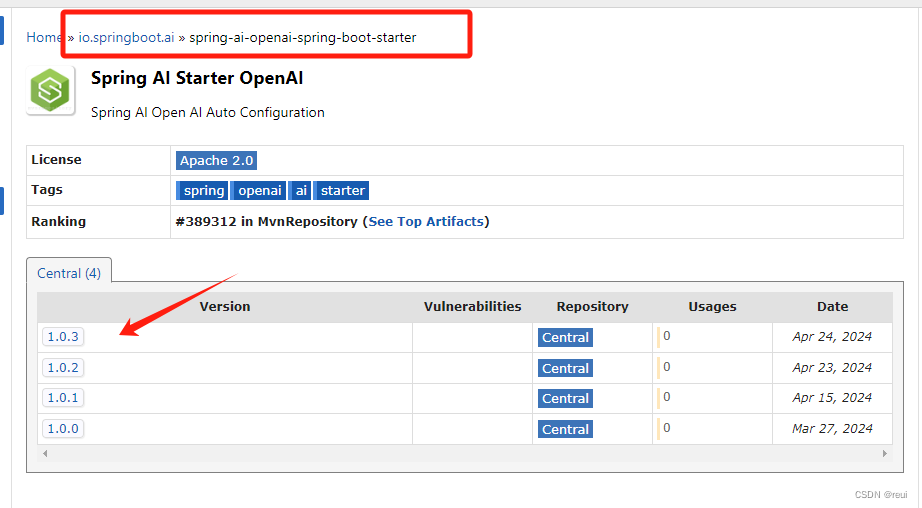
从 idea 生成的版本是比较老的,我们需要更新一下组件库的版本,升级为 1.0.3 版本
- <?xml version="1.0" encoding="UTF-8"?>
- <project xmlns="http://maven.apache.org/POM/4.0.0" xmlns:xsi="http://www.w3.org/2001/XMLSchema-instance"
- xsi:schemaLocation="http://maven.apache.org/POM/4.0.0 https://maven.apache.org/xsd/maven-4.0.0.xsd">
- <modelVersion>4.0.0</modelVersion>
- <parent>
- <groupId>org.springframework.boot</groupId>
- <artifactId>spring-boot-starter-parent</artifactId>
- <version>3.2.5</version>
- <relativePath/> <!-- lookup parent from repository -->
- </parent>
-
- <groupId>org.liurb.springboot3.crud</groupId>
- <artifactId>springboot3-ai</artifactId>
- <version>0.0.1-SNAPSHOT</version>
- <name>springboot3-ai</name>
- <description>springboot3-ai</description>
- <properties>
- <java.version>21</java.version>
- <spring-ai.version>1.0.3</spring-ai.version>
- </properties>
- <dependencies>
- <dependency>
- <groupId>org.springframework.boot</groupId>
- <artifactId>spring-boot-starter-web</artifactId>
- </dependency>
- <dependency>
- <groupId>io.springboot.ai</groupId>
- <artifactId>spring-ai-openai-spring-boot-starter</artifactId>
- </dependency>
- <dependency>
- <groupId>org.springframework.boot</groupId>
- <artifactId>spring-boot-starter-test</artifactId>
- <scope>test</scope>
- </dependency>
- </dependencies>
-
- <dependencyManagement>
- <dependencies>
- <dependency>
- <groupId>io.springboot.ai</groupId>
- <artifactId>spring-ai-bom</artifactId>
- <version>${spring-ai.version}</version>
- <type>pom</type>
- <scope>import</scope>
- </dependency>
- </dependencies>
- </dependencyManagement>
-
- <build>
- <plugins>
- <plugin>
- <groupId>org.springframework.boot</groupId>
- <artifactId>spring-boot-maven-plugin</artifactId>
- </plugin>
- </plugins>
- </build>
-
- </project>
要注意需要删除原本 pom 文件中的 repositories 标签内容,貌似从 1.x 版本后连包名都改了,像引入的两个 starter 的 groupId 也改为了 io.springboot.ai
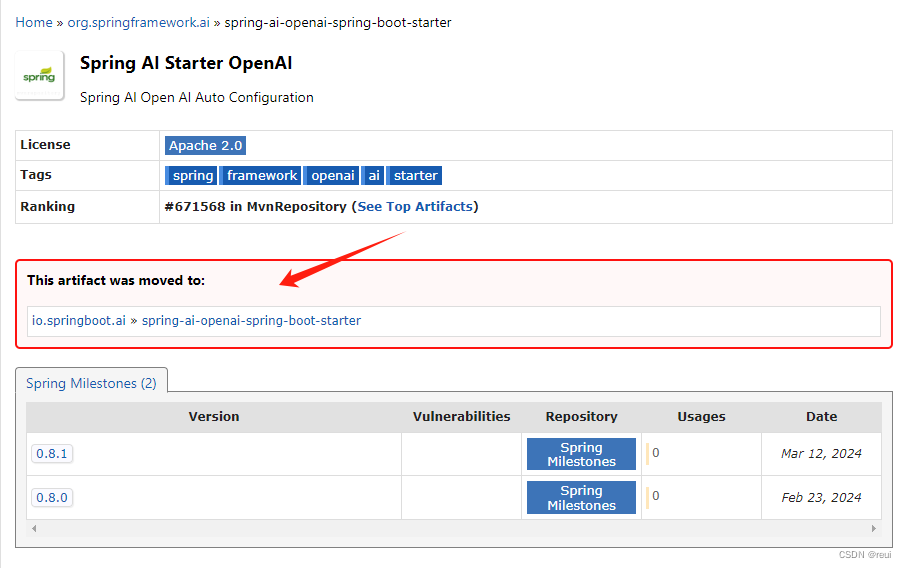
新版的包路径
项目资源下载
编写测试用例
加入 openai 配置
在 application.properties 配置文件中加入 OpenAI 的 api key,如果需要设置 base url 也可以加上
- # openai 配置
- spring.ai.openai.base-url=your base url
- spring.ai.openai.api-key=your api key
测试用例代码
我们只要简单的设置一个使用模型和提问,就可以实现与 openai 的接口调用
- @SpringBootTest
- class Springboot3AiApplicationTests {
-
- @Resource
- OpenAiChatClient chatClient;
-
- @Test
- void geminiContextLoads() {
- ChatResponse response = chatClient.call(
- new Prompt(
- "Generate the names of 5 famous pirates.",
- OpenAiChatOptions.builder()
- .withModel("gpt-3.5-turbo")
- .withTemperature(0.4f)
- .build()
- ));
-
- System.out.println(response);
- }
-
- }
控制器用例
- @RestController
- public class ChatController {
-
- private final OpenAiChatClient chatClient;
-
- @Autowired
- public ChatController(OpenAiChatClient chatClient) {
- this.chatClient = chatClient;
- }
-
- @GetMapping("/ai/generate")
- public Map generate(@RequestParam(value = "message", defaultValue = "Tell me a joke") String message) {
- return Map.of("generation", chatClient.call(message));
- }
-
- // 流式
- @GetMapping("/ai/generateStream")
- public Flux<ChatResponse> generateStream(@RequestParam(value = "message", defaultValue = "Tell me a joke") String message) {
- Prompt prompt = new Prompt(new UserMessage(message));
- return chatClient.stream(prompt);
- }
- }

