
- 1NGINX - 高级负载均衡器、Web服务器、反向代理
- 2python elasticsearch 分组统计_python bool must 多字段aggregations分组
- 3python的pyqt5国内镜像
- 4BAT 批处理创建桌面快捷方式代码大全
- 5ubuntu20.04安装mysql8_unbuntu20.04 apt安装mysql8
- 6ubuntu18.04安装mysql8.0_ubuntu18.04 mysql 5.7 升级 8.0
- 7树莓派-2-RaspBerry4B硬件介绍和初始化安装_4b主板啥意思
- 8R 清屏 清除图像_r语言清楚界面
- 9qt学习:QTSQL+连接sqlite数据库+增删改查
- 10docker进阶之路-基础篇 | 二:portainer安装与基本使用_portainer中没有download logs
python3使用PIL添加中文文本水印背景_python 图片加水印 中文
赞
踩
写的博客文章被转载且不注明出处的情况时有发生,甚至有部分转载者将文章配图添加自己的水印!为了保护作者劳动成果,添加水印是一个可选项。
今天记录下Windows10环境下使用python3.9简单实现批量添加中文文本水印背景的过程,并提供示例代码及相关资源下载,可从如下渠道获取:
关注微信公众号(聊聊博文,文末可扫码)后回复 20230704 获取。
一、背景描述
python的PIL库可进行图片处理,十分强大,可使用该库实现图片添加水印背景的需求。
可通过pip进行安装(默认安装最新版),命令如下:
pip install Pillow
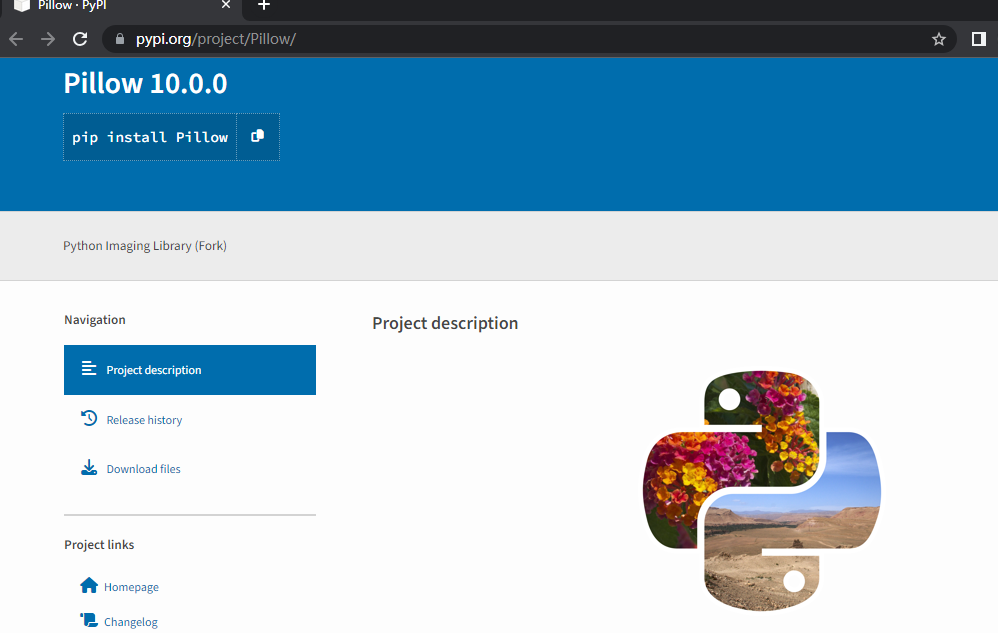
pypi地址: Pillow · PyPI
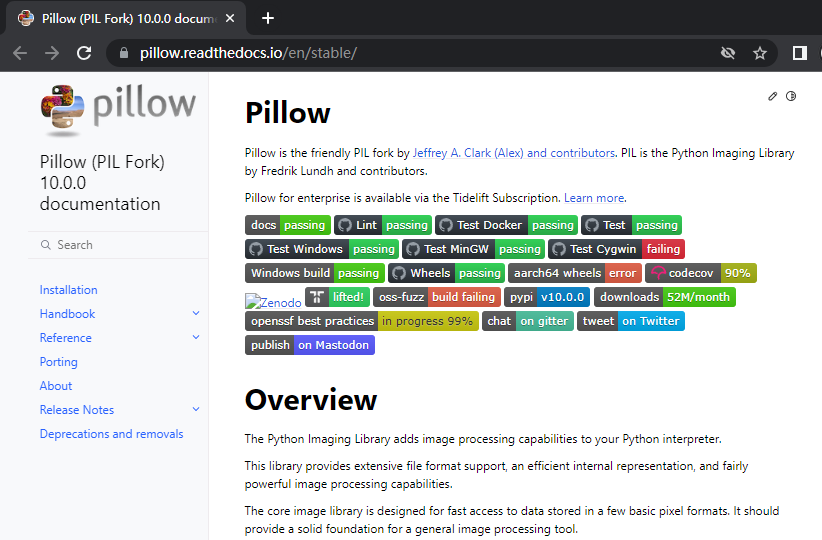
文档地址: Pillow (PIL Fork) 10.0.0 documentation
二、具体实现
这里列举下实现文本水印背景的关键点。
1、生成文本背景
可通过ImageDraw.text实现:
ImageDraw Module - Pillow (PIL Fork) 10.0.0 documentation

中文文本可通过设置正确的字体实现:
font = ImageFont.truetype("simsun.ttc", fontSize,encoding="utf-8")
文本颜色可通过RGB值设置,示例如下:
fill=(106,106,106)
2、旋转文本
可通过rotate函数实现:
Image Module - Pillow (PIL Fork) 10.0.0 documentation

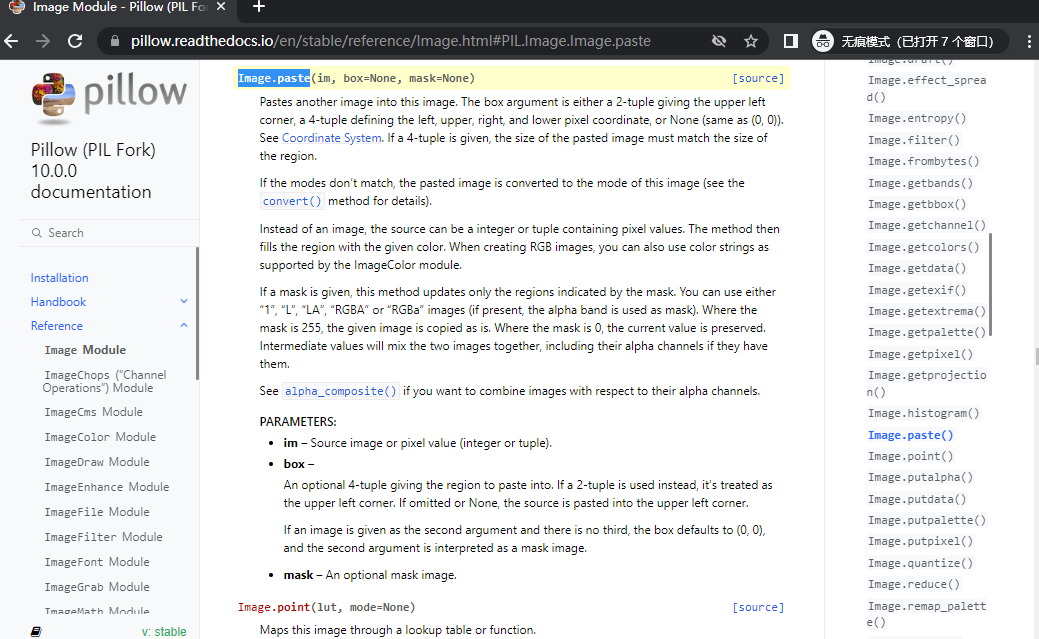
3、设置水印
可通过Image.paste函数实现:
Image Module - Pillow (PIL Fork) 10.0.0 documentation
4、生成水印背景
1)需要通过循环控制,多次设置背景图片;

i,j = 0,0
while True:
    x,y = i*step,i*step
    if y < height :
        x = 0
    if y > height :
        x = j*step
        j = j + 1
        y = height - 10
    #print(i,"xy :",x,y)
    draw_text(img,(x,y),fill,mask,rotated_mask)
    if (x + step > width ) and (y + step > height ) : break
    i = i + 1

2)导出时需要添加质量参数,避免导出的图片失真;
img.save(dstFile,optimize=True, quality=100)
5、多进程加速
批量添加文本水印背景时,可使用进程池进行加速。

pool = Pool(processes=8)    # set the processes max number
for root, dirs, files in os.walk(srcDir):
    for name in files:
        srcFile = os.path.join(root, name)
        dstFile = os.path.join(dstDir, name)
        print("%s => %s" % (srcFile,dstFile))
        # add_watermark(srcFile,dstFile,fontSize,myText,angle,fill,step)
        result = pool.apply_async(add_watermark,(srcFile,dstFile,fontSize,myText,angle,fill,step))
pool.close()
pool.join()

完整源码可以从如下途径获取:
关注微信公众号(聊聊博文,文末可扫码)后回复 20230704 获取。
三、运行效果
这里演示下python3使用PIL添加中文文本水印背景的运行效果,具体如下:
运行效果演示视频获取途径:
关注微信公众号(聊聊博文,文末可扫码)后回复 2023070401 获取。
四、资源下载
本文涉及源码和文件,可以从如下途径获取:
关注微信公众号(聊聊博文,文末可扫码)后回复 20230704 获取。


