
- 1解决idea web项目中out目录更新不同步问题_idea. out 文件夹删除后 html文件不同步
- 2Python 初步了解urllib库:网络请求的利器
- 3NFS 锁死解决的办法
- 4昆仑通态触摸屏文件后缀是mcp吗_轻松学会威纶通触摸屏上传与反编译
- 5subprocess.run()用法python3.7
- 6安卓手机安卓Mysql,Termux安装MariaDB/MySQL数据库_最新termux安装 mariadb
- 7荣耀可以升级鸿蒙系统的机型,荣耀手机也能升级鸿蒙系统,可升级的机型名单已公布...
- 8大漠插件ocr多选字库_大漠ocr识别字库的生成,和使用方法
- 9关于esp8266模块与stm32f103模块的连接,问题分析_#define esp8266_usart(fmt, ...) usart_printf (usar
- 1010个python入门小游戏,零基础打通关,就能掌握编程基础_python编写的入门简单小游戏_通过小游戏 学习python
C++_包装器
赞
踩
目录
前言:
C++11的包装器,总称为function包装器,而包装器又称适配器,顾名思义包装器主要是用于包装函数的,实际上是将函数指针、仿函数类、lambda函数进行了又一层的封装。
1、包装器的用法
包装器的具体结构如下:
- 使用包装器需包头文件:<functional>
-
- // 类模板原型如下
- template <class Ret, class... Args>
- class function<Ret(Args...)>;
-
- 模板参数说明:
- Ret: 被调用函数的返回类型
- Args…:可变参数包,表示被调用函数的形参可以有多个
包装器测试代码如下:
- #define _CRT_SECURE_NO_WARNINGS 1
-
- #include<iostream>
- #include<functional>
- using namespace std;
-
- int f(int a, int b)
- {
- cout << "int f(int a, int b)" << endl;
- return a + b;
- }
-
- int main()
- {
- function<int(int, int)> f1 = f;//包装函数f
-
- cout << f1(1, 2) << endl;//使用包装器调用函数f
- return 0;
- }

运行结果:
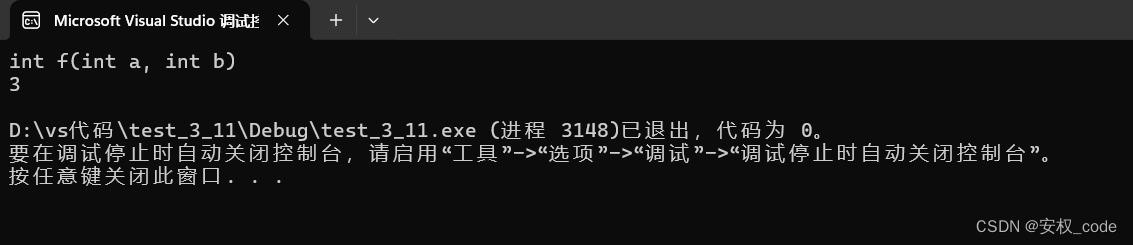
从结果可以看到,若要使用包装器封装函数,则包装器的返回类型和参数必须和该函数一致,示意图如下:

并且包装器仅仅只是封装了函数f,并且生成一个包装器对象,用包装器对象去调用包装的函数时,还是会去调用函数f的本体。
2、包装器的类型
函数指针,lambda函数、仿函数类这三种函数本身是不能够直接进行赋值操作的,因为他们三个各有各的类型,然而经过包装器包装后,产生的三个包装器对象是可以直接进行相互赋值操作的。
示例代码如下:
- #define _CRT_SECURE_NO_WARNINGS 1
-
- #include<iostream>
- #include<functional>
- using namespace std;
-
- int f(int a, int b)
- {
- cout << "int f(int a, int b)" << endl;
- return a + b;
- }
- struct Functor
- {
- public:
- int operator() (int a, int b)
- {
- cout << "int operator() (int a, int b)" << endl;
- return a + b;
- }
- };
-
- int main()
- {
- function<int(int, int)> f1 = f;
- function<int(int, int)> f2 = Functor();
-
- f1 = f2;//f2赋值给f1,则f1调用的是f2的函数,即Functor
- cout << f1(1, 2) << endl<<endl;
- cout << f2(1, 2) << endl;
- return 0;
- }
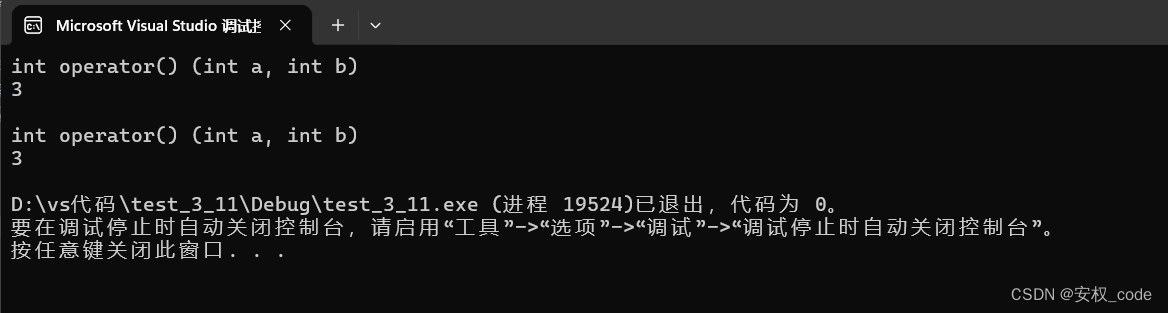
运行结果:
3、包装器的作用
在一些特殊的场景下,比如一个容器要接收函数指针,lambda函数、仿函数类,则该容器的类型晦涩难写,比如函数指针的类型:void(*ptr)(),写起来比较麻烦,更不用说lambda的类型了,就算取到了他们的类型,写出来的代码也属于高耦合的代码,即该容器只能接收三者之一的数据类型。
而包装器可以实现以上的效果,并且写出来的代码属于低耦合的代码,即以上三种类型的数据都可以写进容器里,具体示例如下:
- #define _CRT_SECURE_NO_WARNINGS 1
-
- #include<iostream>
- #include<functional>
- #include<map>
- using namespace std;
-
- int f(int a, int b)
- {
- cout << "int f(int a, int b)" << endl;
- return a + b;
- }
- struct Functor
- {
- public:
- int operator() (int a, int b)
- {
- cout << "int operator() (int a, int b)" << endl;
- return a + b;
- }
- };
-
- int main()
- {
- map < string, function<int(int, int)>> m1;//参数1为string,参数2为包装器
-
- //map的[] 进行插入元素,并返回第二个参数的引用
- m1["函数指针"] = f;
- m1["仿函数类"] = Functor();
- m1["lambda"] = [](int x, int y)->int
- {
- cout << "[](int x, int y)->int" << endl;
- return x + y;
- };
-
- cout << m1["函数指针"](1, 2) << endl << endl;
- cout << m1["仿函数类"](1, 2) << endl << endl;
- cout << m1["lambda"](1, 2) << endl;
- return 0;
- }
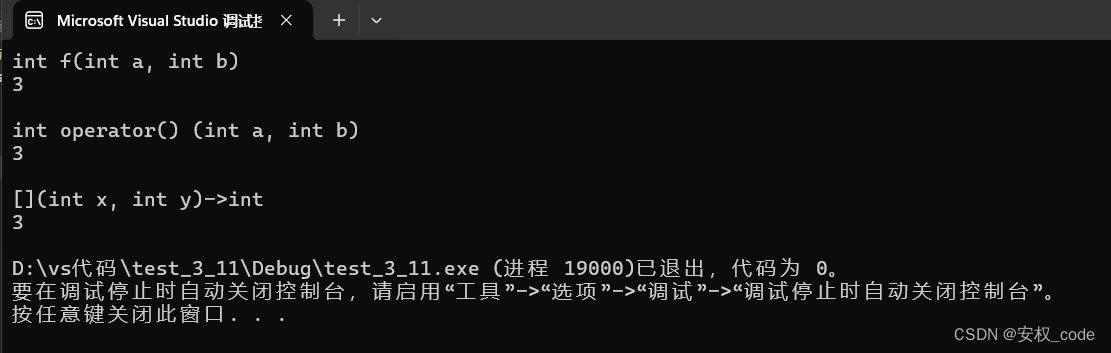
运行结果:
4、包装成员函数
用包装器包装成员函数时需要考虑该成员函数是否有this指针,因为普通成员函数含this指针,而静态成员函数不含this指针,若函数中含this指针,则包装器的第一个参数一定是this指针。
示例代码如下:
- #define _CRT_SECURE_NO_WARNINGS 1
-
- #include<iostream>
- #include<functional>
- using namespace std;
-
- class Wrapper
- {
- public:
- static int Wrapperi(int a, int b)//静态成员函数无this指针
- {
- return a + b;
- }
- int Wrapperd(int a, int b)
- {
- return a + b + res;
- }
- private:
- int res = 2;
- };
-
- int main()
- {
- function<int(int, int)> f1 = Wrapper::Wrapperi;
-
- //Wrapperd含this指针,因此要包装器的参数要多写一个this的类型
- function<int(Wrapper, int, int)> f2 = &Wrapper::Wrapperd;//此处要加取地址符
-
- cout << f1(2, 3) << endl;
- cout << f2(Wrapper(), 2, 3) << endl;
-
- return 0;
- }
运行结果:

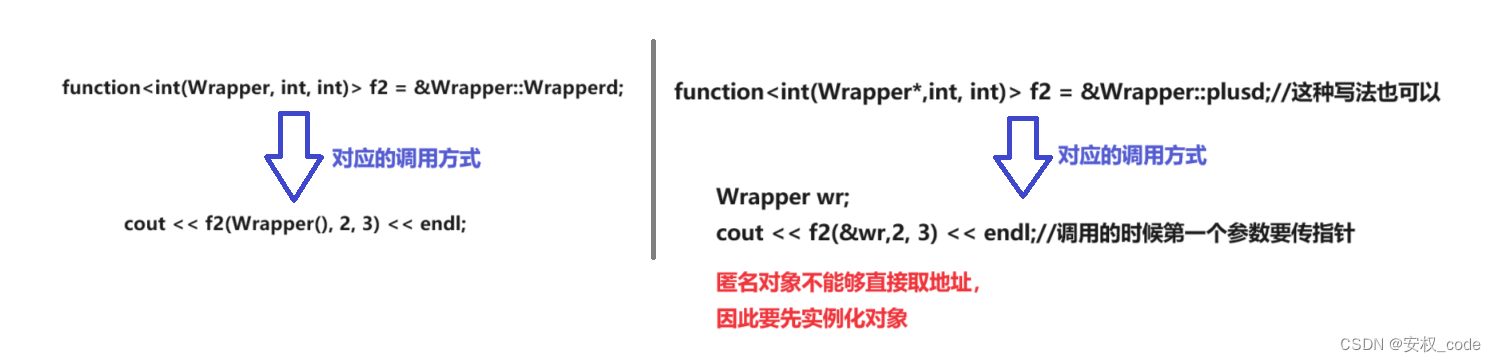
包装带this指针的另一种写法:
5、bind(绑定)
bind的格式:
- auto newTarget = bind(target,arg_list);
- //target是一个函数对象,也可以是指向函数的指针
- //arg_list是调整之后的参数列表
- //newTarget也是一个函数对象
bind也是一种函数适配器,他接收一个函数对象,并且对该函数的参数列表进行调整,如形参的顺序、形参的个数,最后返回一个函数对象,该对象可以调用调整之后的函数(即调用newTarget时,实际上是以arg_list为形参列表去调用target),可用包装器接收该newTarget。
5.1 bind的用法
测试bind的代码如下:
- #define _CRT_SECURE_NO_WARNINGS 1
-
- #include<iostream>
- #include<functional>
- using namespace std;
-
- void Wrapperi(int a, int b)
- {
- cout << a << " ";
- cout << b << endl;
- }
-
- int main()
- {
- Wrapperi(2, 3);
- //将形参顺序倒置
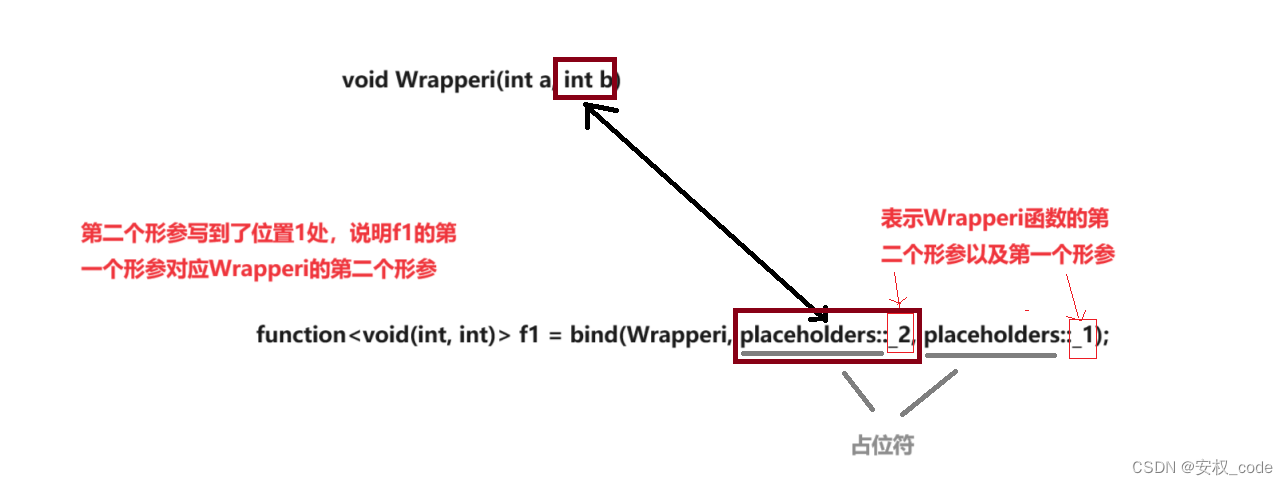
- //placeholders表示占位符,placeholders::_2表示Wrapperi的第二个参数现在成了f1的第一个参数
- function<void(int, int)> f1 = bind(Wrapperi, placeholders::_2, placeholders::_1);
-
- //直接传参的写法
- auto f2 = bind(Wrapperi,20,10);//直接把20和10当作f2的形参
-
- f1(2, 3);//同样的调用顺序,结果实参2给到的是Wrapperi的形参b
- f2();
-
- return 0;
- }
运行结果:

占位符用法的具体示意图如下:
5.2 bind减少参数个数
bind可以减少函数对象的参数个数,比如某函数有3个参数,因此调用该函数时需要传3个实参,但是bind可以将该函数减少为2个参数后给到一个新的函数对象,并且新函数对象调用该函数时不需要传3个实参。
示例代码如下:
- #define _CRT_SECURE_NO_WARNINGS 1
-
- #include<iostream>
- #include<functional>
- using namespace std;
-
- class Sub
- {
- public:
- int sub(int a, int b)
- {
- return a - b;
- }
- };
- int main()
- {
- //没有调整参数的调用方式
- std::function<int(Sub,int, int)> func2 = &Sub::sub;
- cout << func2(Sub(), 6, 3) << endl;
-
- //使用bind进行参数调整后的调用方式,调用包装器对象从3个参数变成了2个
- Sub s;
- std::function<int(int, int)> func3 =
- std::bind(&Sub::sub,s,placeholders::_1, placeholders::_2);
- cout << func3(10, 8) << endl;
- }
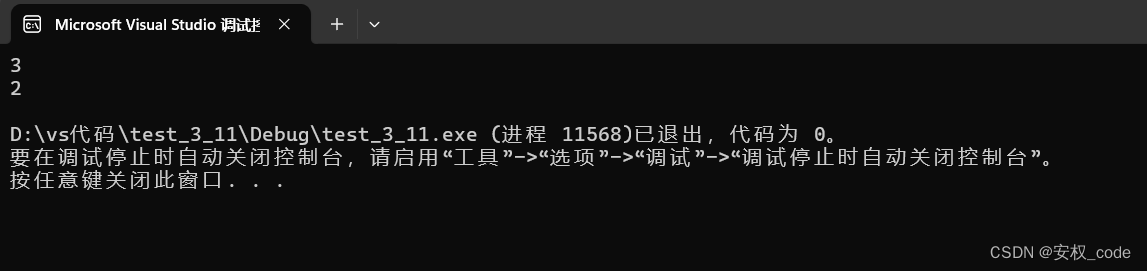
运行结果:
从结果可以发现,bind之所以可以减少参数是因为在bind中已经将该参数显示调用了,所以新函数对象才可以不用再次显示调用该参数。注意:并且func3(包装器)类型的形参个数要和bind减少参数之后的形参个数相匹配。
结语
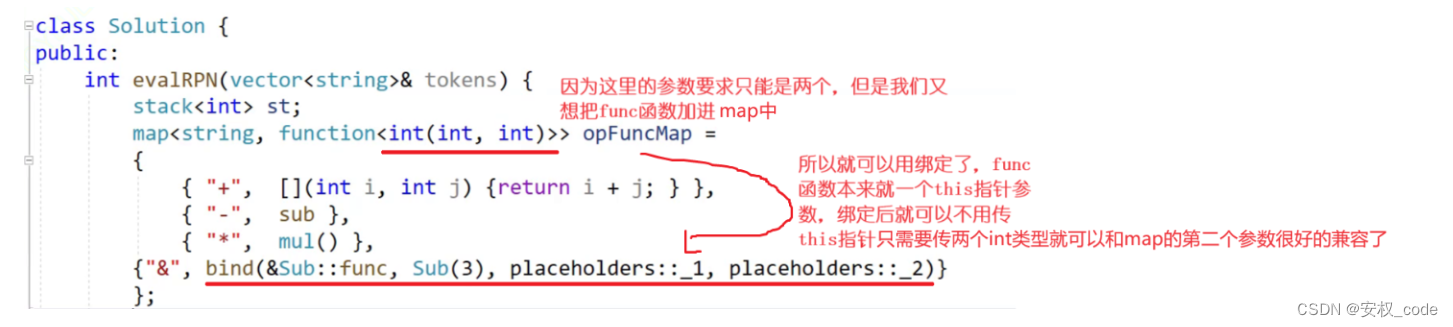
以上就是关于包装器和bind的讲解,包装器的作用就是为了能够让程序员更好的显示表示函数对象的类型,而bind则是能够让一些函数对象能够相互的兼容,比如A函数对象比B函数对象的形参多一个,其余的参数都一样,为了能够让A和B的类型相等,可以使用bind让A的形参减少一个,这样他们就可以兼容了,比如下面场景:
最后希望本文可以给你带来更多的收获,如果本文对你起到了帮助,希望可以动动小指头帮忙点赞
Copyright © 2003-2013 www.wpsshop.cn 版权所有,并保留所有权利。

