
热门标签
热门文章
- 1Vue3全家桶 - VueRouter - 【1】快速使用(创建路由模块 + 规定路由模式 + 使用路由规则 + RouterView-RouterLink)
- 2优雅使用 Element-UI 的 Loading 组件_elmentui loading
- 3odoo api_odoo self.env.invalidate_all()
- 4随机森林RF原理总结_随机森林重要性排序原理
- 5【uni-app】兼容APP与微信小程序踩坑实录_uniapp怎么才能完全兼容微信小程序
- 6Flutter(七)——多子元素组件:GridView,CustomScrollView,Flex,Wrap_flutter gridview wrap
- 7小程序学习3 goods-card
- 8超网、IP 聚合、IP 汇总分别是什么?三者有啥区别和联系?
- 9推荐系统中的序列推荐:利用时间序列数据
- 10Android studio的下载安装教程_android studio下载教程
当前位置: article > 正文
Nginx_nginx.exe
作者:笔触狂放9 | 2024-03-17 05:57:08
赞
踩
nginx.exe
一、什么是Nginx
Nginx(发音为"engine X")是一个开源的高性能、轻量级的 Web 服务器和反向代理服务器。它以其出色的性能、稳定性和可扩展性而广受欢迎,被用于构建高流量的网站、负载均衡、反向代理、缓存以及作为应用服务器的前端。
二、Windows安装
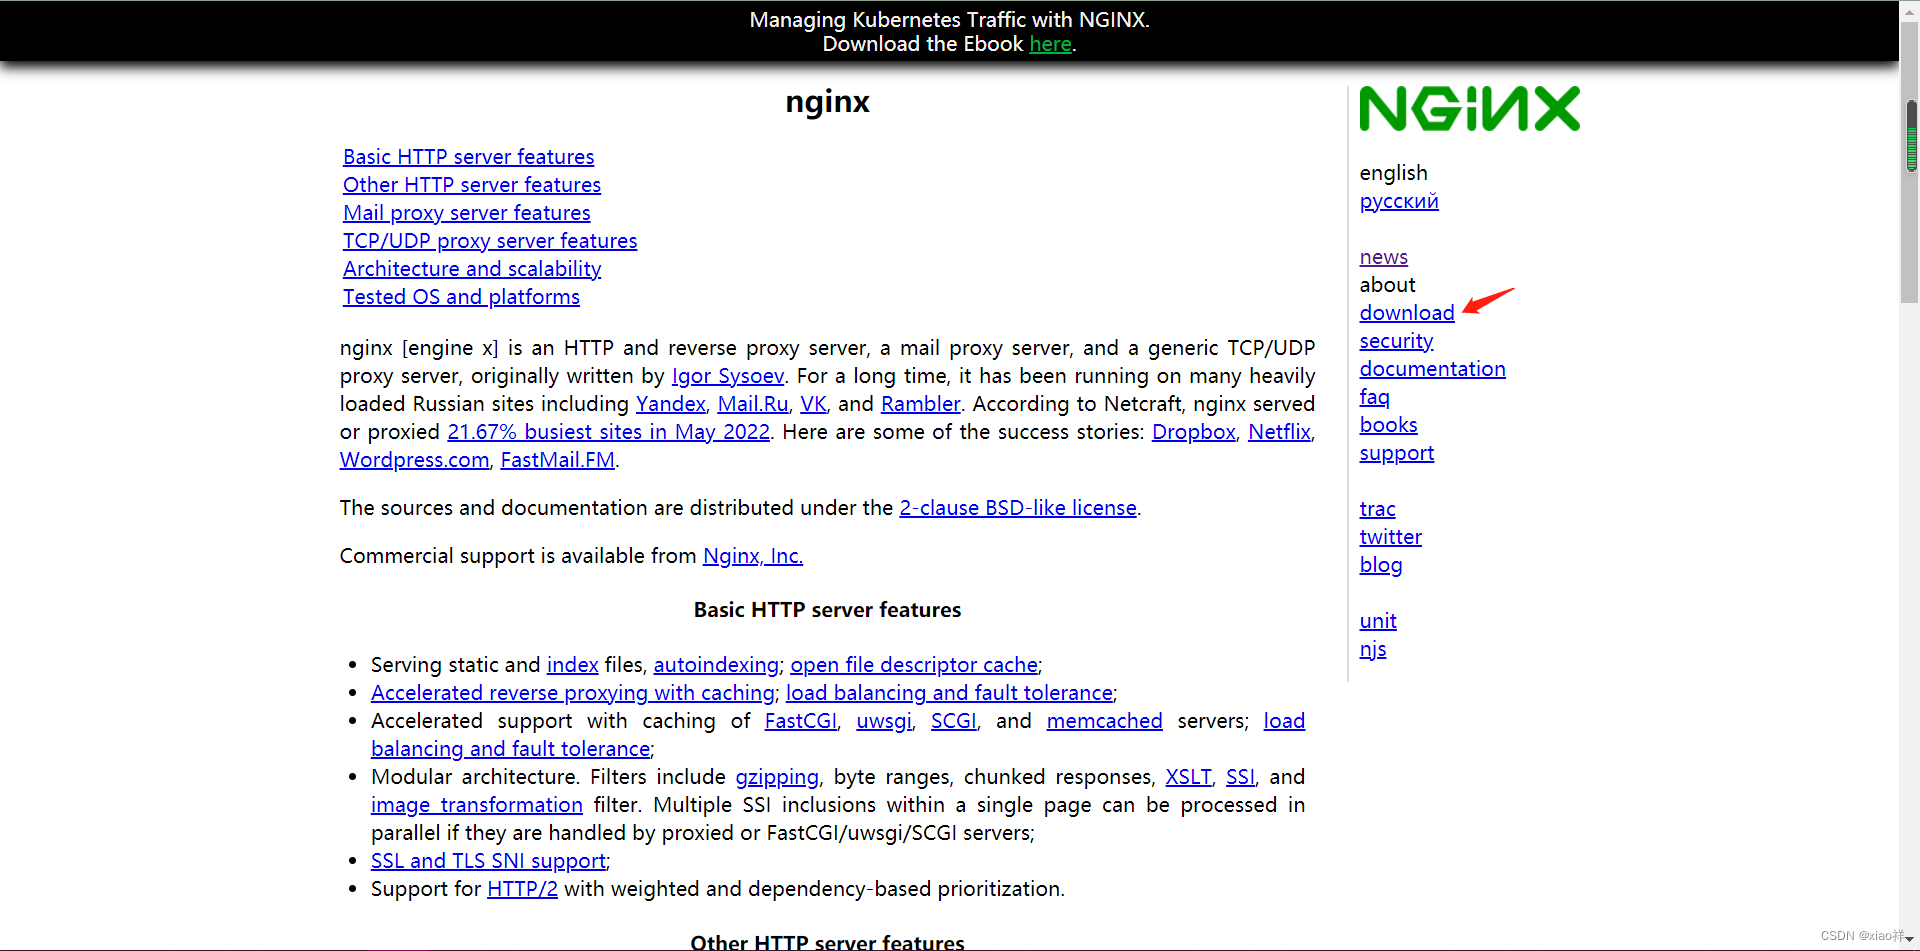
2.1 官网
2.2 点击download
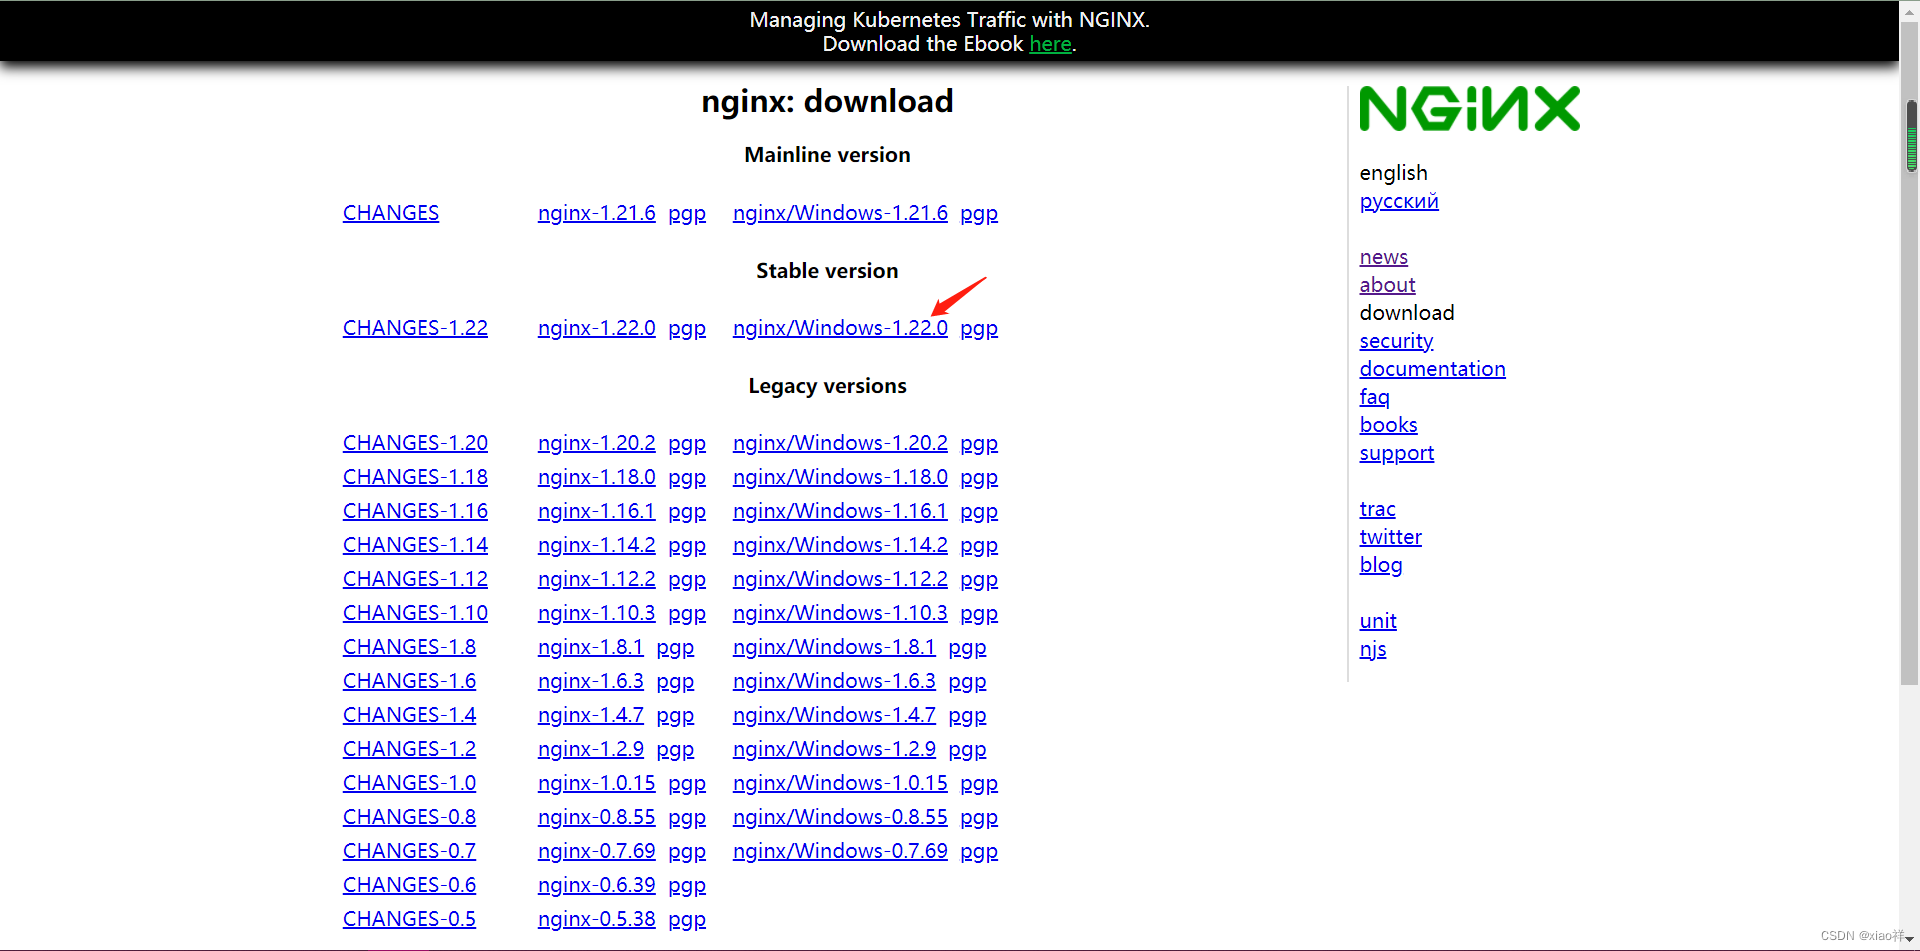
2.3 选择稳定版
2.4 解压

2.5 测试
2.5.1 nginx.exe启动
双击nginx目录下的nginx.exe,双击后一个黑色的弹窗一闪而过就消失了,启动就完成了。
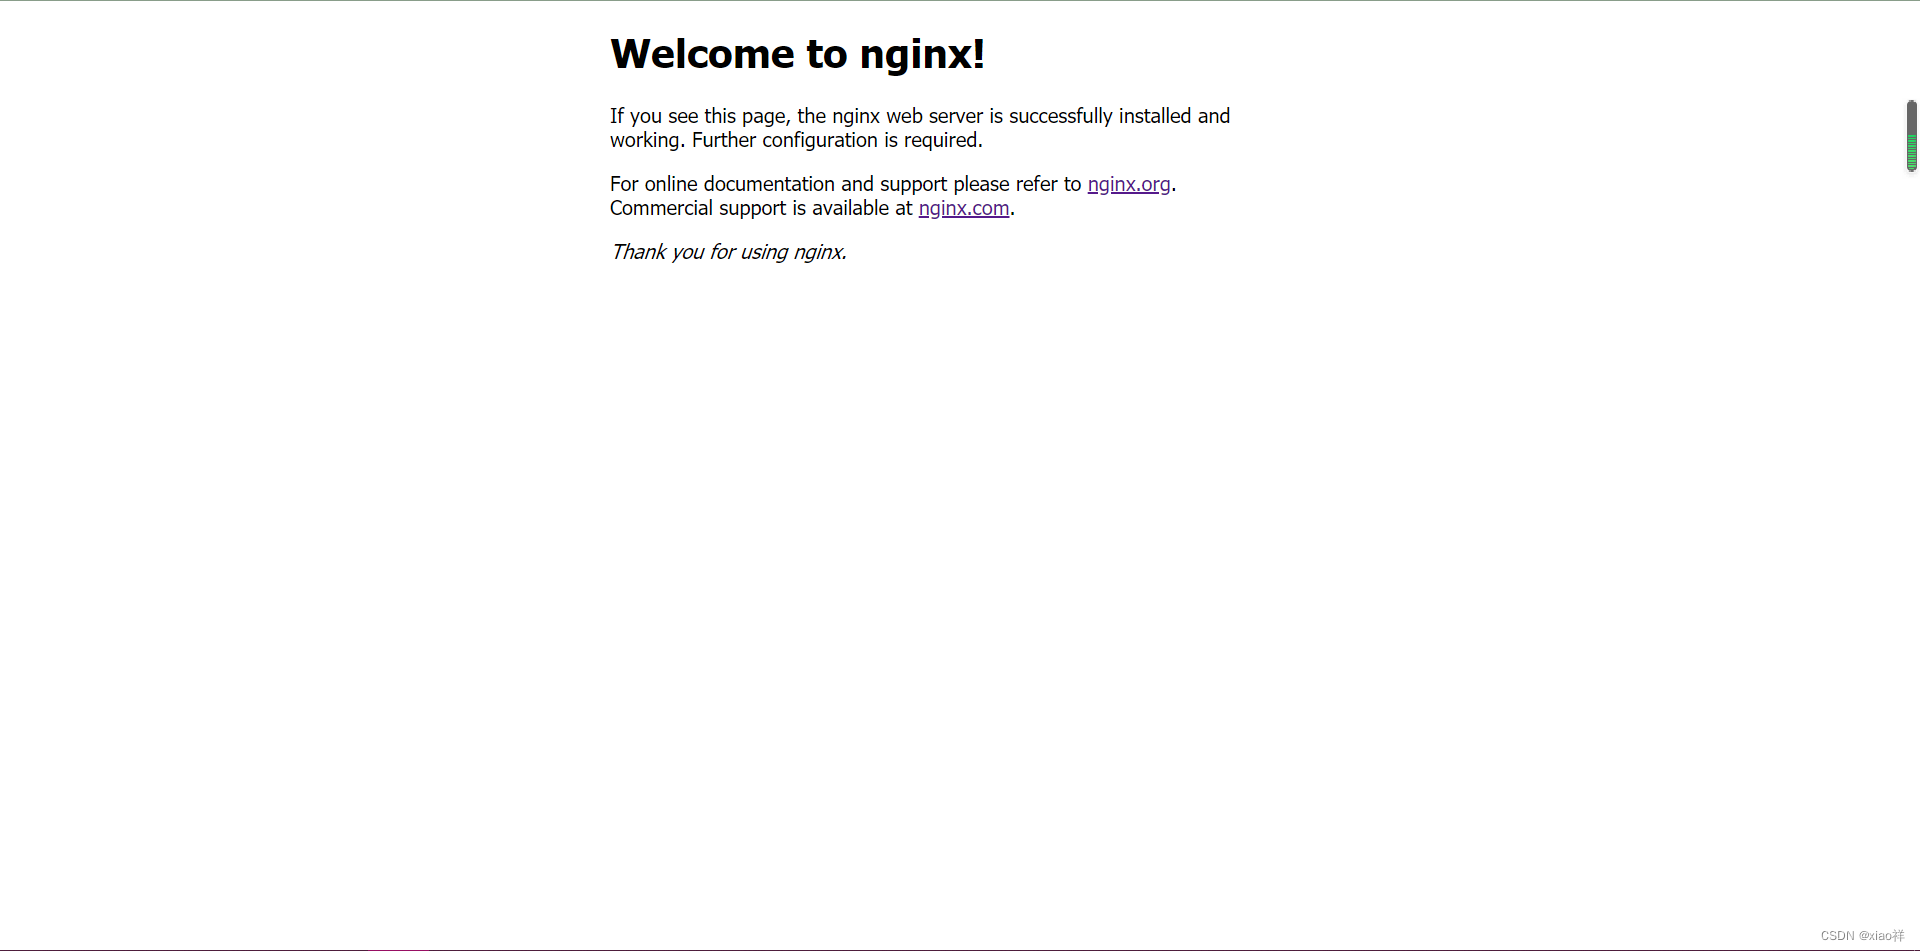
2.5.2 查看是否启动成功
浏览器地址栏输入 http://localhost,出现以下页面说明启动成功
三、配置文件
3.1 位置
安装目录下conf/nginx.conf(修改过记得重启nginx服务)
3.2 三部分
3.2.1 全局块
3.2.2 events 块
3.2.3 http 块
Nginx 服务器配置中最频繁的部分
3.2.3.1 http 全局块
3.2.3.2 server 块
最常见的配置是本虚拟机主机的监听配置和本虚拟主机的名称或 IP 配置
3.2.3.2.1 全局 server 块
3.2.3.2.2 location 块
四、反向代理
我们只需要将请求发送到反向代理服务器,由反向代理服务器去选择目标服务器获取数据后,在返回给客户端,此时反向代理服务器和目标服务器对外就是一个服务器,暴露的是代理服务器地址,隐藏了真实服务器 IP 地址。
五、配置
5.1 nginx.conf
#user  nobody;
worker_processes  1;

#error_log  logs/error.log;
#error_log  logs/error.log  notice;
#error_log  logs/error.log  info;

#pid        logs/nginx.pid;


events {
    worker_connections  1024;
}


http {
    include       mime.types;
    default_type  application/octet-stream;

    #log_format  main  '$remote_addr - $remote_user [$time_local] "$request" '
    #                  '$status $body_bytes_sent "$http_referer" '
    #                  '"$http_user_agent" "$http_x_forwarded_for"';

    #access_log  logs/access.log  main;

    sendfile        on;
    #tcp_nopush     on;

    #keepalive_timeout  0;
    keepalive_timeout  65;

    #gzip  on;

    server {
        listen       80;
        server_name  localhost;

        #charset koi8-r;

        #access_log  logs/host.access.log  main;

        location / {
            root   html;
            index  index.html index.htm;
        }

        #error_page  404              /404.html;

        # redirect server error pages to the static page /50x.html
        #
        error_page   500 502 503 504  /50x.html;
        location = /50x.html {
            root   html;
        }

        # proxy the PHP scripts to Apache listening on 127.0.0.1:80
        #
        #location ~ \.php$ {
        #    proxy_pass   http://127.0.0.1;
        #}

        # pass the PHP scripts to FastCGI server listening on 127.0.0.1:9000
        #
        #location ~ \.php$ {
        #    root           html;
        #    fastcgi_pass   127.0.0.1:9000;
        #    fastcgi_index  index.php;
        #    fastcgi_param  SCRIPT_FILENAME  /scripts$fastcgi_script_name;
        #    include        fastcgi_params;
        #}

        # deny access to .htaccess files, if Apache's document root
        # concurs with nginx's one
        #
        #location ~ /\.ht {
        #    deny  all;
        #}
    }


    # another virtual host using mix of IP-, name-, and port-based configuration
    #
    #server {
    #    listen       8000;
    #    listen       somename:8080;
    #    server_name  somename  alias  another.alias;

    #    location / {
    #        root   html;
    #        index  index.html index.htm;
    #    }
    #}


    # HTTPS server
    #
    #server {
    #    listen       443 ssl;
    #    server_name  localhost;

    #    ssl_certificate      cert.pem;
    #    ssl_certificate_key  cert.key;

    #    ssl_session_cache    shared:SSL:1m;
    #    ssl_session_timeout  5m;

    #    ssl_ciphers  HIGH:!aNULL:!MD5;
    #    ssl_prefer_server_ciphers  on;

    #    location / {
    #        root   html;
    #        index  index.html index.htm;
    #    }
    #}

}

- 1
- 2
- 3
- 4
- 5
- 6
- 7
- 8
- 9
- 10
- 11
- 12
- 13
- 14
- 15
- 16
- 17
- 18
- 19
- 20
- 21
- 22
- 23
- 24
- 25
- 26
- 27
- 28
- 29
- 30
- 31
- 32
- 33
- 34
- 35
- 36
- 37
- 38
- 39
- 40
- 41
- 42
- 43
- 44
- 45
- 46
- 47
- 48
- 49
- 50
- 51
- 52
- 53
- 54
- 55
- 56
- 57
- 58
- 59
- 60
- 61
- 62
- 63
- 64
- 65
- 66
- 67
- 68
- 69
- 70
- 71
- 72
- 73
- 74
- 75
- 76
- 77
- 78
- 79
- 80
- 81
- 82
- 83
- 84
- 85
- 86
- 87
- 88
- 89
- 90
- 91
- 92
- 93
- 94
- 95
- 96
- 97
- 98
- 99
- 100
- 101
- 102
- 103
- 104
- 105
- 106
- 107
- 108
- 109
- 110
- 111
- 112
- 113
- 114
- 115
- 116
- 117
- 118
5.2 外部配置文件
5.2.1 server块外部配置
nginx/conf目录下创建一个serverConfig文件夹,然后创建一个server.conf配置文件

5.2.2 配置server.conf
server {
        listen       81; # 监听端口
        server_name  www.first.com; # 监听域名或IP

        location / {
			proxy_pass  http://127.0.0.1:3000; # 代理转发的地址
        }

        error_page   500 502 503 504  /50x.html;
        location = /50x.html {
            root   html;
        }
    }
- 1
- 2
- 3
- 4
- 5
- 6
- 7
- 8
- 9
- 10
- 11
- 12
- 13
5.2.3 修改nginx.conf,引用外部配置
	# 引入外部配置文件
	include serverConfig/*.conf;
- 1
- 2
六、本地
映射网址添加到本地的C:\Windows\System32\drivers\etc\hosts文件中
127.0.0.1 www.first.com # 表示将这个网址映射到本地
- 1
七、启停
7.1 停
cmd命令窗口输入nginx命令(快速停止nginx)
nginx -s stop
- 1
7.2 启
双击nginx目录下的nginx.exe
八、测试
浏览器访问 http://www.first.com:81
总结
1.启动nginx,通过配置生成对应监听
2.客户端发送请求
3.优先本地解析域名 ,得到ip
4.ip:端口发送请求到目标服务器
5.目标服务器nginx一直在监听 ,先通过ip再通过域名再通过端口匹配,匹配不到走default_server,没有显示定义default_server第一个server为隐式的default server
7.反向代理规则代理到配置地址
8.配置地址服务器一直在监听配置端口,得到请求并处理,响应给nginx
9.nginx将结果返给客户端
- 1
- 2
- 3
- 4
- 5
- 6
- 7
- 8
声明:本文内容由网友自发贡献,不代表【wpsshop博客】立场,版权归原作者所有,本站不承担相应法律责任。如您发现有侵权的内容,请联系我们。转载请注明出处:https://www.wpsshop.cn/w/笔触狂放9/article/detail/254425
推荐阅读
相关标签

