- 1MySQL中的CASE WHEN语句:用法、示例与解析_mysql when case
- 2Unable to negotiate with IP xx port 22: no matching host key type found. Their offer: ssh-rsa_unable to negotiate with port 22: no matching host
- 3Qt Creator:初识信号与槽_qtcreator 槽函数 接受者
- 4Java数据的输入_java怎么输入数据
- 5【计算机网络】物理层(作业)
- 6从VOC格式到YOLO格式:图像标注数据的转换过程_voc转yolo
- 7华为OD机试 - 任务调度(Java & JS & Python)_华为od 批量处理任务
- 8概率基础——EM算法_概率模型 em
- 9论文免费降重神器(论文ai生成免费)
- 10【python】math函数库介绍及其例题_python math库
手撸私有AI大模型——给Ollama做个WebUI就叫ChatBaby_ollama python调用
赞
踩
搭建好了Ollama,用命令行就可以聊天了
ollama run qwen:18b
>>> Send a message (/? for help)
ollama如何安装使用请看之前的文章
手撸私有AI大模型——ollama本地部署私有大模型-CSDN博客
---------------- 以下是本文的内容 ----------------
目录
2.2 新建文件 helloOllama.py 实现 ollama list 功能
2.4 修改helloOllama.py 显示一个本地安装大模型的列表
2.5 踩坑: 环境变量 OLLAMA_HOST 设置为 0.0.0.0:11434 的错误
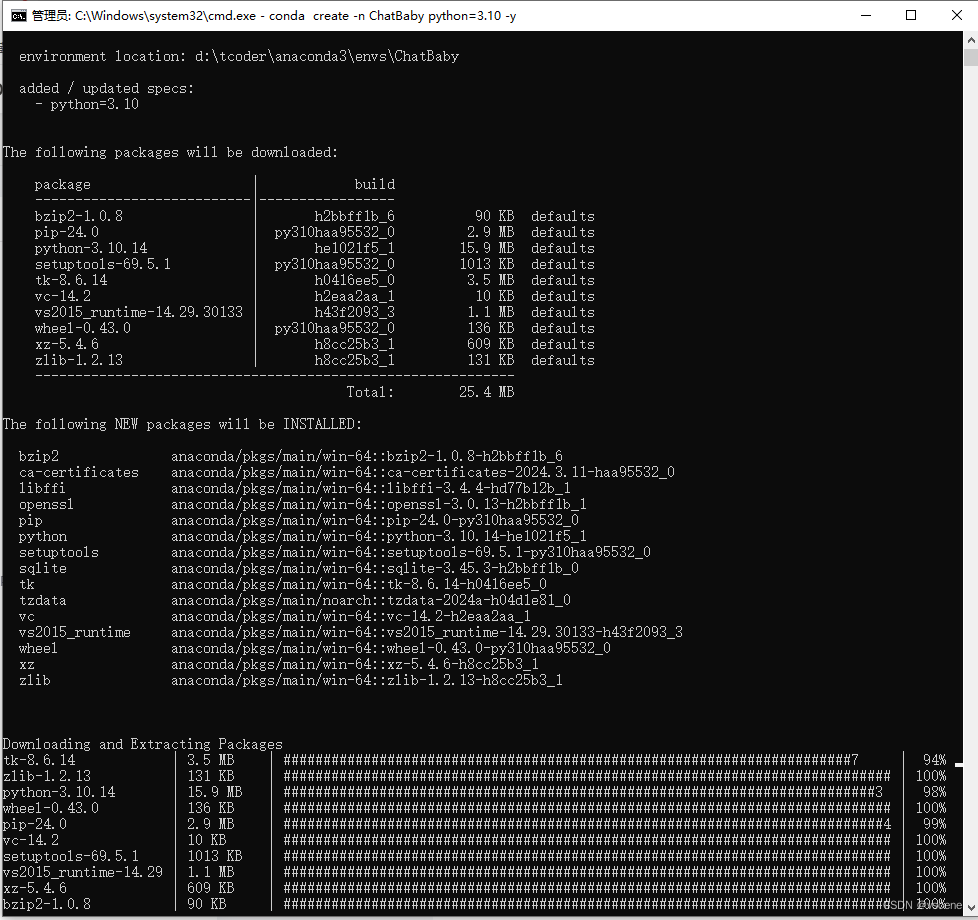
1.创建ChatBaby 虚拟环境
conda create -n ChatBaby python=3.10 -y
切换虚拟环境为 ChatBaby
conda activate ChatBaby

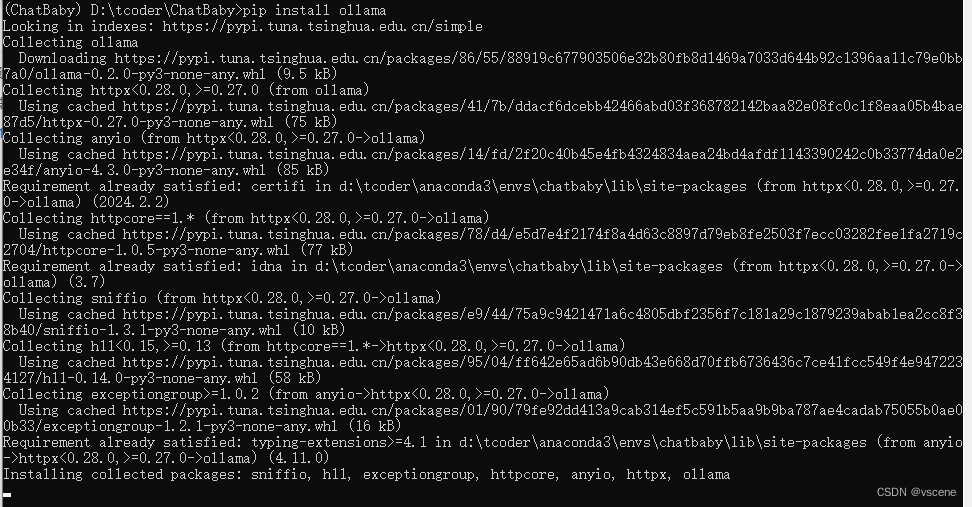
2 安装ollama python包
pip install ollama
#查看ollama包版本
pip show ollama
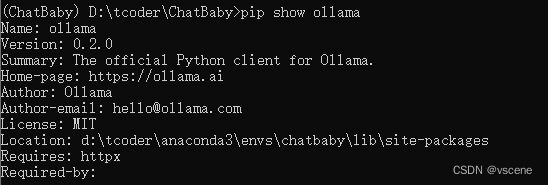
ollama python 包的版本是 0.2.0
2.1 调用ollama的python代码
这里使用vscode编写python。
首先在d:\tcoder\创建一个 ChatBaby目录
#以下是cmd命令
d:
cd d:\tcoder
#创建 ChatBaby
mkdir ChatBaby
cd ChatBaby
# 启动 vscode
code .

2.2 新建文件 helloOllama.py 实现 ollama list 功能
输入如下代码:通过调用ollama python api 的list方法获取当前系统安装的大模型清单
# pip install ollama
import ollama
models = ollama.list()
print(models)
在命令行中执行 python helloOllama.py
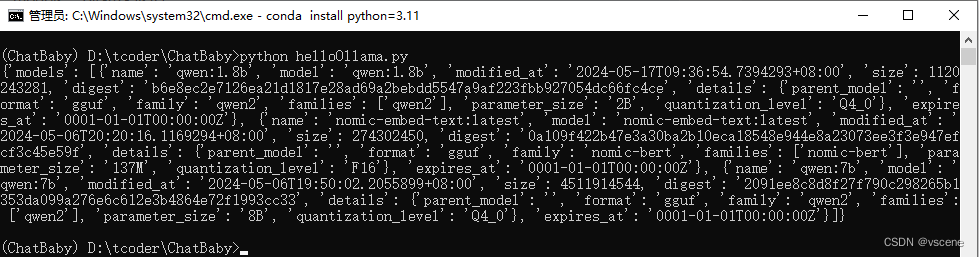
以上python代码实现的功能,就是在命令行中直接运行 ollama list的看到的内容
2.3 cmd 中运行 ollama list
> ollama list
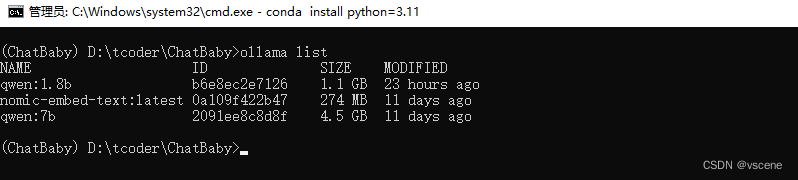 输出结果可以看到 有三个模型
qwen:1.8b、qwen:7b、nomic-embed-text:latest
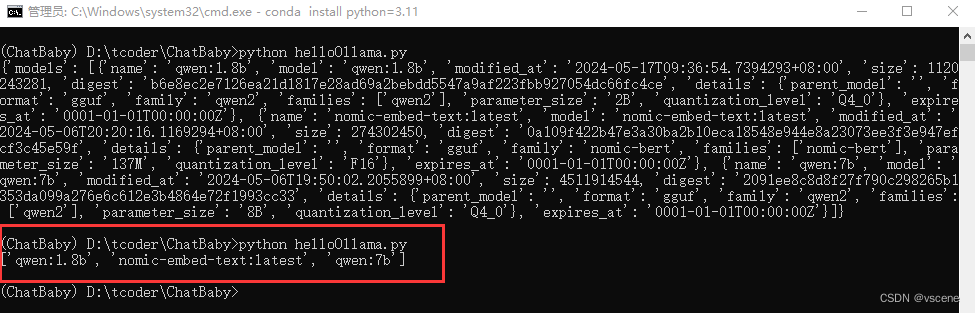
2.4 修改helloOllama.py 显示一个本地安装大模型的列表
把本机安装的模型列表显示出来
# pip install ollama
import ollama
model_list = ollama.list()
names = [model['name'] for model in model_list['models']]
print(names)
操作及输出结果如红框内所示
2.5 踩坑: 环境变量 OLLAMA_HOST 设置为 0.0.0.0:11434 的错误
运行 helloOllama.py 错误,位置 ollama.list()
错误信息:
httpx.ConnectError: [WinError 10049] 在其上下文中,该请求的地址无效。
解决办法:设置OLLAMA_HOST为127.0.0.1:11434
> set OLLAMA_HOST=127.0.0.1:11434

思考:如果要调用远程服务器的ollama服务是不是可以呢,回答是肯定的
 192.168.1.20 是我本机的IP地址,有时间再验证一下其他安装了ollama服务的机器。
4 安装streamlit 快速搭建web框架
Streamlight 可以让开发人员在几分钟内将数据和脚本转换为可网络访问的web应用程序框架。
全部采用纯Python实现。开发人员无需前端经验。
以下是官网地址:
Streamlit • A faster way to build and share data apps
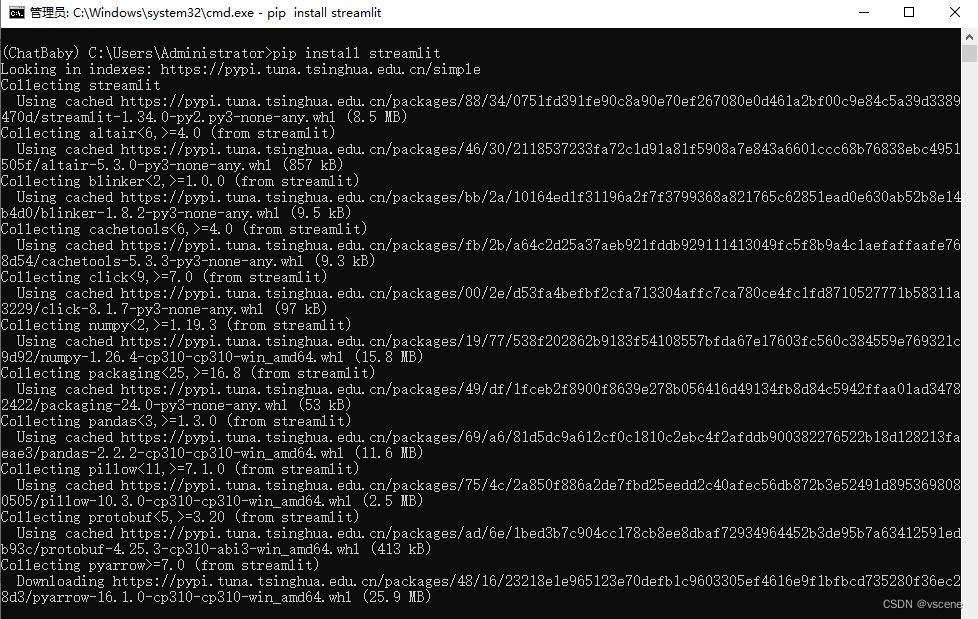
4.1 安装streamlit
pip install streamlit
查看 streamlit 安装版本
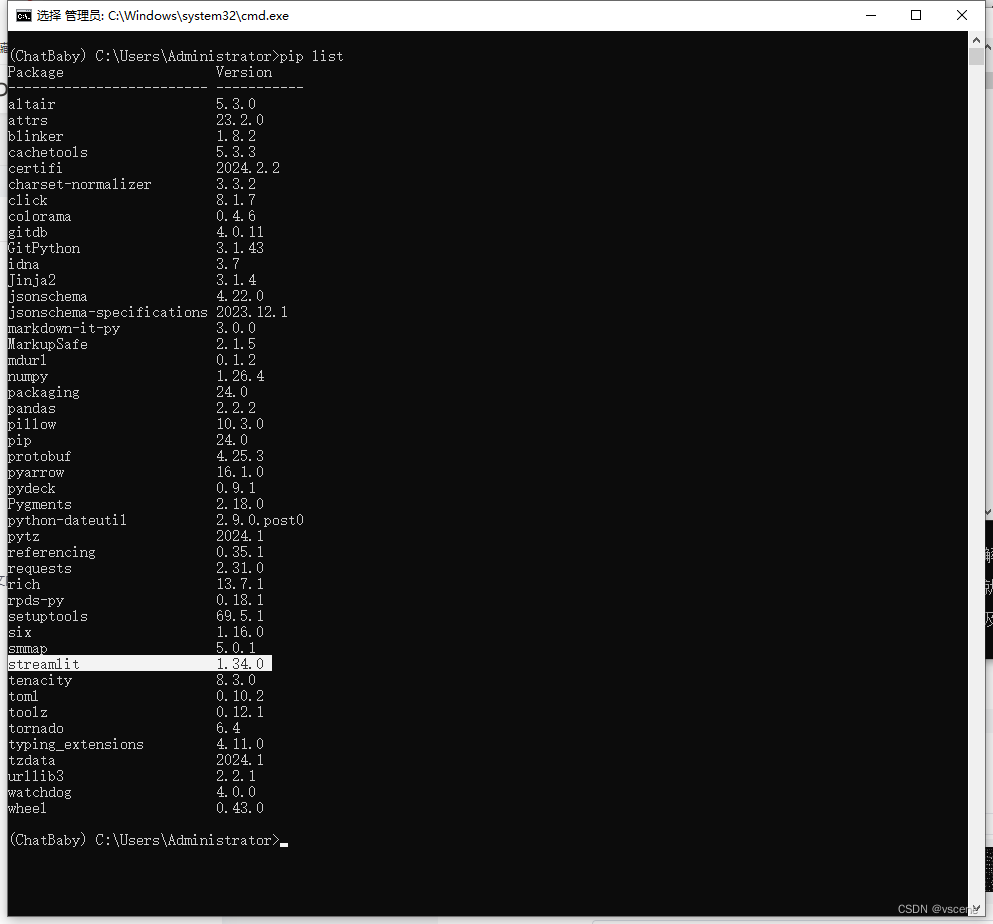
pip list
或者 pip show <package_name>
#查看 streamlit 版本
pip show streamlit
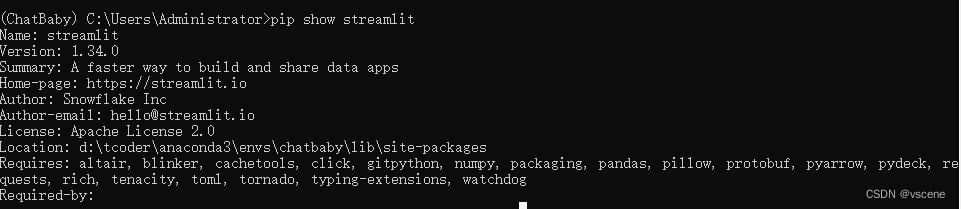
streamlit 当前的版本号 1.34.0
4.2 编写 streamlit 框架的demo示例
vscode 创建 stdemo.py 文件并输入如下代码并保存
- # stdemo.py
-
- import streamlit as st
- import random
-
- # 预定义的回复
- replies = [
- "你好!",
- "很高兴见到你。",
- "今天天气怎么样?",
- "我是一个随机回复的模型,请多指教。",
- "抱歉,我无法理解你的问题。",
- ]
-
- # 创建一个简单的交互界面
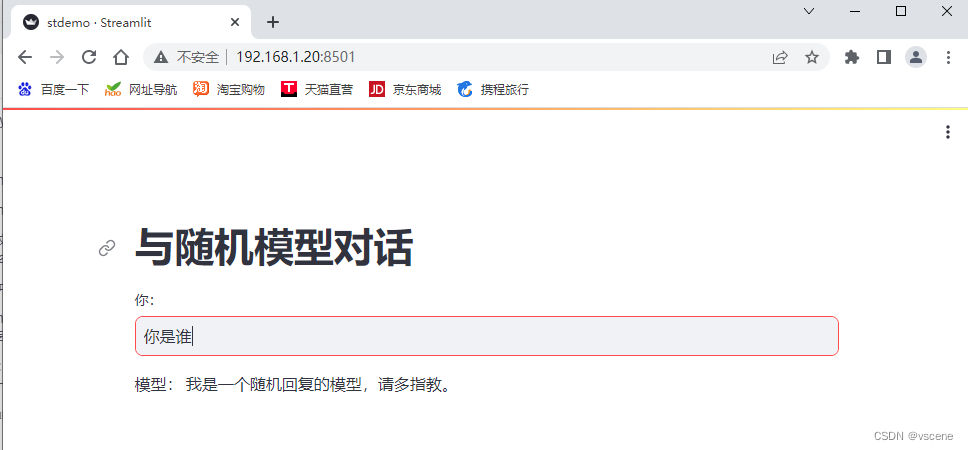
- st.title("与随机模型对话")
-
- # 获取用户输入
- user_input = st.text_input("你:", "")
-
- # 随机生成回复
- if user_input:
- reply = random.choice(replies)
- st.write("模型:", reply)

代码中引入streamlit 库,利用 st.title 显示标题,st.text_input 为输入框, st.write 输出文本
4.3 运行 streamlit 的 demo示例
在命令行输入 streamlit run stdemo.py
streamlit run stdemo.py
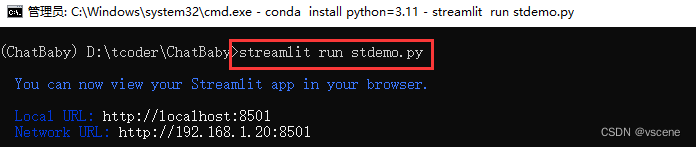 在系统默认的浏览器中查看 http://localhost:8501 ,192.168.1.20是我本机的IP地址
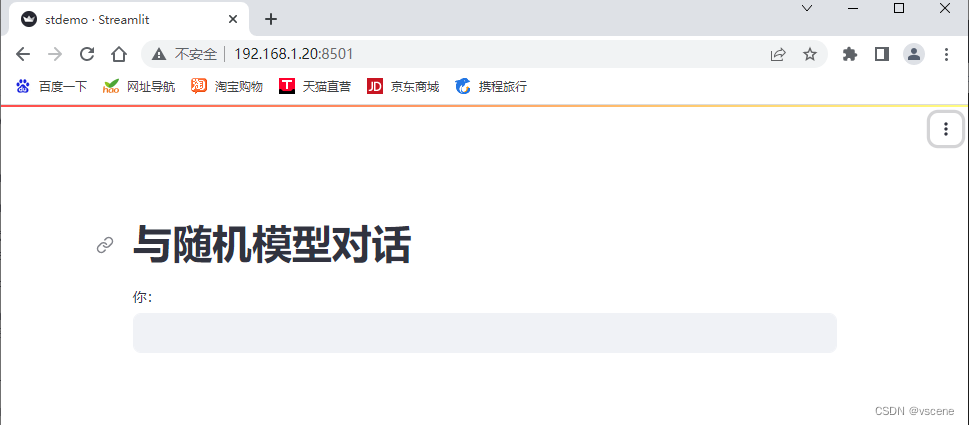
输入一段文字 ..... ,比如 你是谁?
接下来将利用 ollama chat 接口实现与大模型对话
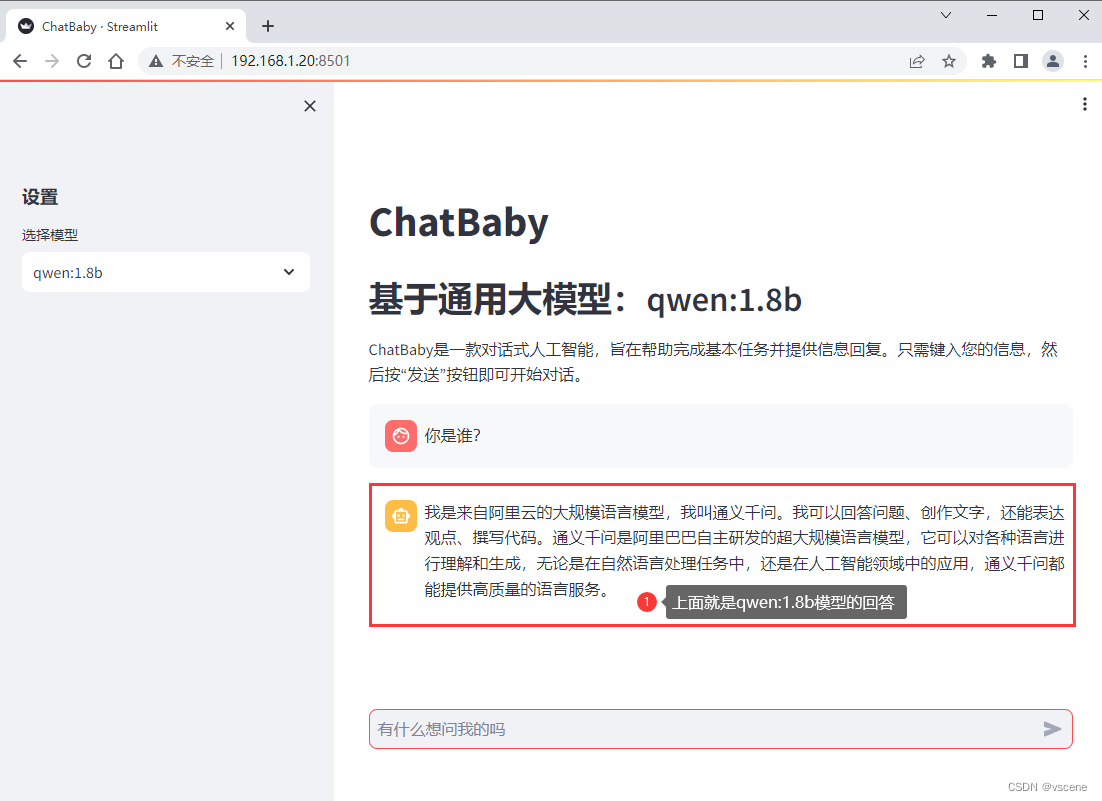
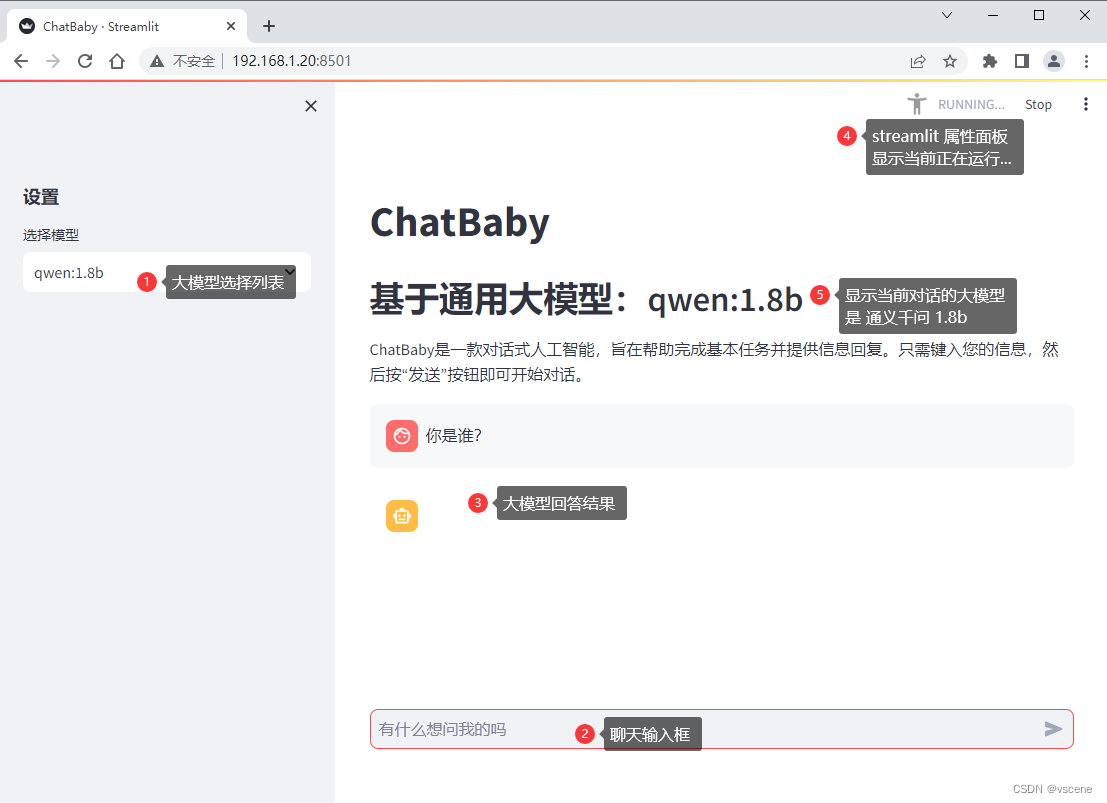
5 创建WebUI——ChatBaby
5.1 先看运行效果
5.2 ChatBaby.py 代码
- import ollama
- import streamlit as st
-
- # 获取模型列表
- model_list = ollama.list()
-
- # 如果session中不存在model_name,则设置默认值
- if "model_name" not in st.session_state:
- st.session_state["model_name"] = "qwen:1.8b"
-
- # 如果session中不存在messages,则初始化
- if "messages" not in st.session_state:
- st.session_state.messages = []
-
- # 在侧边栏设置
- with st.sidebar:
- st.subheader("设置")
-
- # 选择模型
- option = st.selectbox('选择模型',[model['name'] for model in model_list['models']])
- st.session_state["model_name"] = option
-
- # 设置标题和头部信息
- st.title("ChatBaby")
- st.header(f"基于通用大模型:{st.session_state['model_name']}")
- st.write("ChatBaby是一款对话式人工智能,旨在帮助完成基本任务并提供信息回复。只需键入您的信息,然后按“发送”按钮即可开始对话。")
-
- # 显示聊天记录
- for message in st.session_state.messages:
- with st.chat_message(message["role"]):
- st.markdown(message["content"])
-
- # 如果有用户输入
- if prompt := st.chat_input("有什么想问我的吗"):
-
- # 将用户输入添加到消息列表中
- st.session_state.messages.append({"role": "user", "content": prompt})
-
- # 显示用户输入
- with st.chat_message("user"):
- st.markdown(prompt)
-
- # 获取 assistant 的回复
- with st.chat_message("assistant"):
- # 初始化一个空的消息框
- message_placeholder = st.empty()
- # 初始化一个空的full_response
- full_response = ""
- # 遍历ollama的chat函数,model为st.session_state["model_name"],
- # messages为st.session_state.messages,stream为True
- for chunk in ollama.chat(
- model=st.session_state["model_name"],
- messages=[
- {"role": m["role"], "content": m["content"]}
- for m in st.session_state.messages
- ],
- stream=True,
- ):
- if 'message' in chunk and 'content' in chunk['message']:
- # 如果chunk中包含message和content,则将message内容添加到full_response中
- full_response += (chunk['message']['content'] or "")
- # 将full_response和 >>>拼接,并显示在消息框中
- message_placeholder.markdown(full_response + " >>>")
- # 将full_response显示在消息框中
- message_placeholder.markdown(full_response)
- # 将 assistant 的回复添加到消息列表中
- st.session_state.messages.append({"role": "assistant", "content": full_response})
保存后在命令行执行 streamlit run ChatBaby.py
5.3 运行 ChatBaby.py
streamlit run ChatBaby.py