
热门标签
热门文章
- 1Ceph的Block分析
- 2YOLOv1学习笔记以及代码介绍_yolov1代码
- 3CSS动画(1)_cssdonghua1
- 4【JAVA】数据存储位置
- 5pygame的安装_docker容器安装pygame
- 6ChatGPT 和文心一言哪个更好用? 这有什么好比的?!
- 7Windows 下 git的安装 + 可视化的小乌龟的安装
- 8最新 Node 初始化 vue 项目报错(npm init vue@latest)以及配置淘宝镜像(cnpm)
- 9基于JavaWeb学生成绩查询系统设计与实现(论文+源码)_kaic_java学生成绩管理系统界面设计
- 10什么是消息队列及消息队列原理和应用场景详解_消息队列和api有什么区别
当前位置: article > 正文
鸿蒙OS开发第二弹~~~_harmonyos soncom父子传值实例
作者:知新_RL | 2024-03-16 07:54:12
赞
踩
harmonyos soncom父子传值实例
自定义组件
创建
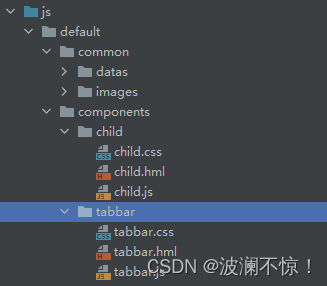
default Ability下创建components文件夹,在该目录下创建自定义组件tabbar
调用
两种调用方法
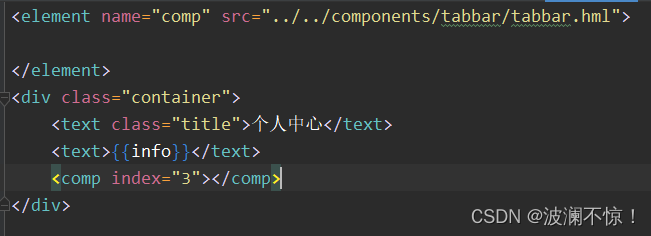
命名
element标签导入时设置name属性为“comp”,调用时使用comp标签
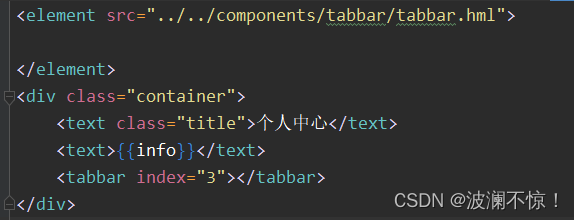
不命名
elements标签导入时不设置name属性,调用时默认使用tabbar标签
父子组件传值
创建子组件
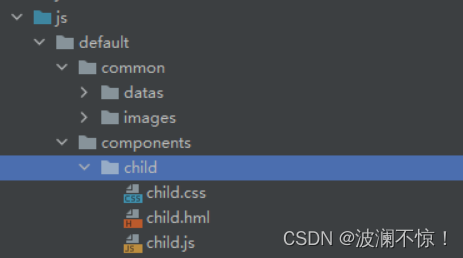
child.hml
<div class="container">
    <div class="box">
        <text>我是子组件</text>
        <slot></slot>
        <slot name="other"></slot>
        <button @click="changeFatherNum">点击修改</button>
    </div>
</div>
- 1
- 2
- 3
- 4
- 5
- 6
- 7
- 8
child.css
.box{
    width: 90%;
    height: 200px;
    border: 2px solid #333;
    position: fixed;
    right: 5%;
    bottom: 30%;
}
- 1
- 2
- 3
- 4
- 5
- 6
- 7
- 8
child.js
export default {
    data:{

    },
    changeFatherNum() {
        this.$emit("changeFatherNum")
    }
}
- 1
- 2
- 3
- 4
- 5
- 6
- 7
- 8
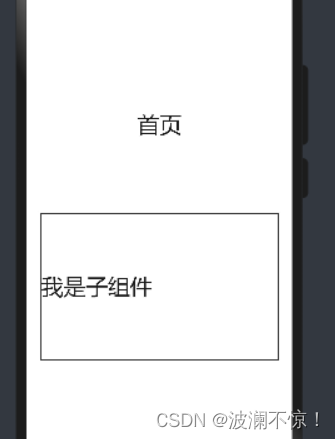
父组件通过props向子组件传值
child.hml
<text>我是子组件</text>
- 1
index.hml
<child></child>
- 1
效果
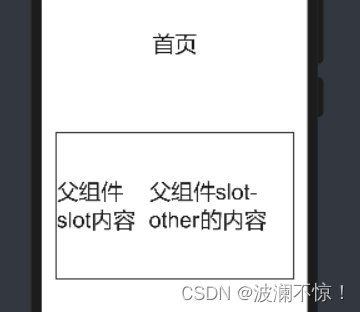
slot插槽
有两种使用方式,第一种“父组件slot内容”未定义slot标签name属性,第二种“父组件slot-other的内容”定义slot标签name属性为“other”
child.hml
<slot></slot>
<slot name="other"></slot>
- 1
- 2
index.hml
<child>
        <text>父组件slot内容</text>
        <text slot="other">父组件slot-other的内容</text>
</child>
- 1
- 2
- 3
- 4
效果
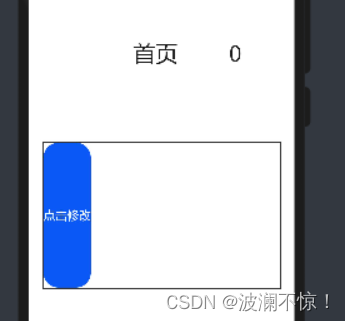
子组件通过自定义事件改变父组件状态
child.hml
<button @click="changeFatherNum">点击修改</button>
- 1
child.js
changeFatherNum() {
        this.$emit("changeFatherNum")
    }
- 1
- 2
- 3
index.hml
<text>{{num}}</text>
<child @change-father-num="changeNum"></child>
- 1
- 2
效果
数字随蓝色按钮点击增加
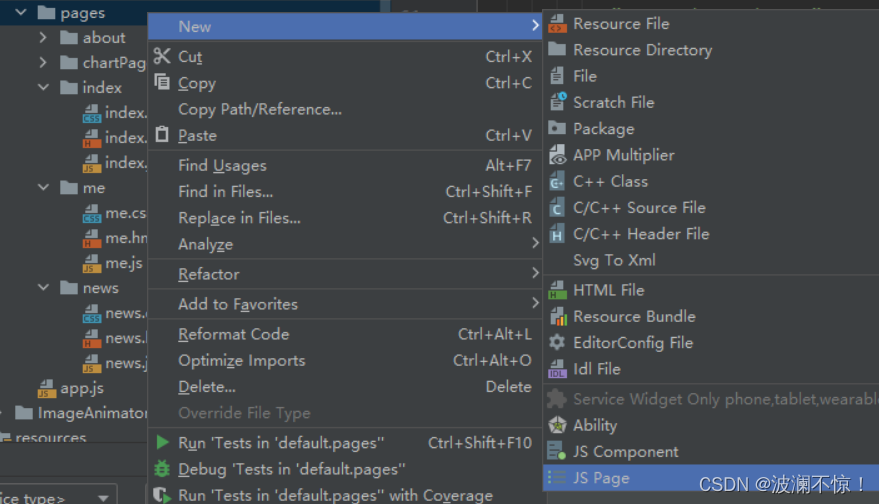
路由实现页面导航
config.json进行页面定义
手动创建页面,需要在config.json中添加对应页面定义
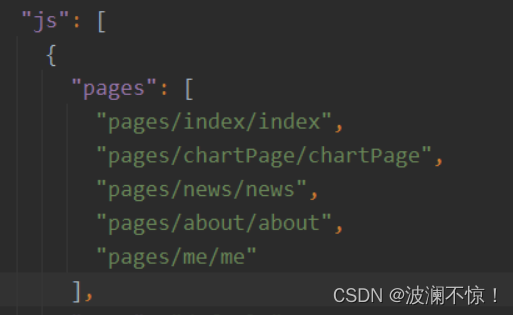
使用ide创建,则会自动创建对应页面定义
router模块使用
修改tabbar组建
tabbar.hml
<div class="container">
    <toolbar class="tabbar">
        <toolbar-item for="{{tabbarItems}}"
                      icon='{{$idx == index ? $item.simg : $item.img}}'
                      value='{{$item.name}}'
                      onclick="jump($idx)" >
        </toolbar-item>
    </toolbar>
</div>
- 1
- 2
- 3
- 4
- 5
- 6
- 7
- 8
- 9
tabbar.js
jump(index){
        switch(index){
            case 0:
                router.push({
                    uri:"pages/index/index",
                    params:{
                        info:"这是路由传递的参数"
                    }
                });
                break;
            case 1:
                router.push({
                    uri:"pages/news/news",
                    params:{
                        info:"这是路由传递的参数"
                    }
                });
                break;
            case 2:
                router.push({
                    uri:"pages/about/about",
                    params:{
                        info:"这是路由传递的参数"
                    }
                });
                break;
            case 3:
                router.push({
                    uri:"pages/me/me",
                    params:{
                        info:"这是路由传递的参数"
                    }
                });
                break;
        }
    }

- 1
- 2
- 3
- 4
- 5
- 6
- 7
- 8
- 9
- 10
- 11
- 12
- 13
- 14
- 15
- 16
- 17
- 18
- 19
- 20
- 21
- 22
- 23
- 24
- 25
- 26
- 27
- 28
- 29
- 30
- 31
- 32
- 33
- 34
- 35
- 36
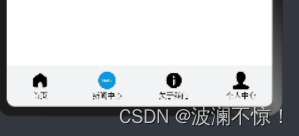
效果
点击对应图标跳转对应页面
声明:本文内容由网友自发贡献,不代表【wpsshop博客】立场,版权归原作者所有,本站不承担相应法律责任。如您发现有侵权的内容,请联系我们。转载请注明出处:https://www.wpsshop.cn/w/知新_RL/article/detail/248069
推荐阅读
相关标签

