
热门标签
热门文章
- 1RabbitMQ特点_amqp特点
- 2从业10年,呕心分享搭建基于AI大模型的企业知识库技巧_企业知识库ai大模型
- 3【大模型应用开发 动手做AI Agent】Agent的感知力:语言交互能力和多模态能力
- 4九:爬虫-MongoDB基础_爬虫 mongodb
- 5linux 查找
- 6生成一个完整的App代码涉及多个步骤和组件,包括前端(用户界面)、后端(数据处理和存储)、数据库(如果需要)以及可能的API集成等。由于篇幅限制,我无法为每种编程语言都提供完整的App代码,但我可以为
- 7Python 软件架构(四)
- 8多模态学习与人工智能的融合
- 9Android Studio导入添加aar包_repositories { flatdir { dirs 'libs' } }
- 10初识java基础
当前位置: article > 正文
vue3-安装并配置vue-router_vue3安装router
作者:正经夜光杯 | 2024-08-03 20:36:37
赞
踩
vue3安装router
1、安装vue-router
npm install vue-router@4
- 1
2、在根目录下创建 /src/router/index.js文件,存放路由信息
创建一个router实例,routes里包含各个路由,名称以及组件存放路径
路由模式:history,直接指向history对象,它表示当前窗口的浏览历史,history对象保存了当前窗口 访问过的所有页面网址。URL中没有#,可能更好看点。
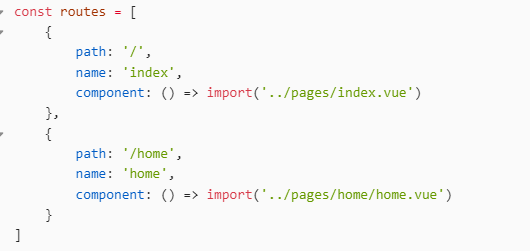
import { createRouter, createWebHashHistory } from "vue-router";

const routes = [
    {
        path: '/',
        name: 'index',
        component: () => import('../pages/index.vue')
    },
    {
        path: '/home',
        name: 'home',
        component: () => import('../pages/home/home.vue')
    }
]

const router = createRouter({
    history: createWebHashHistory(),
    routes
})

export default router

- 1
- 2
- 3
- 4
- 5
- 6
- 7
- 8
- 9
- 10
- 11
- 12
- 13
- 14
- 15
- 16
- 17
- 18
- 19
- 20
- 21
接着在main.js里注册路由器。
import { createApp } from "vue";
import App from './App.vue';
import router from './router' // 第一步

const app = createApp(App);
app.use(router)              // 第二步
app.mount('#app')
- 1
- 2
- 3
- 4
- 5
- 6
- 7
3、创建 src/pages/index/index.vue 和 src/pages/home/index.vue 两个vue的页面。
这两个页面在之前已经配置。
我们先给两个vue文件稍微添加点内容。
<template>
    <div>我是index页面的内容!</div>
</template>

<script setup>

</script>

<style scoped>

</style>
- 1
- 2
- 3
- 4
- 5
- 6
- 7
- 8
- 9
- 10
- 11
<template>
    <div>我是home页面的内容!</div>
</template>

<script setup>

</script>

<style scoped>

</style>
- 1
- 2
- 3
- 4
- 5
- 6
- 7
- 8
- 9
- 10
- 11
咋们修改一下App.vue的内容
<template>
     <h1>Hello App!</h1>
  <p>
    <strong>Current route path:</strong> {{ $route.fullPath }}
  </p>
  <nav>
    <RouterLink to="/">Go to Index</RouterLink>


    <RouterLink to="/home">Go to Home</RouterLink>
  </nav>
  <main>
    <RouterView />
  </main>
</template>

<script setup>

</script>

<style scoped>

</style>
- 1
- 2
- 3
- 4
- 5
- 6
- 7
- 8
- 9
- 10
- 11
- 12
- 13
- 14
- 15
- 16
- 17
- 18
- 19
- 20
- 21
- 22
- 23
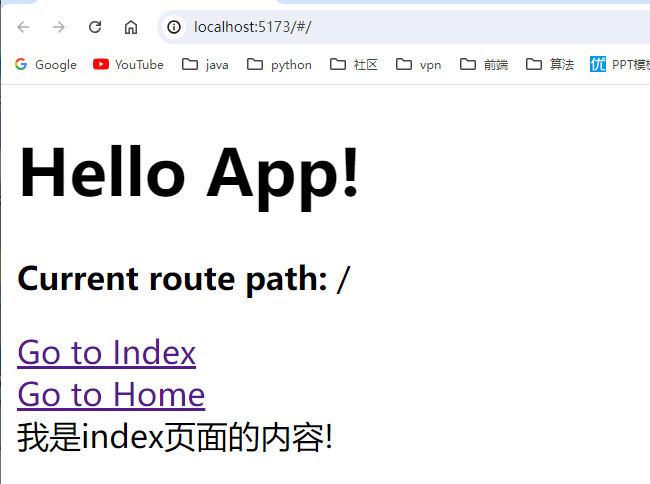
我们特别注意这些位置变化
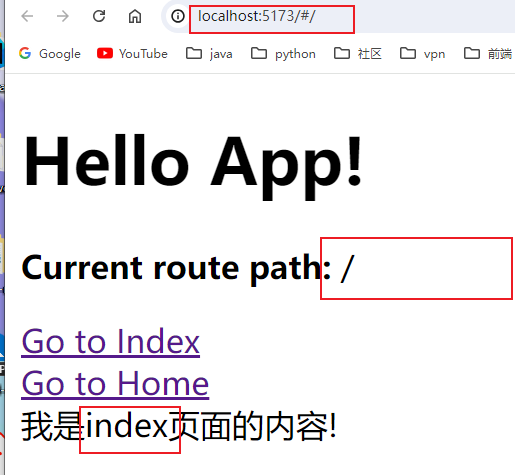
当点击Go to Index时,页面其实没什么变化,因为我们启动页面,默认就是’ / ',就是加载的Index页面
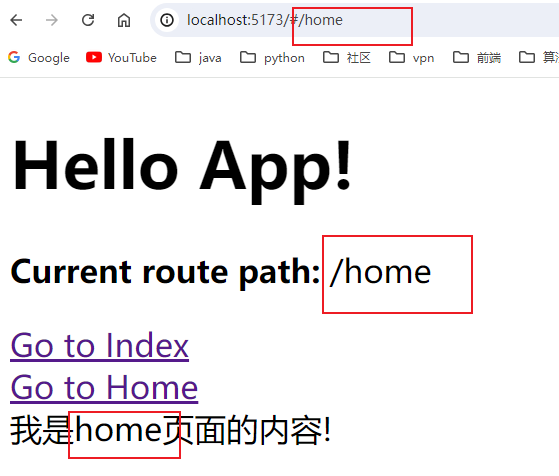
当点击Go to Index时,页面有了变化,完成了路由的跳转,跳转到Home页面。
声明:本文内容由网友自发贡献,不代表【wpsshop博客】立场,版权归原作者所有,本站不承担相应法律责任。如您发现有侵权的内容,请联系我们。转载请注明出处:https://www.wpsshop.cn/w/正经夜光杯/article/detail/924723
推荐阅读
相关标签

