
热门标签
热门文章
- 1selenium学习之路1之元素定位
- 2蓝桥杯第十四届电子类单片机组决赛程序设计_第十四届蓝桥杯单片机国赛
- 3JPEG、GIF、PNG、BMP哪种图片格式的图片清晰一点_什么格式的图片清晰度最高
- 4Java编程技巧之单元测试用例编写流程_java单元测试用例怎么写
- 5计算机网络基本概念汇总_计算机通信与网络概念知识汇总
- 6ubuntu下格式化sd卡_probing the target board failed.
- 7详解C++中的三种 继承(public, protected, private)_c++ public private protect继承
- 8PCB画板与硬件调试+AD快捷键小技巧_ad pcb中常用技巧
- 9机器学习与应用—学习笔记_机器学习从原理到应用学习笔记
- 10音频信号特征提取--时域特征(hanming窗加窗+分帧)matlab代码实现_音频信号分针加窗代码matlab
当前位置: article > 正文
Linux下安装TeXLive并配置VSCode中tex编写环境_linux安装texlive
作者:我家自动化 | 2024-03-09 06:31:44
赞
踩
linux安装texlive
Linux下安装TeXLive并配置VSCode中tex编写环境
这里我们以Ubuntu为例。
1.下载.iso镜像文件
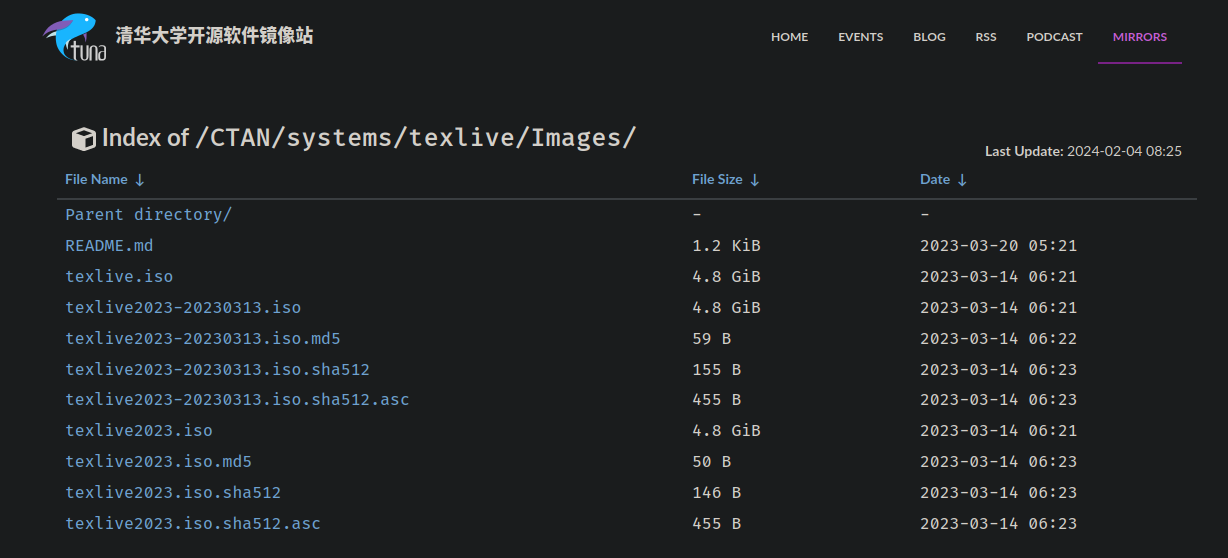
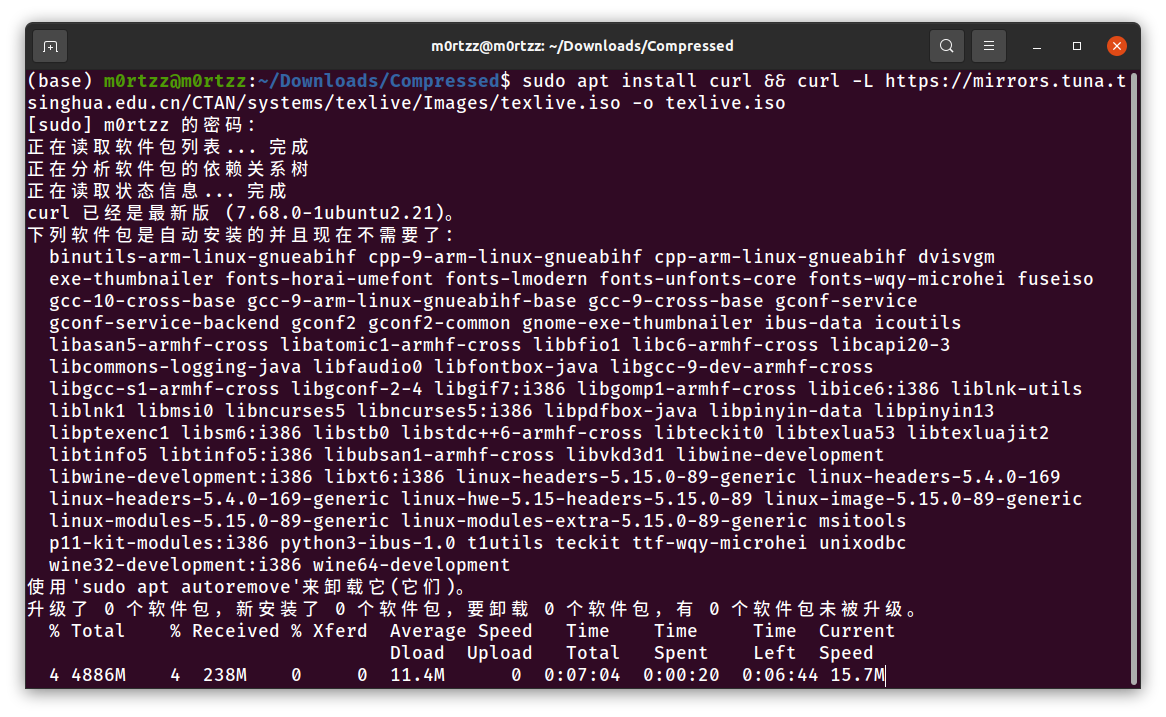
终端使用curl获取.iso镜像文件:
sudo apt install curl && curl -L https://mirrors.tuna.tsinghua.edu.cn/CTAN/systems/texlive/Images/texlive.iso -o texlive.iso
- 1
或者使用XDM获取:
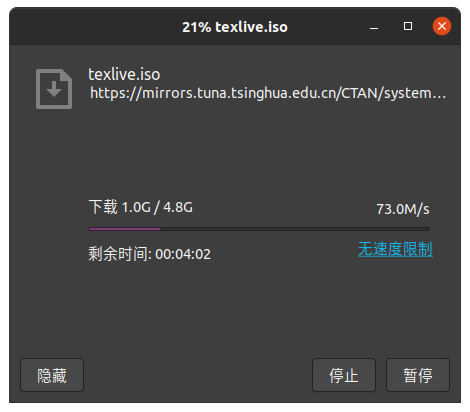
XDM安装教程:
https://blog.csdn.net/M0rtzz/article/details/136023863
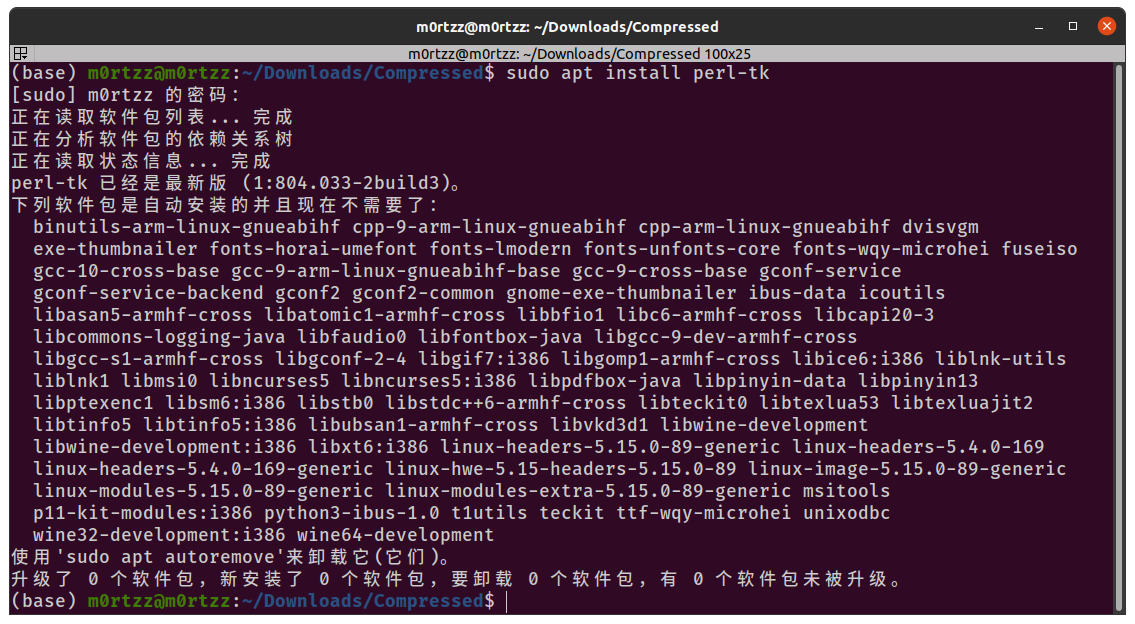
2.安装TeXLive
首先安装一个GUI工具包:
sudo apt install perl-tk
- 1
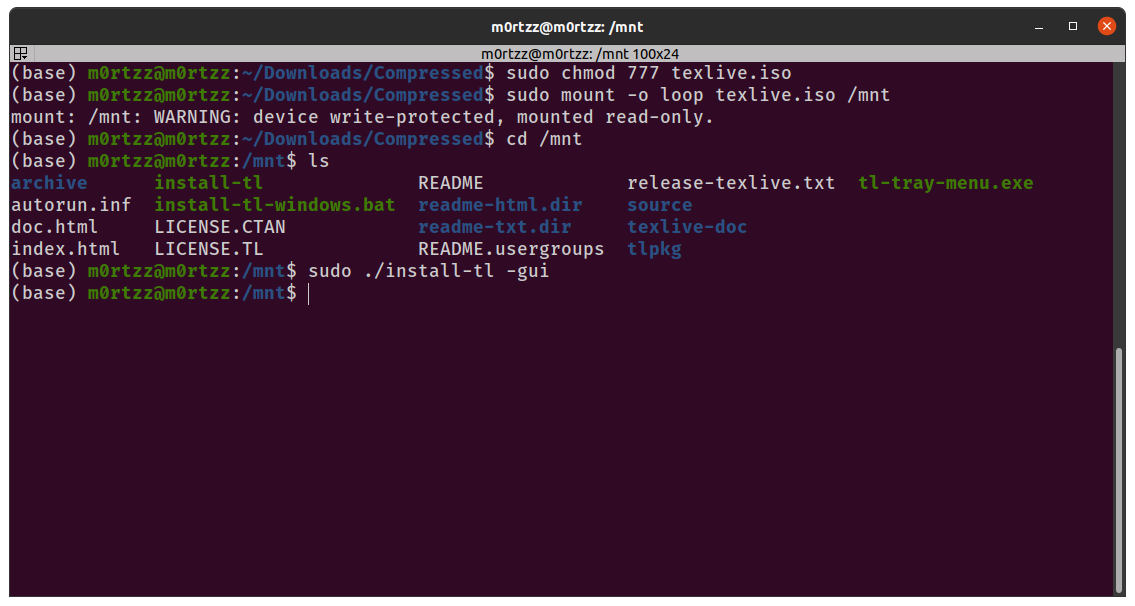
在下载iso的目录打开终端:
sudo chmod 777 texlive.iso
sudo mount -o loop texlive.iso /mnt
cd /mnt
ls
sudo ./install-tl -gui
- 1
- 2
- 3
- 4
- 5
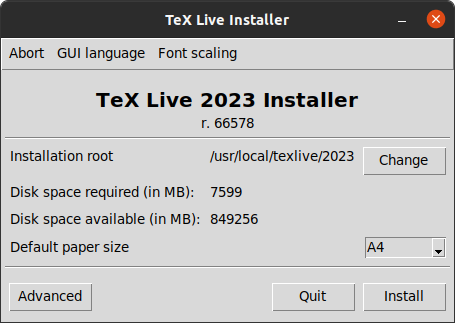
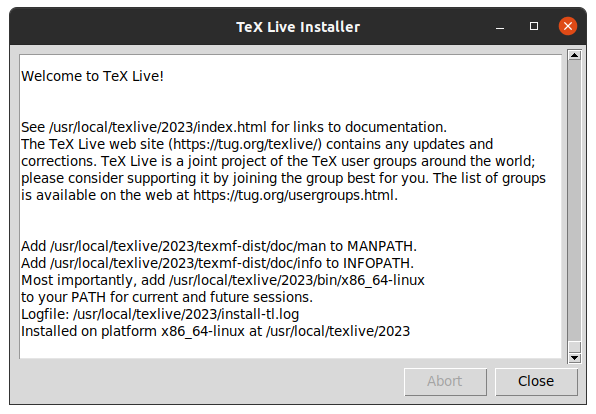
单击Install开始安装,显示Installed才可点击Close。
卸载挂载到/mnt的镜像:
cd ~
sudo umount /mnt
- 1
- 2
配置环境变量:
vi ~/.bashrc
- 1
在末尾添加以下内容(年份填你的,本文是2023):
# LaTeX
export MANPATH=${MANPATH}:/usr/local/texlive/2023/texmf-dist/doc/man
export INFOPATH=${INFOPATH}:/usr/local/texlive/2023/texmf-dist/doc/info
export PATH=${PATH}:/usr/local/texlive/2023/bin/x86_64-linux
- 1
- 2
- 3
- 4
保存退出
source ~/.bashrc
- 1
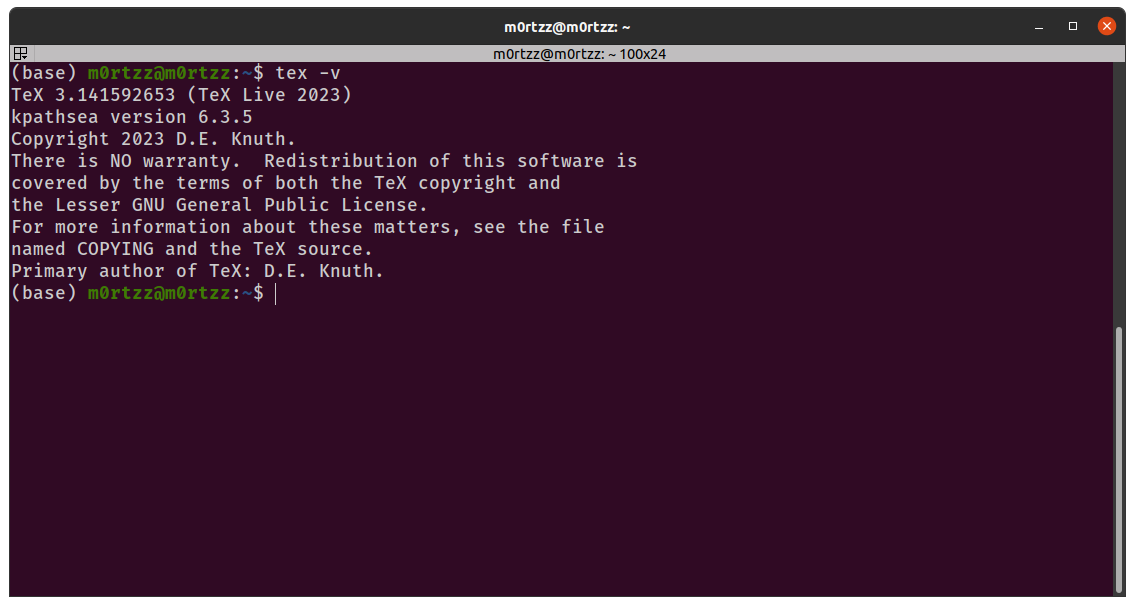
输入tex -v显示版本号即配置成功
3.配置VSCode
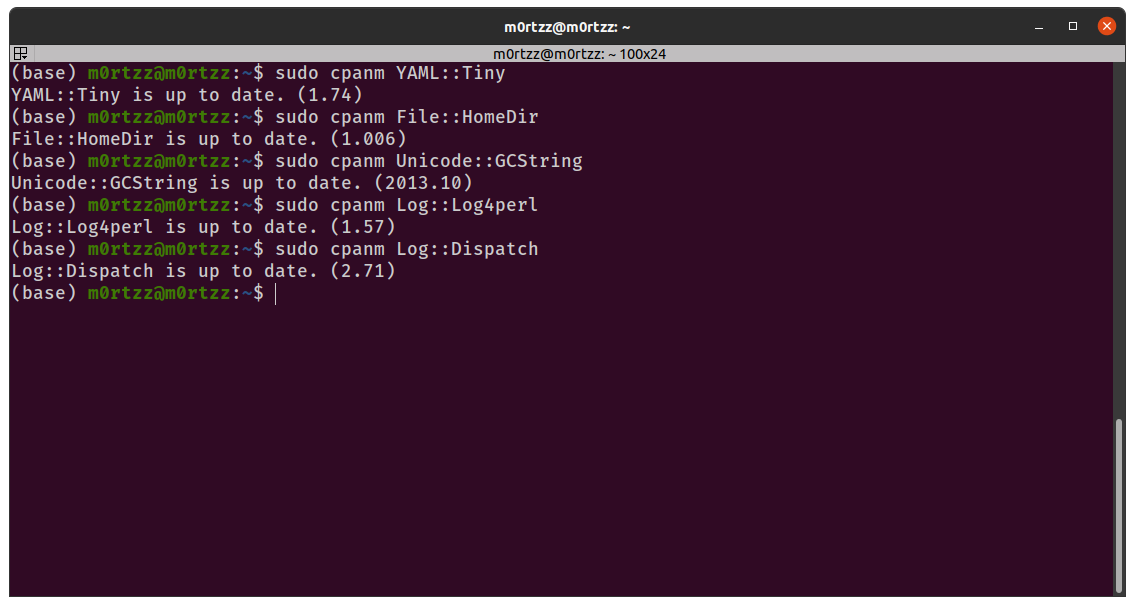
首先安装Perl模块(后边格式化代码时需要用到,我这里已经提前安装过了):
sudo apt update && sudo apt install cpanminus
- 1
sudo cpanm YAML::Tiny
sudo cpanm File::HomeDir
sudo cpanm Unicode::GCString
sudo cpanm Log::Log4perl
sudo cpanm Log::Dispatch
- 1
- 2
- 3
- 4
- 5
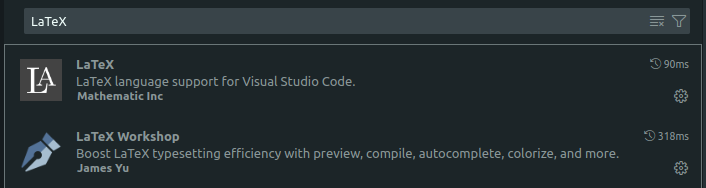
打开VSCode,点击侧边栏插件按钮,搜索LaTeX,安装下图两个插件:
然后键入Ctrl+逗号进入设置页面,单击右上角次按钮进入Json配置文件:

在末尾加入以下内容:
  "files.autoSave": "afterDelay", // 自动保存
  "editor.formatOnPaste": true, // 粘贴后自动格式化
  "editor.formatOnType": true, // 键入后自动格式化
  "editor.formatOnSave": true, // 保存时自动格式化
  //LaTeX
  "latex-workshop.latex.recipes": [
    {
      "name": "xelatex",
      "tools": [
        "xelatex"
      ]
    },
    {
      "name": "pdflatex",
      "tools": [
        "pdflatex"
      ]
    },
    {
      "name": "latexmk",
      "tools": [
        "latexmk"
      ]
    },
    {
      "name": "xelatex -> bibtex -> xelatex*2",
      "tools": [
        "xelatex",
        "bibtex",
        "xelatex",
        "xelatex"
      ]
    }
  ],
  "latex-workshop.latex.tools": [
    {
      "name": "latexmk",
      "command": "latexmk",
      "args": [
        "--shell-escape",
        "-synctex=1",
        "-interaction=nonstopmode",
        "-file-line-error",
        "-pdf",
        "%DOC%"
      ]
    },
    {
      "name": "xelatex",
      "command": "xelatex",
      "args": [
        "--shell-escape",
        "-synctex=1",
        "-interaction=nonstopmode",
        "-file-line-error",
        "%DOC%"
      ]
    },
    {
      "name": "pdflatex",
      "command": "pdflatex",
      "args": [
        "--shell-escape",
        "-synctex=1",
        "-interaction=nonstopmode",
        "-file-line-error",
        "%DOC%"
      ]
    },
    {
      "name": "bibtex",
      "command": "bibtex",
      "args": [
        "%DOCFILE%"
      ]
    }
  ],
  "latex-workshop.latex.clean.fileTypes": [
    "*.aux",
    "*.bbl",
    "*.blg",
    "*.idx",
    "*.ind",
    "*.lof",
    "*.lot",
    "*.out",
    "*.toc",
    "*.acn",
    "*.acr",
    "*.alg",
    "*.glg",
    "*.glo",
    "*.gls",
    "*.ist",
    "*.fls",
    "*.log",
    "*.fdb_latexmk"
  ],
  "latex.linter.enabled": false,
  //tex文件浏览器,可选项为"none" "browser" "tab" "external"
  "latex-workshop.view.pdf.viewer": "tab",
  //自动编译tex文件
  "latex-workshop.latex.autoBuild.run": "never",
  //显示内容菜单:(1)编译文件;(2)定位游标
  "latex-workshop.showContextMenu": true,
  //显示错误
  "latex-workshop.message.error.show": true,
  //显示警告
  "latex-workshop.message.warning.show": false,
  //从使用的包中自动补全命令和环境
  "latex-workshop.intellisense.package.enabled": true,
  //设置为never,为不清除辅助文件
  "latex-workshop.latex.autoClean.run": "never",
  //设置vscode编译tex文档时的默认编译链
  "latex-workshop.latex.recipe.default": "lastUsed",
  // 用于反向同步的内部查看器的键绑定。ctrl/cmd +点击(默认)或双击
  "latex-workshop.view.pdf.internal.synctex.keybinding": "double-click",

- 1
- 2
- 3
- 4
- 5
- 6
- 7
- 8
- 9
- 10
- 11
- 12
- 13
- 14
- 15
- 16
- 17
- 18
- 19
- 20
- 21
- 22
- 23
- 24
- 25
- 26
- 27
- 28
- 29
- 30
- 31
- 32
- 33
- 34
- 35
- 36
- 37
- 38
- 39
- 40
- 41
- 42
- 43
- 44
- 45
- 46
- 47
- 48
- 49
- 50
- 51
- 52
- 53
- 54
- 55
- 56
- 57
- 58
- 59
- 60
- 61
- 62
- 63
- 64
- 65
- 66
- 67
- 68
- 69
- 70
- 71
- 72
- 73
- 74
- 75
- 76
- 77
- 78
- 79
- 80
- 81
- 82
- 83
- 84
- 85
- 86
- 87
- 88
- 89
- 90
- 91
- 92
- 93
- 94
- 95
- 96
- 97
- 98
- 99
- 100
- 101
- 102
- 103
- 104
- 105
- 106
- 107
- 108
- 109
- 110
- 111
- 112
- 113
- 114
- 115
- 116
- 117
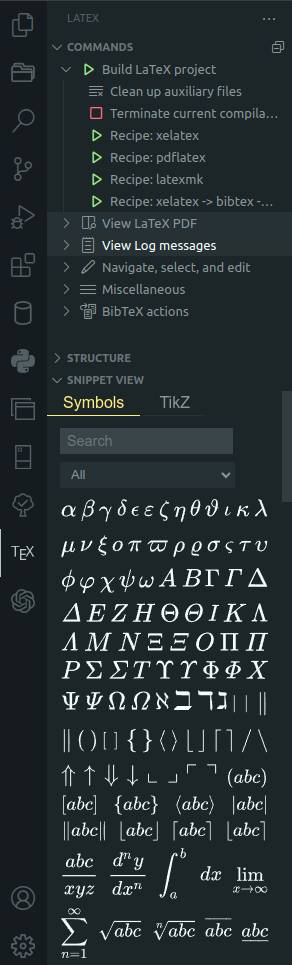
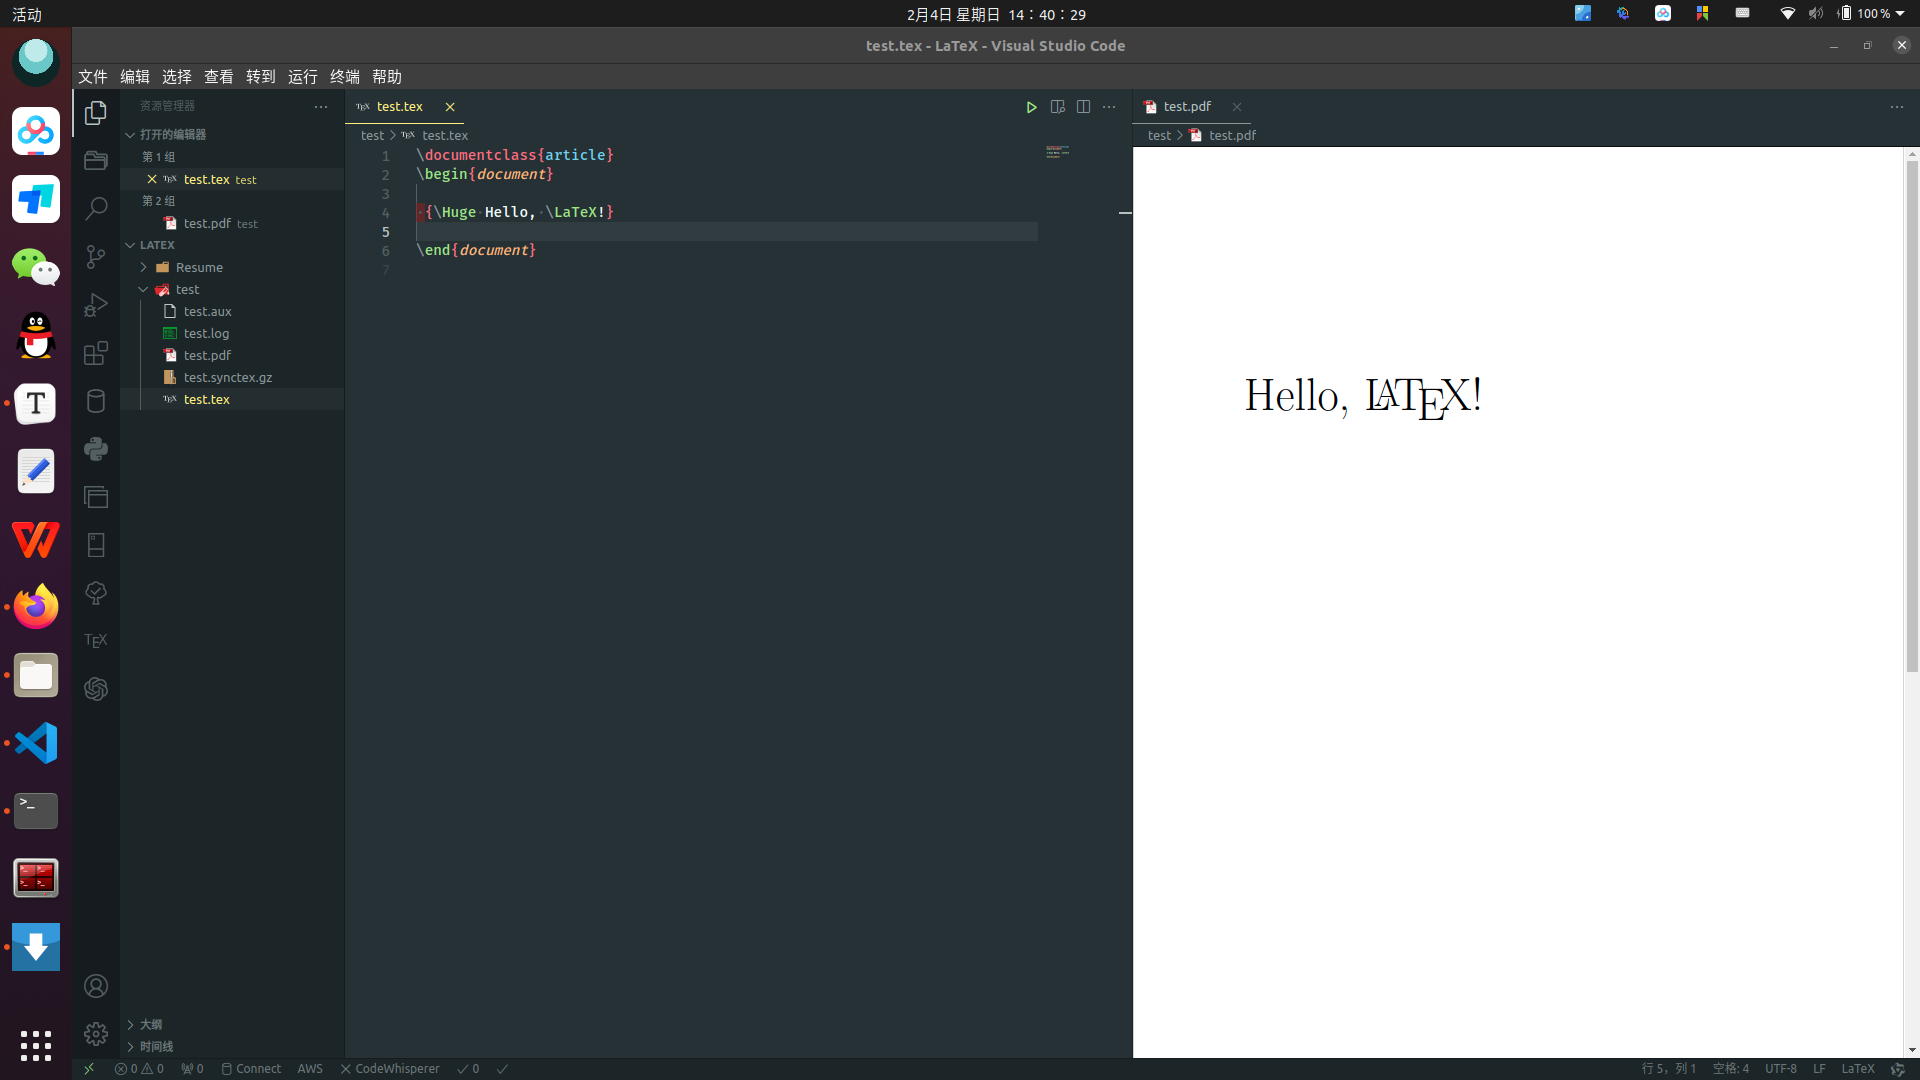
配置完之后侧边栏会出现TEX按钮,里面的内容对应了我们刚才的配置:
新建.tex文件,输入:
\documentclass{article}
\begin{document}

 {\Huge Hello, \LaTeX!}

\end{document}
- 1
- 2
- 3
- 4
- 5
- 6
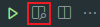
之后点击:

再点击:
若正常显示.pdf文件,则配置成功
右键空白处选择使用...格式化文档
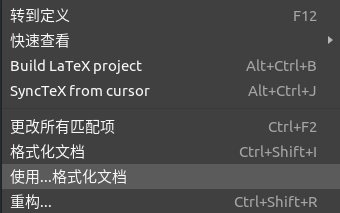
选择LaTeX Workshop为默认格式化程序:

这时键入Ctrl+S手动保存时,因刚才.json文件中设置了"editor.formatOnSave": true, // 保存时自动格式化,也安装了Perl模块,这时代码应该会自动格式化。
原先:
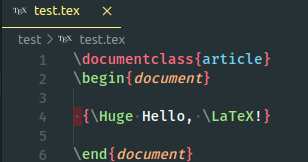
格式化后:

声明:本文内容由网友自发贡献,版权归原作者所有,本站不承担相应法律责任。如您发现有侵权的内容,请联系我们。转载请注明出处:【wpsshop博客】
推荐阅读
相关标签

