
- 1数字化智慧农场管理系统软件开发
- 2一起看 I/O | Android 性能相关最新动态
- 3sklearn-机器学习笔记_warnings.warn(("the least populated class in y has
- 4C#中HttpWebRequest的用法_c# httpwebrequest
- 5[Kaldi]中CMVN处理过程
- 6Android-Nexus 搭建自己的 Maven 仓库 & Gradle 上传依赖包_android 导入库版本号-snapshot
- 7win10taskkill无法终止进程_Win10专业版系统关闭全部无响应进程的方法
- 8linux下USB驱动_hub_port_status
- 9WPF内嵌CEFSharp控件与JS交互_wpf cefsharp 网页 交互
- 10解析Spark Executor内幕,详解CoarseGrainedExecutorBackend
opencv C++ SVM模型训练与分类实现
赞
踩
最近想学习一下分类算法的内容,恰好opencv有SVM的函数,故先从这个下手。找了许多资料,发现要么是opencv2、3的,要么就没有具体实现代码,学习还是把代码与原理一起结合来看比较好。
其中,我主要参考的是这一篇文章:
学习SVM(一) SVM模型训练与分类的OpenCV实现![]() https://blog.csdn.net/chaipp0607/article/details/68067098写得非常好!但是是2017年发布的文章,其中许多内容都做了更新,我用的是opencv 4.5.1版本,win10系统,vs2019作开发工具。具体opencv配置不说了,我对上面那篇文章的代码进行了更新。
https://blog.csdn.net/chaipp0607/article/details/68067098写得非常好!但是是2017年发布的文章,其中许多内容都做了更新,我用的是opencv 4.5.1版本,win10系统,vs2019作开发工具。具体opencv配置不说了,我对上面那篇文章的代码进行了更新。
步骤一样.
一、数据准备
首先找到opencv库自带的digits图片,我的电脑上路径在:D:\app\opencv4.5.1\opencv\opencv\sources\samples\data\digits.png
然后在D盘建立如下文件夹:
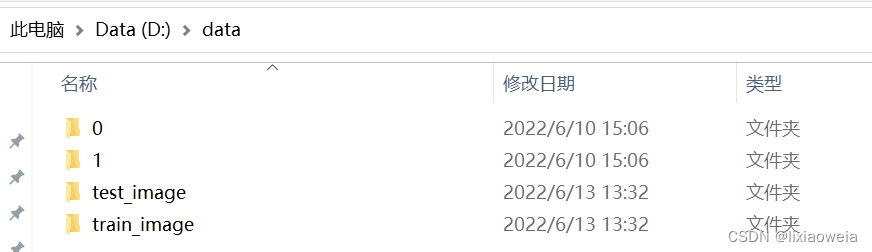
只需新建命名就好了,不用往里面放东西。接下来建立vs2019项目工程,新建源文件
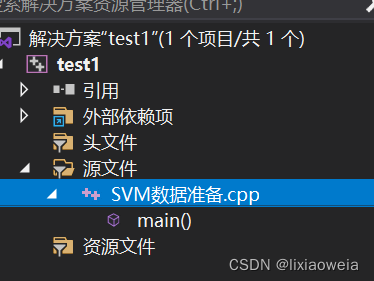
复制如下代码:
- #include <windows.h>
- #include <iostream>
- #include <opencv2/core/core.hpp>
- #include <opencv2/highgui/highgui.hpp>
- #include <opencv2/imgproc/imgproc.hpp>
- #include <opencv2/core/utils/logger.hpp>
- #include <thread>
- #include <time.h>
- //#include <stdio.h>
- #include <string.h>
-
-
- using namespace std;
- using namespace cv;
-
- int main()
- {
- char ad[128] = { 0 };
- int filename = 0, filenum = 0;
- Mat img = imread("digits.png");
- Mat gray;
- cvtColor(img, gray, COLOR_BGR2GRAY);
- int b = 20;
- int m = gray.rows / b; //原图为1000*2000
- int n = gray.cols / b; //裁剪为5000个20*20的小图块
-
- for (int i = 0; i < m; i++)
- {
- int offsetRow = i * b; //行上的偏移量
- if (i % 5 == 0 && i != 0)
- {
- filename++;
- filenum = 0;
- }
- for (int j = 0; j < n; j++)
- {
- int offsetCol = j * b; //列上的偏移量
- sprintf_s(ad, "D:\\data\\%d\\%d.jpg", filename, filenum++);
- //截取20*20的小块
- Mat tmp;
- gray(Range(offsetRow, offsetRow + b), Range(offsetCol, offsetCol + b)).copyTo(tmp);
- imwrite(ad, tmp);
- }
- }
- return 0;
-
-
- }
-

运行结束后,在刚刚新建的文件夹中,0、1文件夹内各有500张分割好的图片。
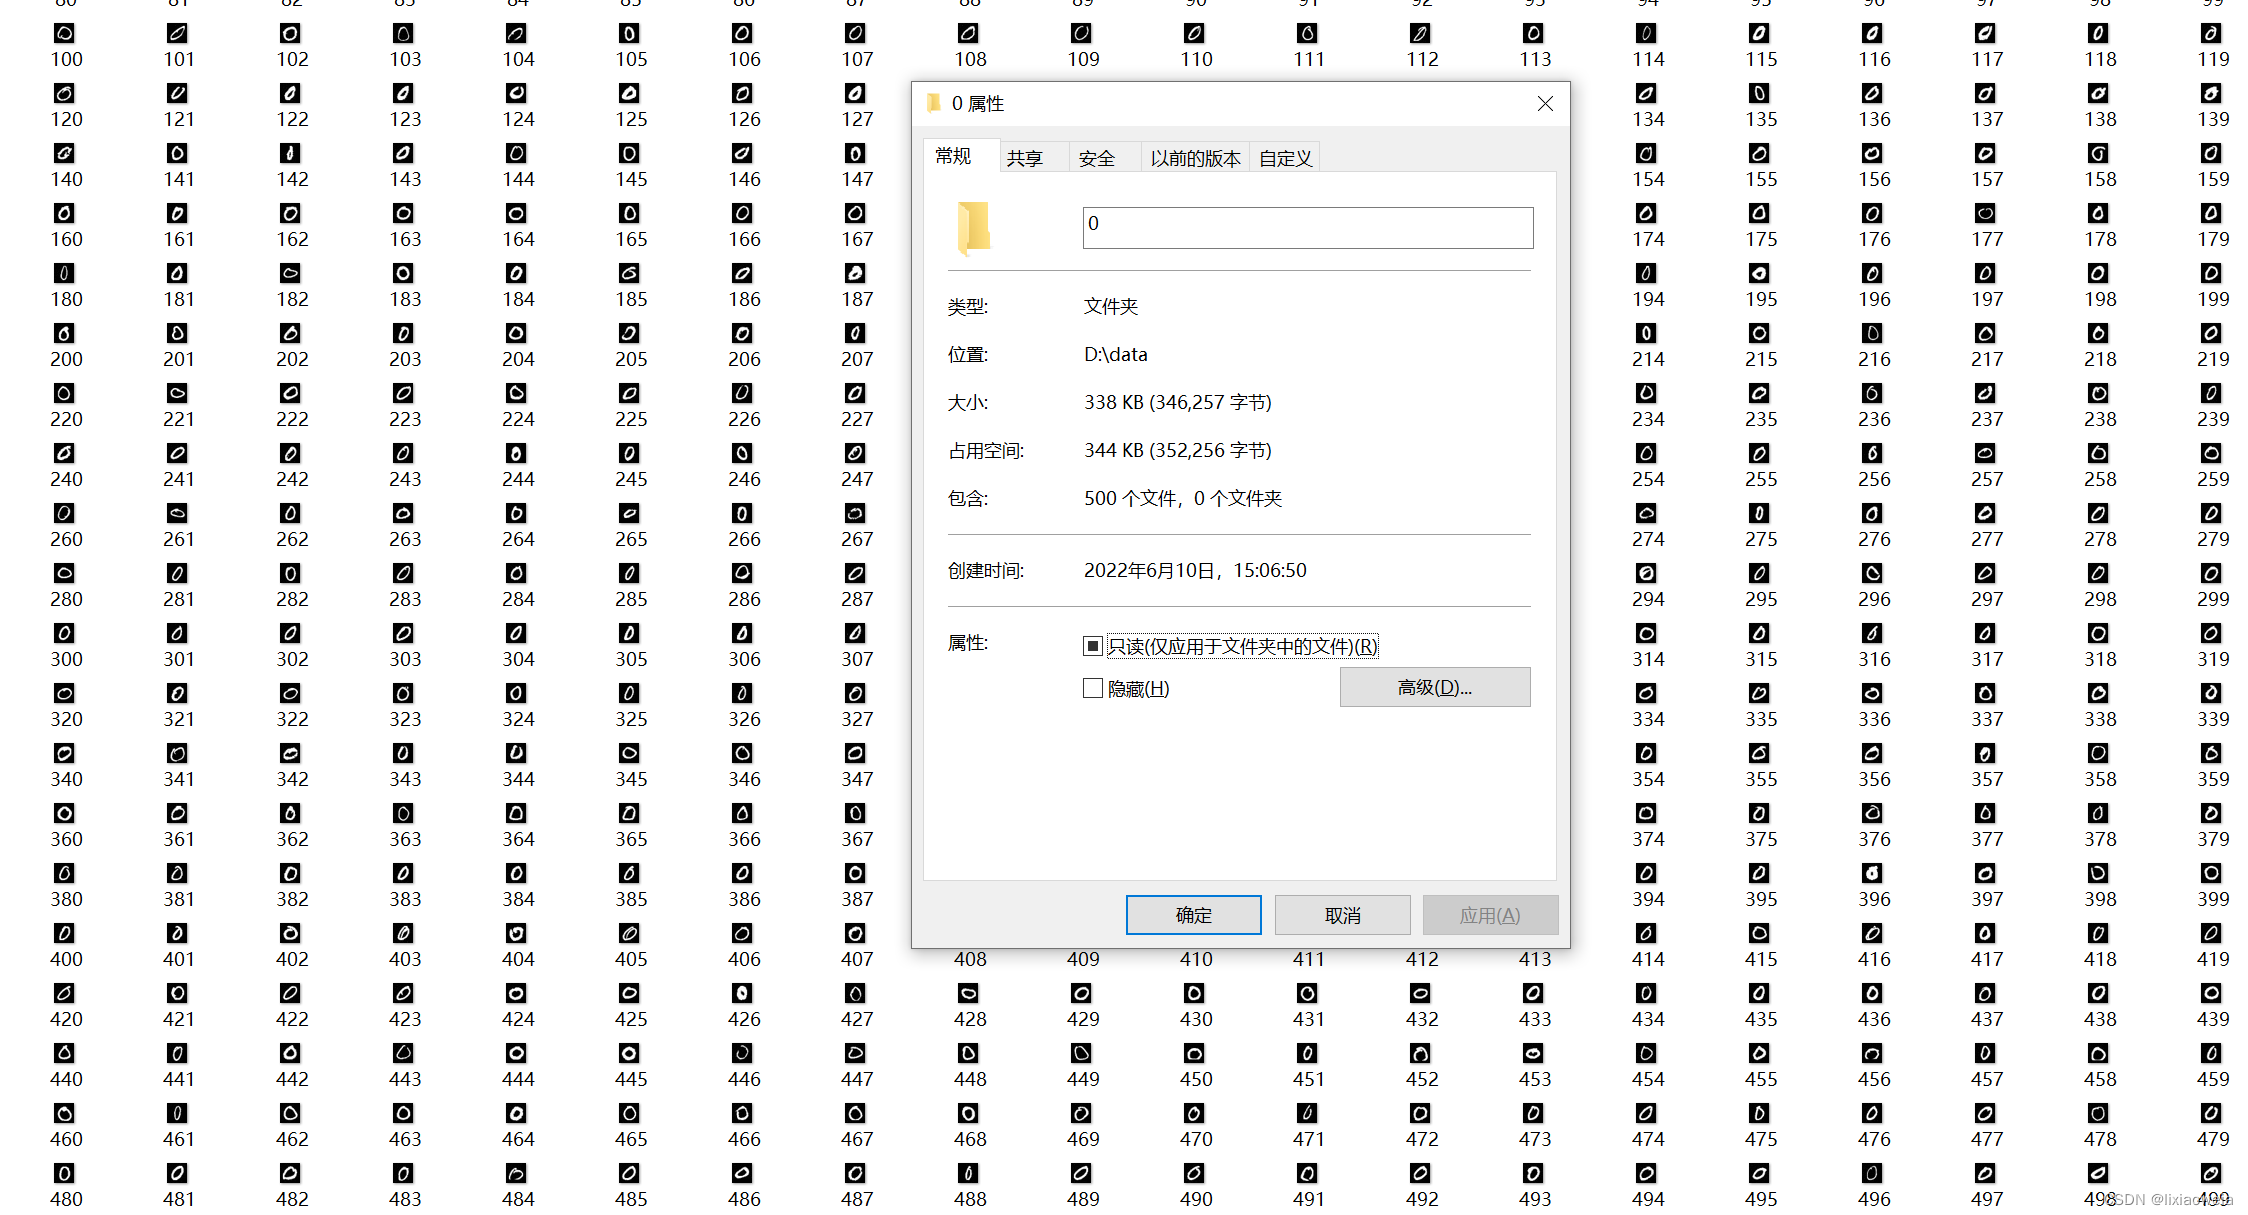
最后在test_image、train_image分别新建0、1文件夹。
把data\0中的0-399复制到data\test_image\0,399-499复制到data\train_image\0;
把data\1中的0-399复制到data\test_image\1,399-499复制到data\train_image\1。第一步完成。
- --D:
- --data
- --0
- --1
- --train_image
- --0(400张)
- --1(400张)
- --test_image
- --0(100张)
- --1(100张)
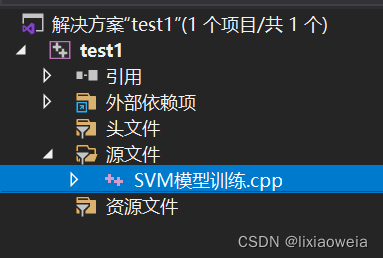
二、模型训练
再新建一个源文件:SVM模型训练.cpp,将第一步的SVM数据准备文件从项目中移除。
复制上如下代码,其中最主要的就是opencv4中的SVM函数改变很大,配置参数上与原文完全不同
- #include <stdio.h>
- #include <time.h>
- #include <opencv2/opencv.hpp>
-
- #include <iostream>
- #include <opencv2/core/core.hpp>
- #include <opencv2/highgui/highgui.hpp>
- #include <opencv2/imgproc/imgproc.hpp>
- #include "opencv2/imgcodecs.hpp"
- #include <opencv2/core/utils/logger.hpp>
- #include <opencv2/ml/ml.hpp>
- #include <io.h>
-
- using namespace std;
- using namespace cv;
- using namespace cv::ml;
-
- void getFiles(string path, vector<string>& files);
- void get_1(Mat& trainingImages, vector<int>& trainingLabels);
- void get_0(Mat& trainingImages, vector<int>& trainingLabels);
-
- int main()
- {
- //获取训练数据
- Mat classes;
- Mat trainingData;
- Mat trainingImages;
- vector<int> trainingLabels;
- get_1(trainingImages, trainingLabels);
- //waitKey(2000);
- get_0(trainingImages, trainingLabels);
- Mat(trainingImages).copyTo(trainingData);
- trainingData.convertTo(trainingData, CV_32FC1);
- Mat(trainingLabels).copyTo(classes);
- //配置SVM训练器参数
- Ptr<SVM> svm = SVM::create();
- svm->setType(SVM::C_SVC);
- svm->setKernel(SVM::LINEAR);
- svm->setDegree(0);
- svm->setGamma(1);
- svm->setCoef0(0);
- svm->setC(1);
- svm->setNu(0);
- svm->setP(0);
- svm->setTermCriteria(TermCriteria(TermCriteria::MAX_ITER, 1000, 0.01));
- //训练
- svm->train(trainingData, ROW_SAMPLE, classes );
- //保存模型
- svm->save("svm.xml");
-
- cout << "训练好了!!!" << endl;
-
- getchar();
- return 0;
- }
- void getFiles(string path, vector<string>& files)
- {
- long long hFile = 0;
- struct _finddata_t fileinfo;
- string p;
- if ((hFile = _findfirst(p.assign(path).append("\\*").c_str(), &fileinfo)) != -1)
- {
- do
- {
- if ((fileinfo.attrib & _A_SUBDIR))
- {
- if (strcmp(fileinfo.name, ".") != 0 && strcmp(fileinfo.name, "..") != 0)
- getFiles(p.assign(path).append("\\").append(fileinfo.name), files);
- }
- else
- {
- files.push_back(p.assign(path).append("\\").append(fileinfo.name));
- }
- } while (_findnext(hFile, &fileinfo) == 0);
-
- _findclose(hFile);
- }
- }
-
- void get_1(Mat& trainingImages, vector<int>& trainingLabels)
- {
- string filePath = "D:\\data\\train_image\\1";
- cout << "获取D:\\data\\1" << endl;
- vector<string> files;
- getFiles(filePath, files);
- int number = files.size();
- for (int i = 0; i < number; i++)
- {
- Mat SrcImage = imread(files[i].c_str());
- SrcImage = SrcImage.reshape(1, 1);
- trainingImages.push_back(SrcImage);
- trainingLabels.push_back(1);
- }
- }
- void get_0(Mat& trainingImages, vector<int>& trainingLabels)
- {
- string filePath = "D:\\data\\train_image\\0";
- cout << "获取D:\\data\\0" << endl;
- vector<string> files;
- getFiles(filePath, files);
- int number = files.size();
- for (int i = 0; i < number; i++)
- {
- Mat SrcImage = imread(files[i].c_str());
- SrcImage = SrcImage.reshape(1, 1);
- trainingImages.push_back(SrcImage);
-
- trainingLabels.push_back(0);
- }
- }
训练完毕后,在这个解决方案文件夹下就生成了一个.xml文件,即是我们训练出来的模型。
训练时还可以选择自动训练,会自己寻找最优参数,效果也很好。
- //训练
- svm->trainAuto(trainingData, ROW_SAMPLE, classes );
三、加载模型实现分类
同样的,新建一个源文件: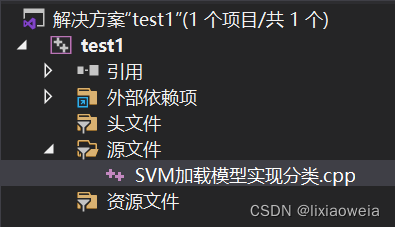
复制如下代码:
- #include <stdio.h>
- #include <time.h>
- #include <opencv2/opencv.hpp>
-
- #include <iostream>
- #include <opencv2/core/core.hpp>
- #include <opencv2/highgui/highgui.hpp>
- #include <opencv2/imgproc/imgproc.hpp>
- #include "opencv2/imgcodecs.hpp"
- #include <opencv2/core/utils/logger.hpp>
- #include <opencv2/ml/ml.hpp>
- #include <io.h>
-
- using namespace std;
- using namespace cv;
- using namespace cv::ml;
-
- void getFiles(string path, vector<string>& files);
- int main()
- {
- int result = 0;
- string filePath = "D:\\data\\test_image\\1";
- vector<string> files;
- getFiles(filePath, files);
- int number = files.size();
- cout << number << endl;
- string modelpath = "svm.xml";
- cv::Ptr<cv::ml::SVM> svm;
- svm = cv::Algorithm::load<cv::ml::SVM>(modelpath);
-
-
- /*CvSVM svm;
- svm.clear();
- string modelpath = "svm.xml";
- FileStorage svm_fs(modelpath, FileStorage::READ);
- if (svm_fs.isOpened())
- {
- svm.load(modelpath.c_str());
- }*/
- for (int i = 0; i < number; i++)
- {
- Mat inMat = imread(files[i].c_str());
- Mat p = inMat.reshape(1, 1);
- p.convertTo(p, CV_32FC1);
- int response = (int)svm->predict(p);
- if (response == 1)//要预测1,如果用0来做测试集就改成response == 0
- {
- result++;
- }
- else
- {
- cout << files[i] << endl;
- }
- }
- cout << result << endl;
- getchar();
- return 0;
- }
- void getFiles(string path, vector<string>& files)
- {
- long long hFile = 0;
- struct _finddata_t fileinfo;
- string p;
- if ((hFile = _findfirst(p.assign(path).append("\\*").c_str(), &fileinfo)) != -1)
- {
- do
- {
- if ((fileinfo.attrib & _A_SUBDIR))
- {
- if (strcmp(fileinfo.name, ".") != 0 && strcmp(fileinfo.name, "..") != 0)
- getFiles(p.assign(path).append("\\").append(fileinfo.name), files);
- }
- else
- {
- files.push_back(p.assign(path).append("\\").append(fileinfo.name));
- }
- } while (_findnext(hFile, &fileinfo) == 0);
- _findclose(hFile);
- }
- }
如果想要检测0的分类准确率就让第46行的response == 0。
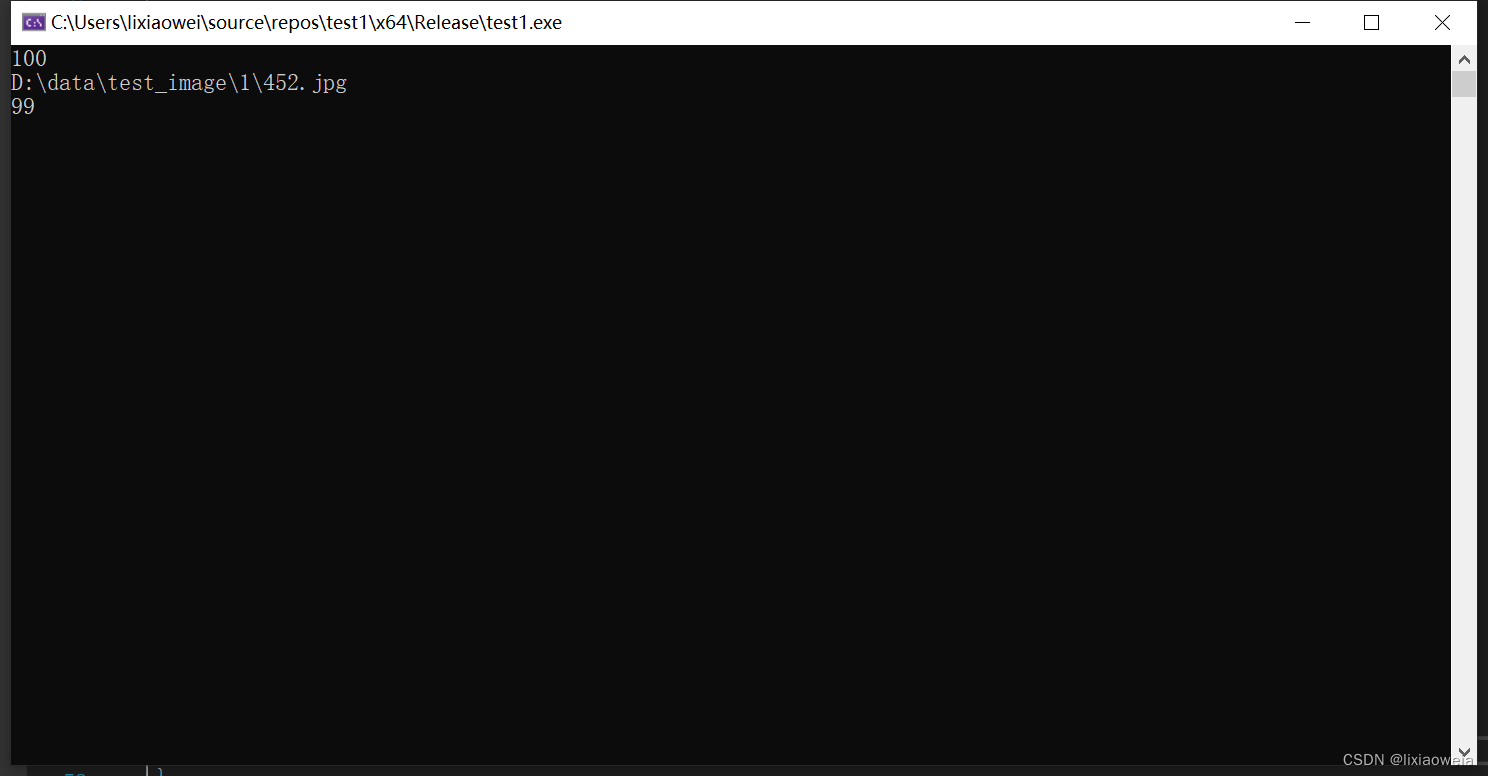
可以看到,100张1有99张被识别出来,有一张452没有识别成功。100张0都识别出来了。

