
热门标签
热门文章
- 1【RabbitMQ】RabbitMQ配置与交换机学习_rabbit mq 交换机怎么加
- 2MySQL8.0两台数据库互为主从实验_mysql8.0主从切换
- 3MySQL8新特性:公用表表达式_mysql 公共子表达式
- 4【深度学习】变分自编码器 VAE,什么是变分?(1)
- 5手把手教你用coze (扣子)打造一个属于自己的微信AI对话机器人_扣子打造自己
- 6git切换分支报错:error: pathspec ‘dev‘ did not match any file(s) known to git._error: pathspec 'dev' did not match any file(s) kn
- 7智能制造不是机器人_智能制造是个伪命题
- 8python第三方库安装[pip、whl]_python-pip-whl
- 9什么是大模型?大模型有什么用?为什么要学习大模型?_大模型研究意义
- 10【Sql Server】新手一分钟看懂在已有表基础上增加字段和说明_sql新增字段
当前位置: article > 正文
【Windows】Windows中wsl安装Ubuntu系统并使用xshell连接_wsl ubuntu ssh
作者:天景科技苑 | 2024-08-17 11:58:52
赞
踩
wsl ubuntu ssh
Windows中wsl安装系统并使用xshell连接
一、系统安装
-
访问https://raw.githubusercontent.com/microsoft/WSL/master/distributions/DistributionInfo.json下载对应版本的系统,此博客以Ubuntu-20.04为例
下载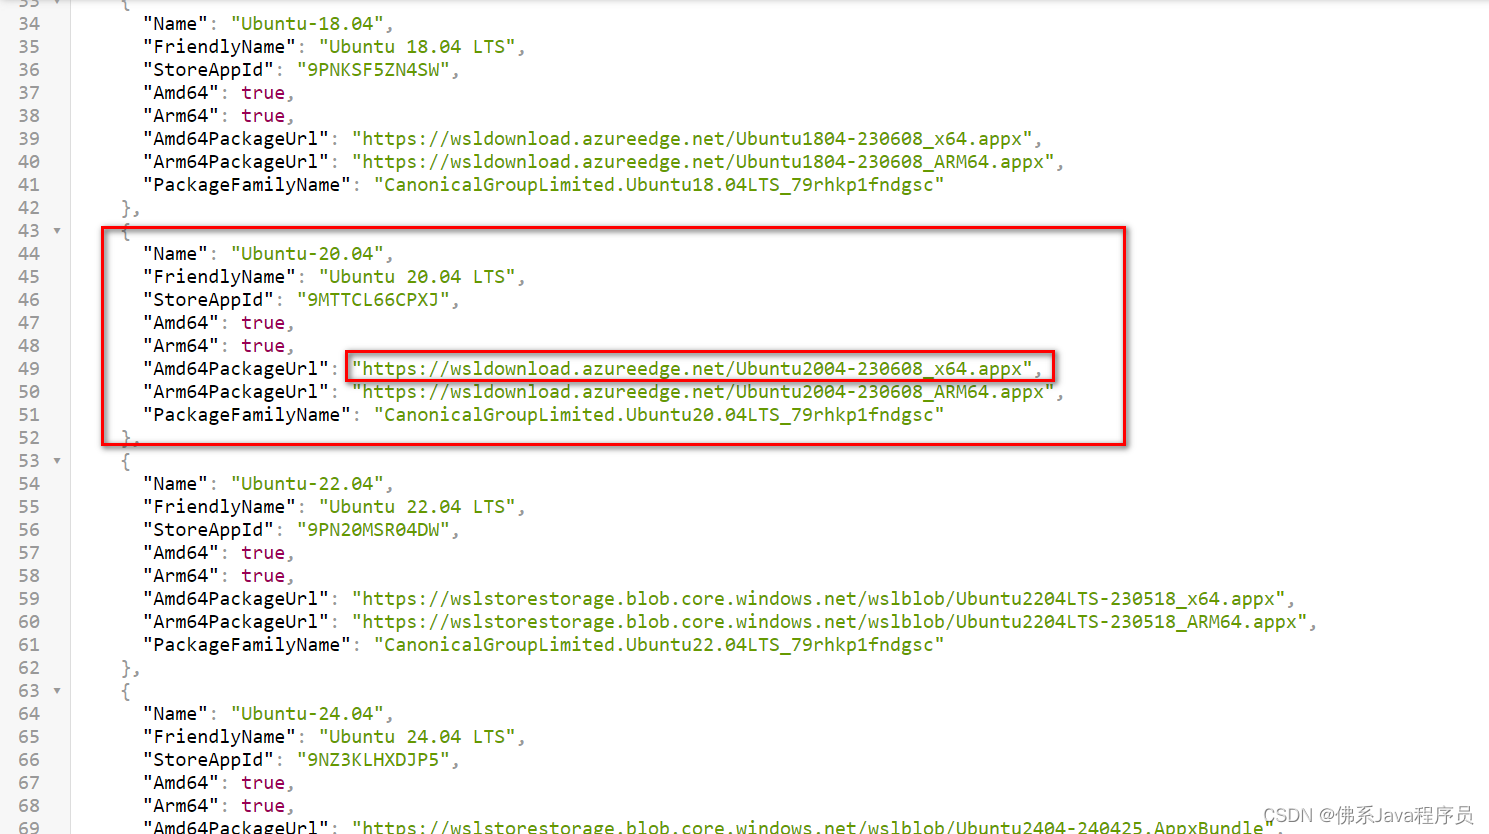 CSDN下载地址: https://download.csdn.net/download/qq_42454367/89346215
 -
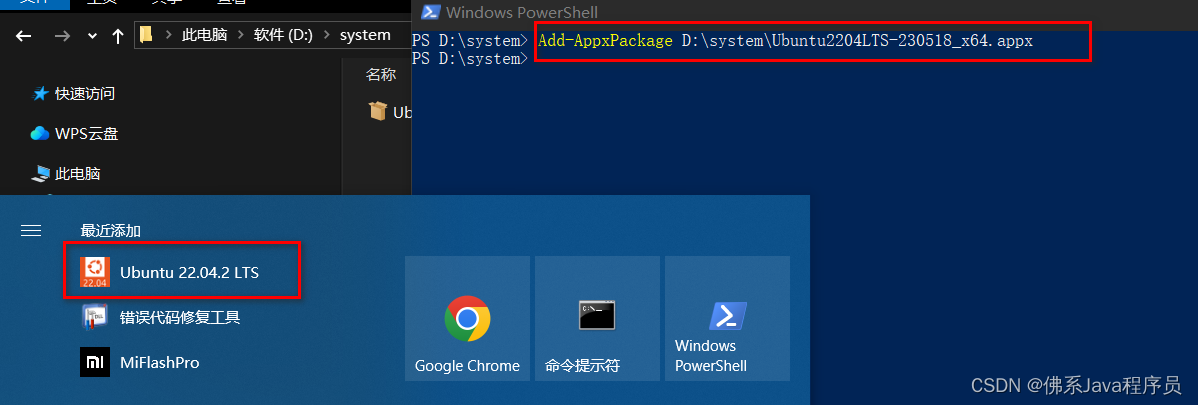
下载后打开Windows PowerShell,运行
Add-AppxPackage D:\system\Ubuntu2204LTS-230518_x64.appx
其中D:\system\Ubuntu2204LTS-230518_x64.appx为下载后的文件路径,
运行完成后在开始菜单点击系统
-
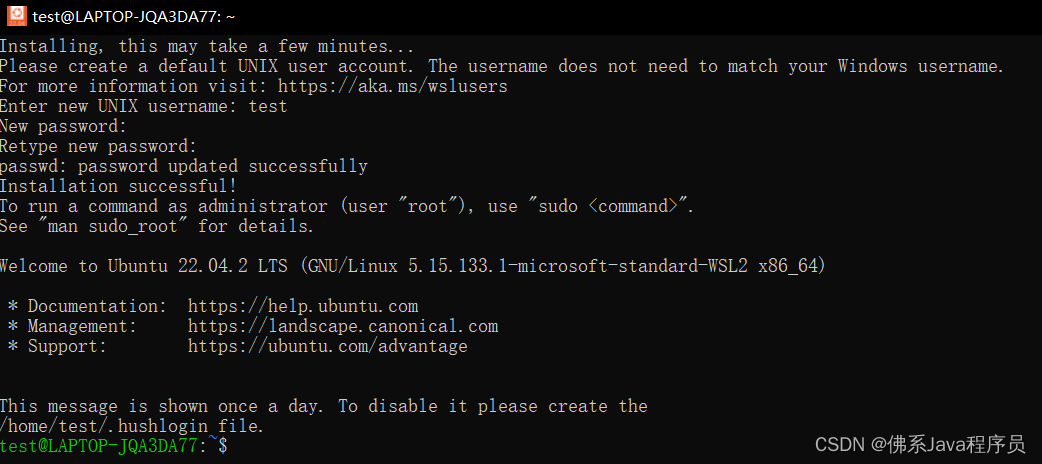
在打开的页面输入新账号、密码,即安装完成。
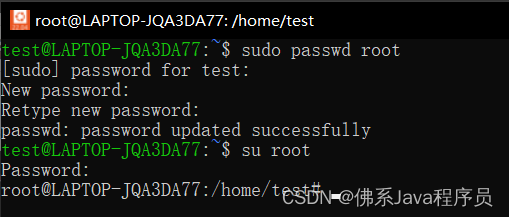
二、ssh配置
- 切换到root账户,并重置密码
- 修改apt的镜像地址,因为直接使用apt-get install openssh-server,会报错,提示
Err:1 http://archive.ubuntu.com/ubuntu jammy-updates/main amd64 openssh-sftp-server amd64 1:8.9p1-3ubuntu0.1 404 Not Found [IP: 185.125.190.39 80]
- 输入
vim /etc/apt/sources.list - 将sources.list中所有
http://archive.ubuntu.com/ubuntu/改为http://cn.archive.ubuntu.com/ubuntu/后,输入:wq!保存退出 - 执行
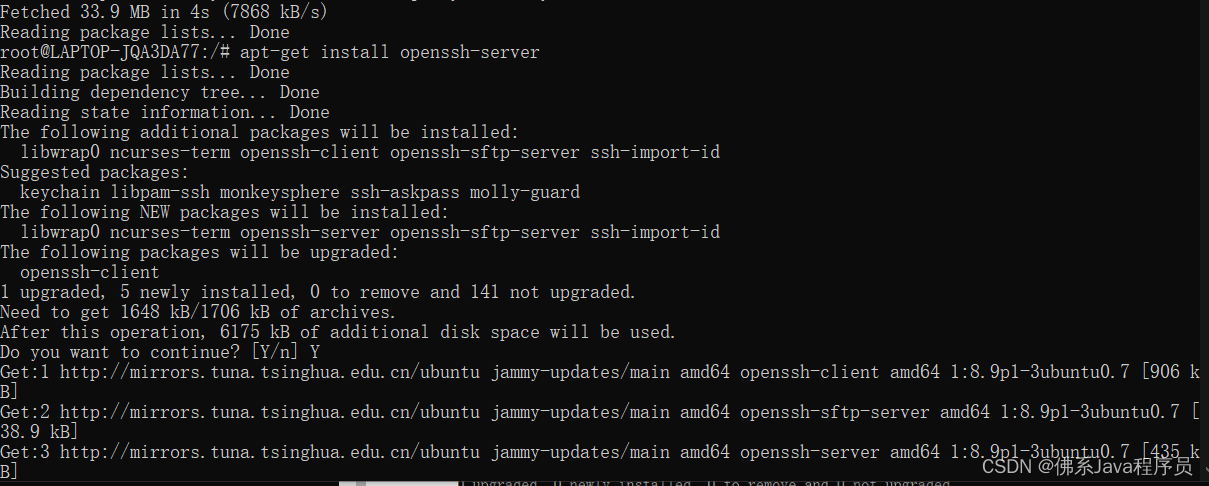
apt-get update - 执行
apt-get install openssh-server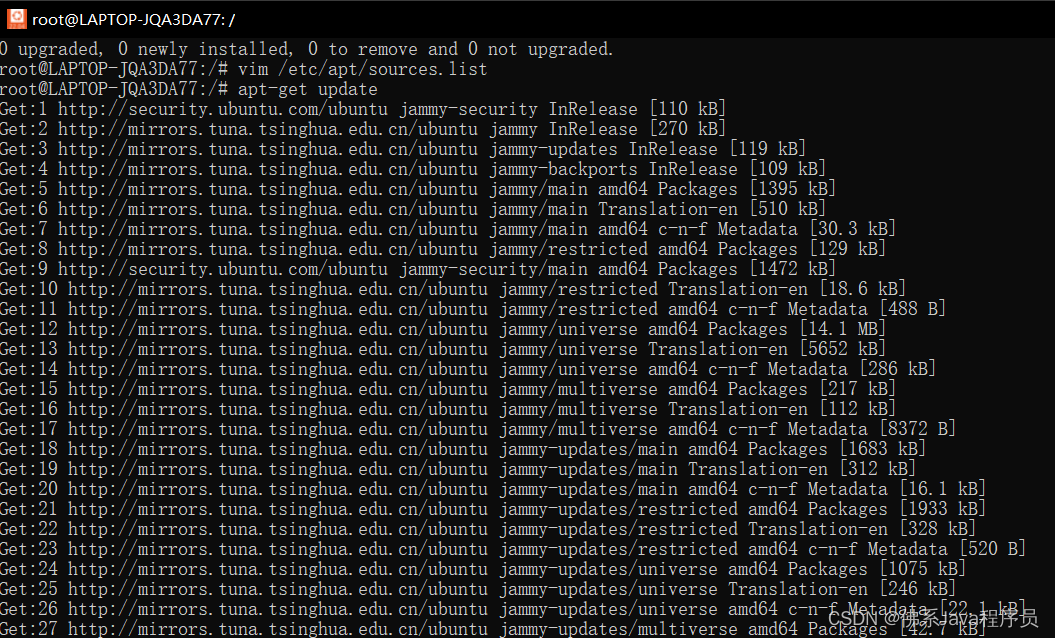
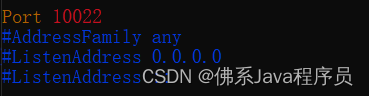
- 输入vim /etc/ssh/sshd_config,修改sshd_config的Port、PasswordAuthentication配置
- Port取消注释,并改为10022或其它端口,防止端口冲突
- PasswordAuthentication取消注释

- 修改完毕后,输入
systemctl restart ssh进行重启

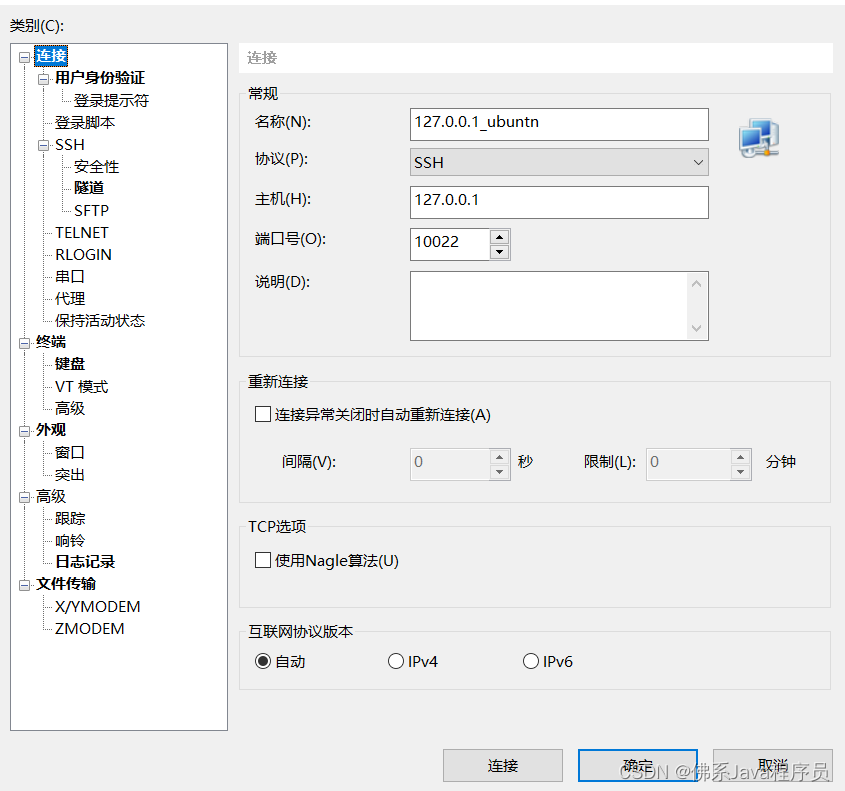
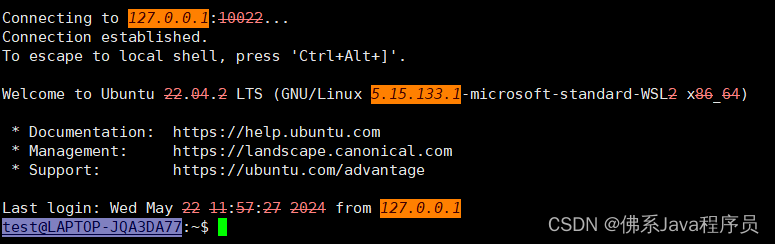
三、xshell连接
- 打开xshell,输入主机和端口号,用户名和密码输入系统安装时的用户名和密码即可。
声明:本文内容由网友自发贡献,不代表【wpsshop博客】立场,版权归原作者所有,本站不承担相应法律责任。如您发现有侵权的内容,请联系我们。转载请注明出处:https://www.wpsshop.cn/w/天景科技苑/article/detail/992747
推荐阅读
相关标签

