
热门标签
热门文章
- 1SpringCloud微服务架构(eureka、nacos、ribbon、feign、gateway等组件的详细介绍和使用)
- 2探索AI大模型:理论、技术与应用_大模型和往往很难提供详细解释,
- 3如何将服务注册到Eureka_手动服务注册到eureka时带tag
- 4【粉丝福利社】 MySQL从入门到精通(第3版)(文末送书-进行中)_mysql从入门到精通第3版下载
- 5【考研】数据结构考点——堆排序(含408真题)_数据结构堆排序例题
- 6c语言中的语句char r1,国开《程序设计基础》形考任务2
- 7sql服务器密码修改,sql server 2008 忘记sa密码的解决方法
- 8HM编解码_hm编码
- 9体验亚马逊AIGC——Amazon Bedrock
- 10[每日算法 - 华为机试] LeetCode1160. 拼写单词_华为机考万能字符单词拼写
当前位置: article > 正文
Taro+vue3+nutui3.x构建微信小程序_taro vue3 开发小程序流程
作者:喵喵爱编程 | 2024-07-01 23:02:14
赞
踩
taro vue3 开发小程序流程
本文讲解了使用taro+nutui3构建微信小程序,并对组件实现按需引入的流程
在刚开始尝试的时候,一直下载的都是taro的最新版本,导致没法对组件进行按需引入,或者一些奇奇怪怪的问题。
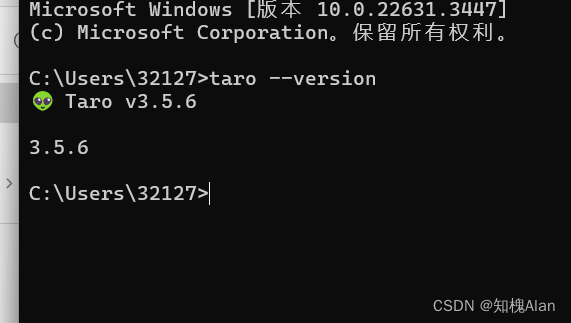
1. 安装taro
通过cmd进入终端
npm install -g @tarojs/cli@3.5.6 //下载3.5.6版本 可以通过taro--version验证
2.搭建项目
接下来 在磁盘创建一个文件夹 命名为myTaroApp
点击进入此文件夹 执行cmd 进入终端
然后执行taro init myApp
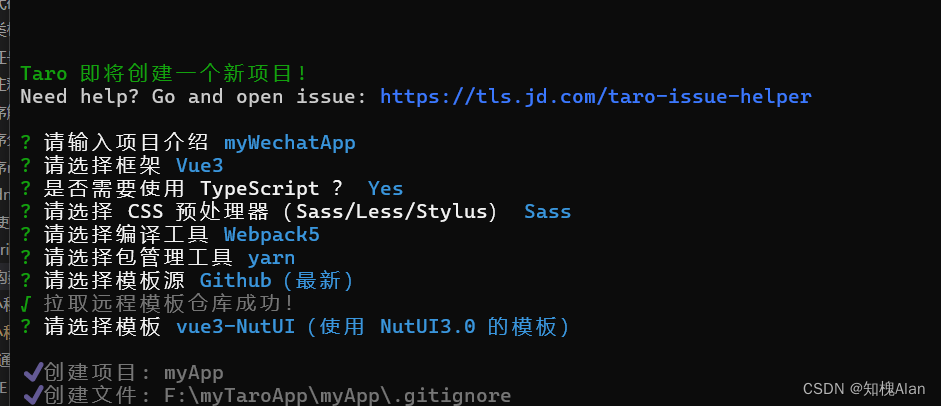
这里选择vue3+ts+nutui3+sass预处理语言来构建项目
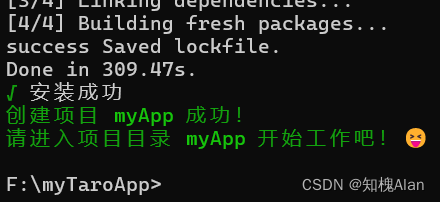
这样项目就初始化完成了
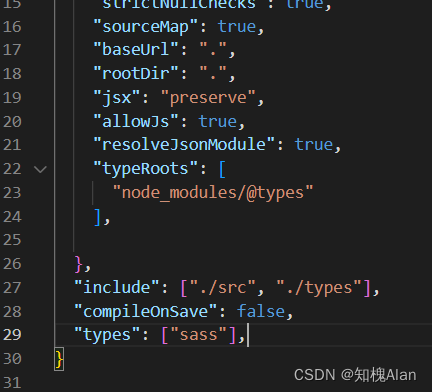
在进入项目的目录后,我们可能会发现一些问题,比如tsconfig.json文件可能会有爆红提示,
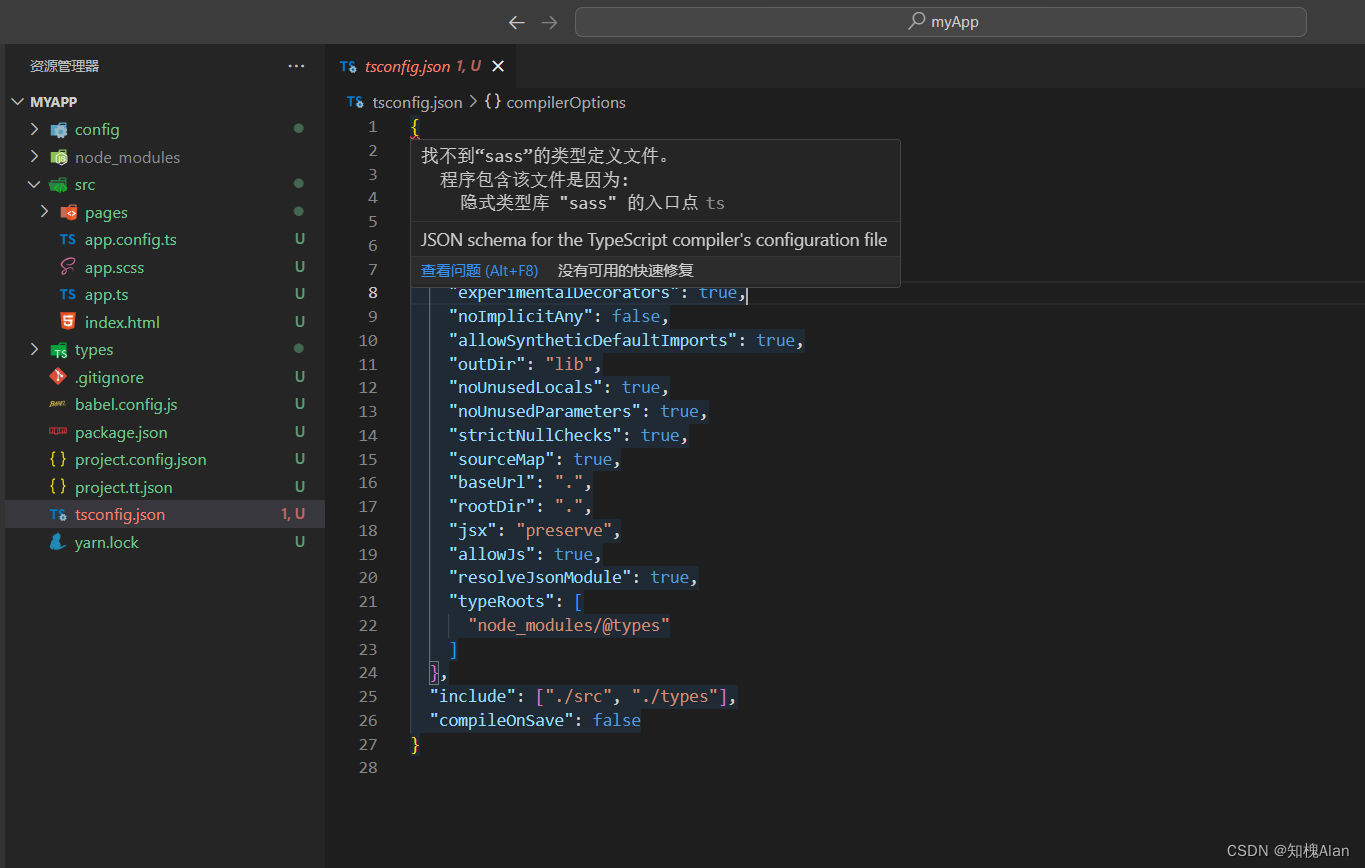
这边已经准备好了解决的办法
先执行yarn add @types/sass@1.43.1 --save-dev 安装稳定版本
再在tsconfig.json文件中 的对象里面加入
{ "types": ["sass"] }
就可以解决这个问题啦
3.拓展
如需使用 css modules 功能,找到config文件夹下的index.js文件,将mini对象里面的enable设置为true
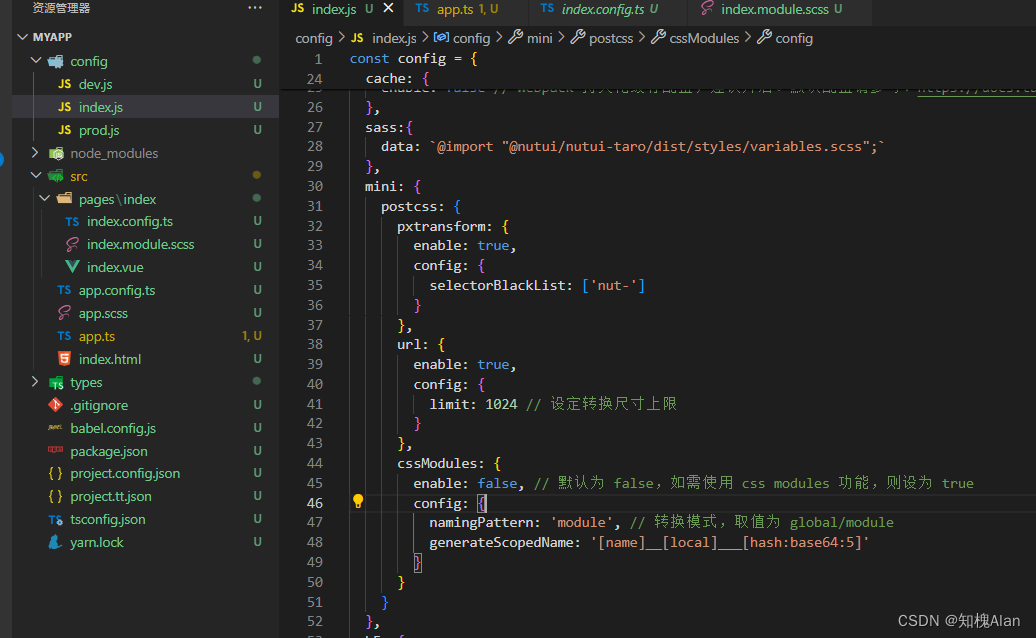
4.路径别名的配置
仍然config文件夹下的index.js文件中配置 这里直接附上代码 方便观看x
- const path = require('path');
-
- const config = {
- projectName: 'myApp',
- date: '2024-2-5',
- designWidth: 375,
- deviceRatio: {
- 640: 2.34 / 2,
- 750: 1,
- 828: 1.81 / 2,
- 375: 2 / 1
- },
- sourceRoot: 'src',
- outputRoot: 'dist',
- plugins: ['@tarojs/plugin-html','taro-plugin-pinia'],
- defineConstants: {
- },
- copy: {
- patterns: [
- ],
- options: {
- }
- },
- framework: 'vue3',
- compiler: 'webpack5',
- cache: {
- enable: false // Webpack 持久化缓存配置,建议开启。默认配置请参考:https://docs.taro.zone/docs/config-detail#cache
- },
- sass:{
- data: `@import "@nutui/nutui-taro/dist/styles/variables.scss";`
- },
- mini: {
- postcss: {
- pxtransform: {
- enable: true,
- config: {
- selectorBlackList: ['nut-']
- }
- },
- url: {
- enable: true,
- config: {
- limit: 1024 // 设定转换尺寸上限
- }
- },
- cssModules: {
- enable: true, // 默认为 false,如需使用 css modules 功能,则设为 true
- config: {
- namingPattern: 'module', // 转换模式,取值为 global/module
- generateScopedName: '[name]__[local]___[hash:base64:5]'
- }
- }
- },
- alias: {
- '@/assests': path.resolve(__dirname, '..', 'src/assests'),
- '@/pages': path.resolve(__dirname, '..', 'src/pages'),
- '@/http': path.resolve(__dirname, '..', 'src/http'),
- '@/store': path.resolve(__dirname, '..', 'src/store'),
- '@/api': path.resolve(__dirname, '..', 'src/api'),
- },
- },
- h5: {
- publicPath: '/',
- staticDirectory: 'static',
- esnextModules: ['nutui-taro'],
- postcss: {
- autoprefixer: {
- enable: true,
- config: {
- }
- },
- cssModules: {
- enable: false, // 默认为 false,如需使用 css modules 功能,则设为 true
- config: {
- namingPattern: 'module', // 转换模式,取值为 global/module
- generateScopedName: '[name]__[local]___[hash:base64:5]'
- }
- }
- }
- }
- }
-
- module.exports = function (merge) {
- if (process.env.NODE_ENV === 'development') {
- return merge({}, config, require('./dev'))
- }
- return merge({}, config, require('./prod'))
- }

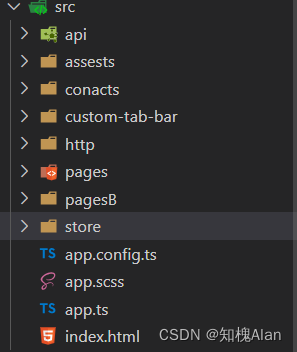
这里先const path = require('path') 引入路径
然后在mini对面里面加上ailas对象去配置对应的路径 下方图片是我的文件目录
最后一步 需要在tsconfig.ts文件进行配置
- {
- "compilerOptions": {
- "target": "es2017",
- "module": "commonjs",
- "removeComments": false,
- "preserveConstEnums": true,
- "moduleResolution": "node",
- "experimentalDecorators": true,
- "noImplicitAny": false,
- "allowSyntheticDefaultImports": true,
- "outDir": "lib",
- "noUnusedLocals": true,
- "noUnusedParameters": true,
- "strictNullChecks": true,
- "sourceMap": true,
- "baseUrl": ".",
- "rootDir": ".",
- "jsx": "preserve",
- "allowJs": true,
- "resolveJsonModule": true,
- "typeRoots": ["node_modules/@types"],
- "paths": {
- "@/*": ["./src/*"],
- "@/http/*": ["./src/http/*"],
- "@/pages/*": ["./src/pages/*"],
- "@/assests/*": ["./src/assests/*"],
- "@/store/*": ["./src/store/*"],
- "@/api/*": ["./src/api/*"],
- }
- },
- "include": ["./src", "./types"],
- "compileOnSave": false,
- "types": ["sass"],
- }
配置完成后即可使用了,欢迎补充
声明:本文内容由网友自发贡献,不代表【wpsshop博客】立场,版权归原作者所有,本站不承担相应法律责任。如您发现有侵权的内容,请联系我们。转载请注明出处:https://www.wpsshop.cn/w/喵喵爱编程/article/detail/777943
推荐阅读
相关标签

