
热门标签
热门文章
- 1图解Transformer+DSSM_dssm transformer
- 2一起玩儿Proteus仿真(C51)——02. C51最小系统和第一个仿真程序_c51仿真
- 3电脑问题【关不死机-假死】【tree命令列出目录树】【局域网电脑互联】【彻底禁用win10杀毒antimalware service executable】[应用程序无法正常启动0xc000007b_antimalware 死机
- 4KnowledGPT:Enhancing Large Language Models with Retrieval and Storage Access on Knowledge Bases_knowledgpt: enhancing large language models with r
- 52024智能交通及智慧城市国际会议(ICITSC2024)_itsc 2024
- 6mac的python怎么运行py文件,macbook的python如何运行_mac运行py
- 7OSPF路由协议中的邻居与邻接_如果多台路由器处于同一个广播网络,按照如上方式建立邻接关系存在哪些问题
- 8院士、掌门人、技术英雄再聚首,1024 程序员节共话数智新未来!
- 92023/2024华为机考LeetCode刷题表_leetcode 华为
- 10将Python 程序封装成exe程序(保姆级教程)_py文件封装成exe
当前位置: article > 正文
Spring AI的初步使用以及认识_group.springframework.ai使用
作者:weixin_40725706 | 2024-07-04 01:23:22
赞
踩
group.springframework.ai使用
首先附上Spring Ai的官方文档,以便后面去深入学习
官方文档:Prompts :: Spring AI Reference
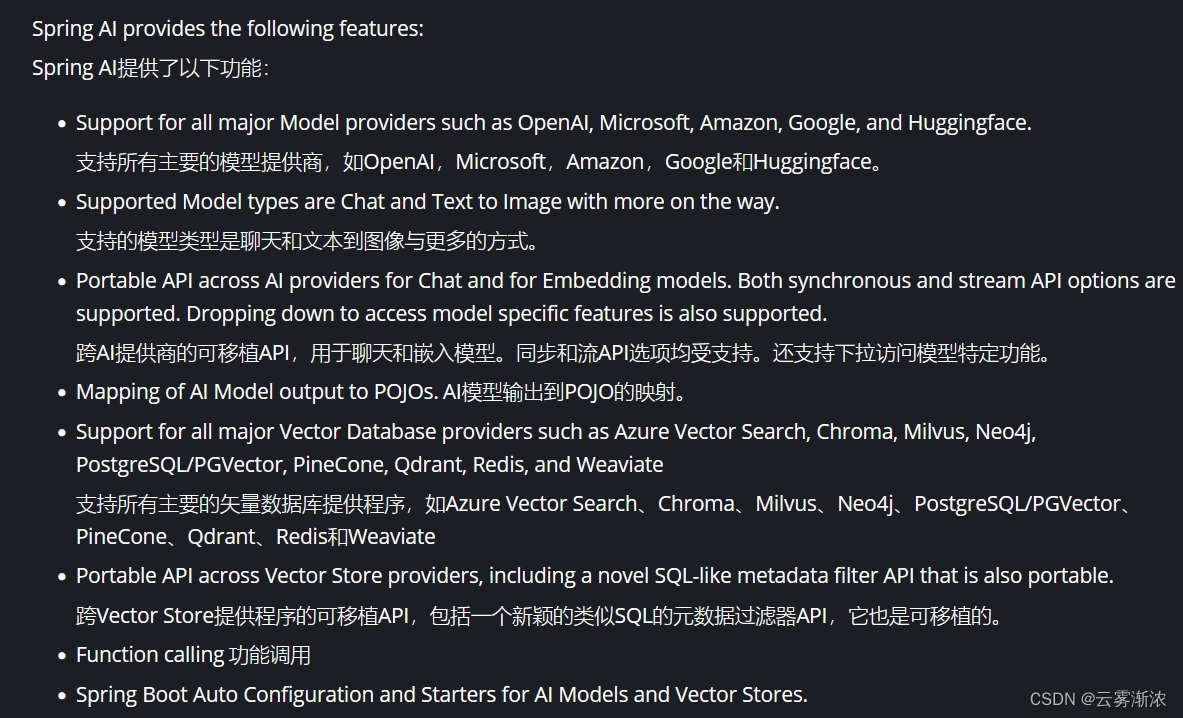
SpringAI的认识
Spring AI项目旨在简化包含人工智能功能的应用程序的开发,而不会产生不必要的复杂性,核心是提供抽象,作为开发AI应用程序的基础。 这些抽象有多个实现,可以用最少的代码更改轻松地进行组件交换。
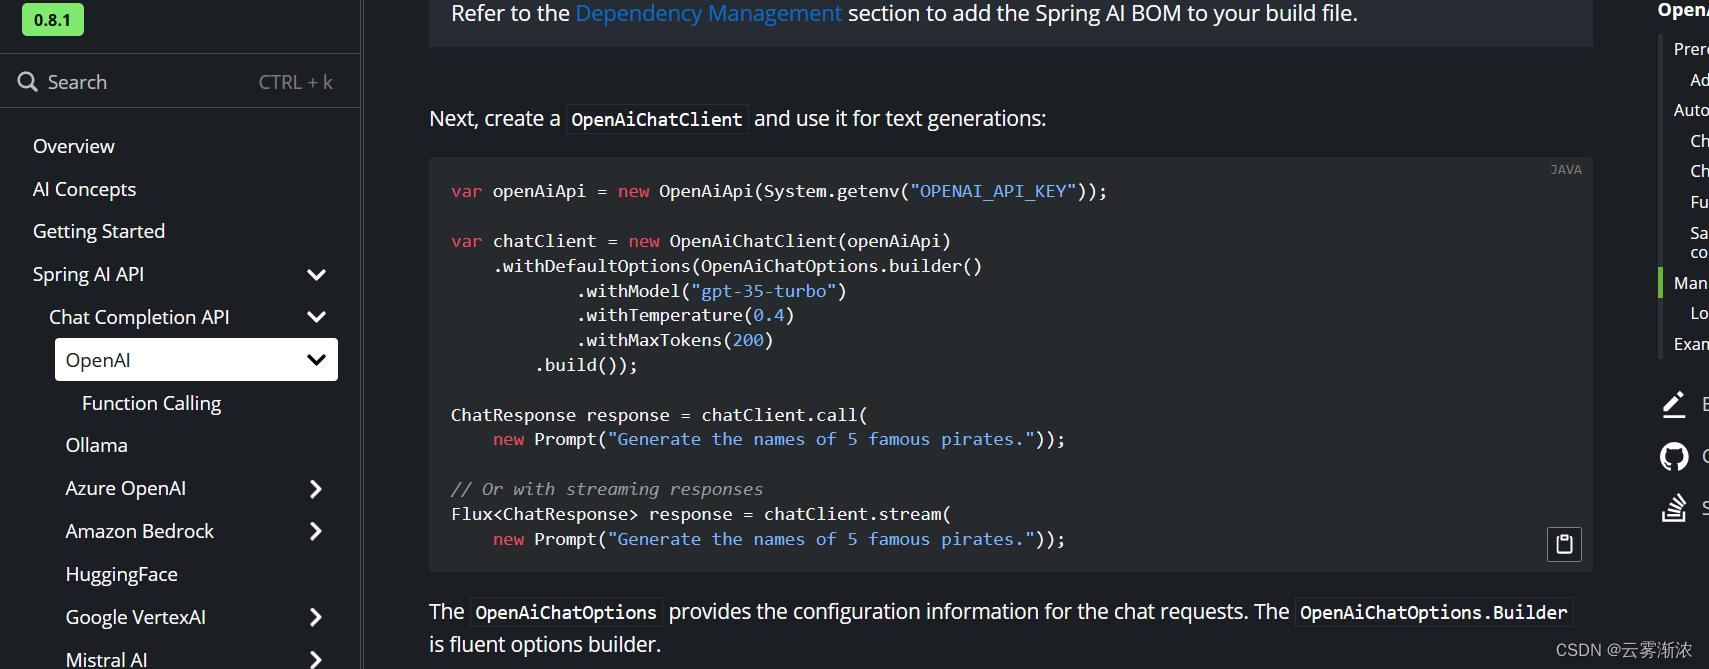
Spring Ai 怎么对接Open AI
准备:1.OpenAI 的Api Key
2.JDK 17(这个可用可不用)
会用到的依赖
- <dependencies>
-
- <dependency>
- <groupId>org.apache.httpcomponents</groupId>
- <artifactId>httpclient</artifactId>
- <version>4.5.13</version>
- </dependency>
-
- <dependency>
- <groupId>org.springframework.boot</groupId>
- <artifactId>spring-boot-starter-web</artifactId>
- </dependency>
-
- <dependency>
- <groupId>org.springframework.ai</groupId>
- <artifactId>spring-ai-openai-spring-boot-starter</artifactId>
- </dependency>
-
- <dependency>
- <groupId>org.springframework.boot</groupId>
- <artifactId>spring-boot-devtools</artifactId>
- <scope>runtime</scope>
- <optional>true</optional>
- </dependency>
-
- <dependency>
- <groupId>org.projectlombok</groupId>
- <artifactId>lombok</artifactId>
- <optional>true</optional>
- </dependency>
-
- <dependency>
- <groupId>org.springframework.boot</groupId>
- <artifactId>spring-boot-starter-test</artifactId>
- <scope>test</scope>
- </dependency>
- </dependencies>
-
- <dependencyManagement>
- <dependencies>
- <dependency>
- <groupId>org.springframework.ai</groupId>
- <artifactId>spring-ai-bom</artifactId>
- <version>${spring-ai.version}</version>
- <type>pom</type>
- <scope>import</scope>
- </dependency>
- </dependencies>
- </dependencyManagement>
-
- <repositories>
- <!--快照版本的仓库-->
- <repository>
- <id>spring-snapshot</id>
- <name>Spring Snapshots</name>
- <url>https://repo.spring.io/snapshot</url>
- <releases>
- <enabled>false</enabled>
- </releases>
- </repository>
- </repositories>

编写Controller接口
- @RestController
- public class ChatGPTController{
-
- @Autowired
- private OpenAiChatClient openAiChatClient;
-
- @GetMapping("/chatGPT")
- public Object chatGPT(@RequestParam("message") String message){
- String result = openAiChatClient.call(message);
- return result;
- }
-
- }
Config配置文件格式
- server:
- port: 8088
-
- spring:
- application:
- name: Firstcht
-
- ai:
- openai:
- api-key: xxx
- base-url: openai的地址
以上只是简单的使用,更多深入可以通过官方文档学习
声明:本文内容由网友自发贡献,不代表【wpsshop博客】立场,版权归原作者所有,本站不承担相应法律责任。如您发现有侵权的内容,请联系我们。转载请注明出处:https://www.wpsshop.cn/w/weixin_40725706/article/detail/785152
推荐阅读
相关标签

