
热门标签
当前位置: article > 正文
haproxy_haproxy.service
作者:IT小白 | 2024-08-16 11:04:10
赞
踩
haproxy.service
安装haproxy
| 主机 | IP |
|---|---|
| RS1 | 192.168.220.10 |
| RS2 | 192.168.220.20 |
| haproxy | 192.168.220.30 |
配置RS1
#关闭防火墙和selinux
[root@RS1 ~]# systemctl disable --now firewalld
[root@RS1 ~]# vim /etc/selinux/config
SELINUX=disabled
#部署httpd和网页
[root@RS1 ~]# yum install httpd -y
[root@RS1 ~]# systemctl enable --now httpd
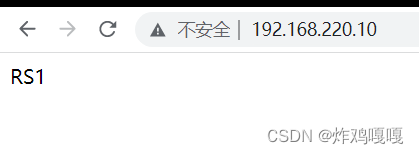
[root@RS1 ~]# echo 'RS1' > /var/www/html/index.html
[root@RS1 ~]# cat /var/www/html/index.html
RS1
- 1
- 2
- 3
- 4
- 5
- 6
- 7
- 8
- 9
- 10
- 11
- 12
访问测试页面
配置RS2
#关闭防火墙和selinux
[root@RS2 ~]# systemctl disable --now firewalld
[root@RS2 ~]# vim /etc/selinux/config
SELINUX=disabled


#部署httpd和网页
[root@RS2 ~]# yum install httpd -y
[root@RS2 ~]# systemctl enable --now httpd
[root@RS2 ~]# echo 'RS2' > /var/www/html/index.html
[root@RS2 ~]# cat /var/www/html/index.html
RS2
- 1
- 2
- 3
- 4
- 5
- 6
- 7
- 8
- 9
- 10
- 11
- 12
访问测试页面

部署haproxy
#下载软件包
[root@haproxy ~]# wget https://github.com/haproxy/haproxy/archive/refs/tags/v2.6.0.tar.gz

#安装依赖包
[root@haproxy ~]# yum install make gcc pcre-devel bzip2-devel openssl-devel systemd-devel -y

#创建haproxy用户
[root@haproxy ~]# useradd -r -M -s /sbin/nologin haproxy

#解压
[root@haproxy ~]# tar -xf v2.6.0.tar.gz
[root@haproxy ~]# ls
anaconda-ks.cfg  haproxy-2.6.0  v2.6.0.tar.gz

#编译安装
[root@haproxy ~]# cd haproxy-2.6.0/
[root@haproxy haproxy-2.6.0]# make -j $(grep 'processor' /proc/cpuinfo |wc -l)  \
> TARGET=linux-glibc  \
> USE_OPENSSL=1  \
> USE_ZLIB=1  \
> USE_PCRE=1  \
> USE_SYSTEMD=1
[root@haproxy haproxy-2.6.0]# make install PREFIX=/usr/local/haproxy
[root@haproxy ~]# cd /usr/local/
[root@haproxy local]# ls
bin  etc  games  haproxy  include  lib  lib64  libexec  sbin  share  src

#设置软连接 让系统能够找到haproxy命令
[root@haproxy ~]# ln -s /usr/local/haproxy/sbin/haproxy /usr/sbin/
[root@haproxy ~]# which haproxy
/usr/sbin/haproxy

- 1
- 2
- 3
- 4
- 5
- 6
- 7
- 8
- 9
- 10
- 11
- 12
- 13
- 14
- 15
- 16
- 17
- 18
- 19
- 20
- 21
- 22
- 23
- 24
- 25
- 26
- 27
- 28
- 29
- 30
- 31
- 32
配置各个负载的内核参数
[root@haproxy ~]# echo 'net.ipv4.ip_nonlocal_bind = 1' >>  /etc/sysctl.conf
[root@haproxy ~]# echo 'net.ipv4.ip_forward = 1' >> /etc/sysctl.conf
[root@haproxy ~]# sysctl -p
net.ipv4.ip_nonlocal_bind = 1  //ip绑定
net.ipv4.ip_forward = 1  //ip转发
- 1
- 2
- 3
- 4
- 5
提供配置文件
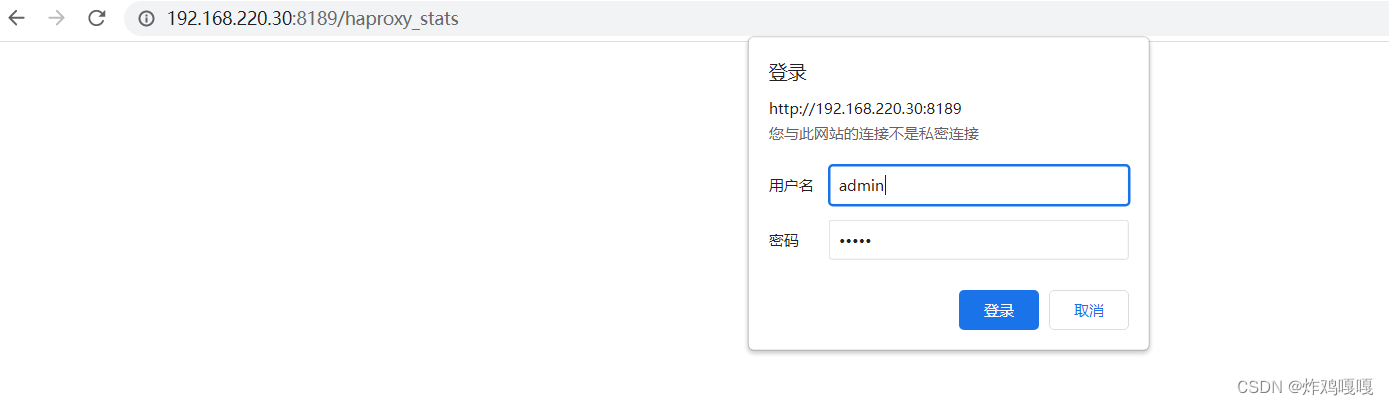
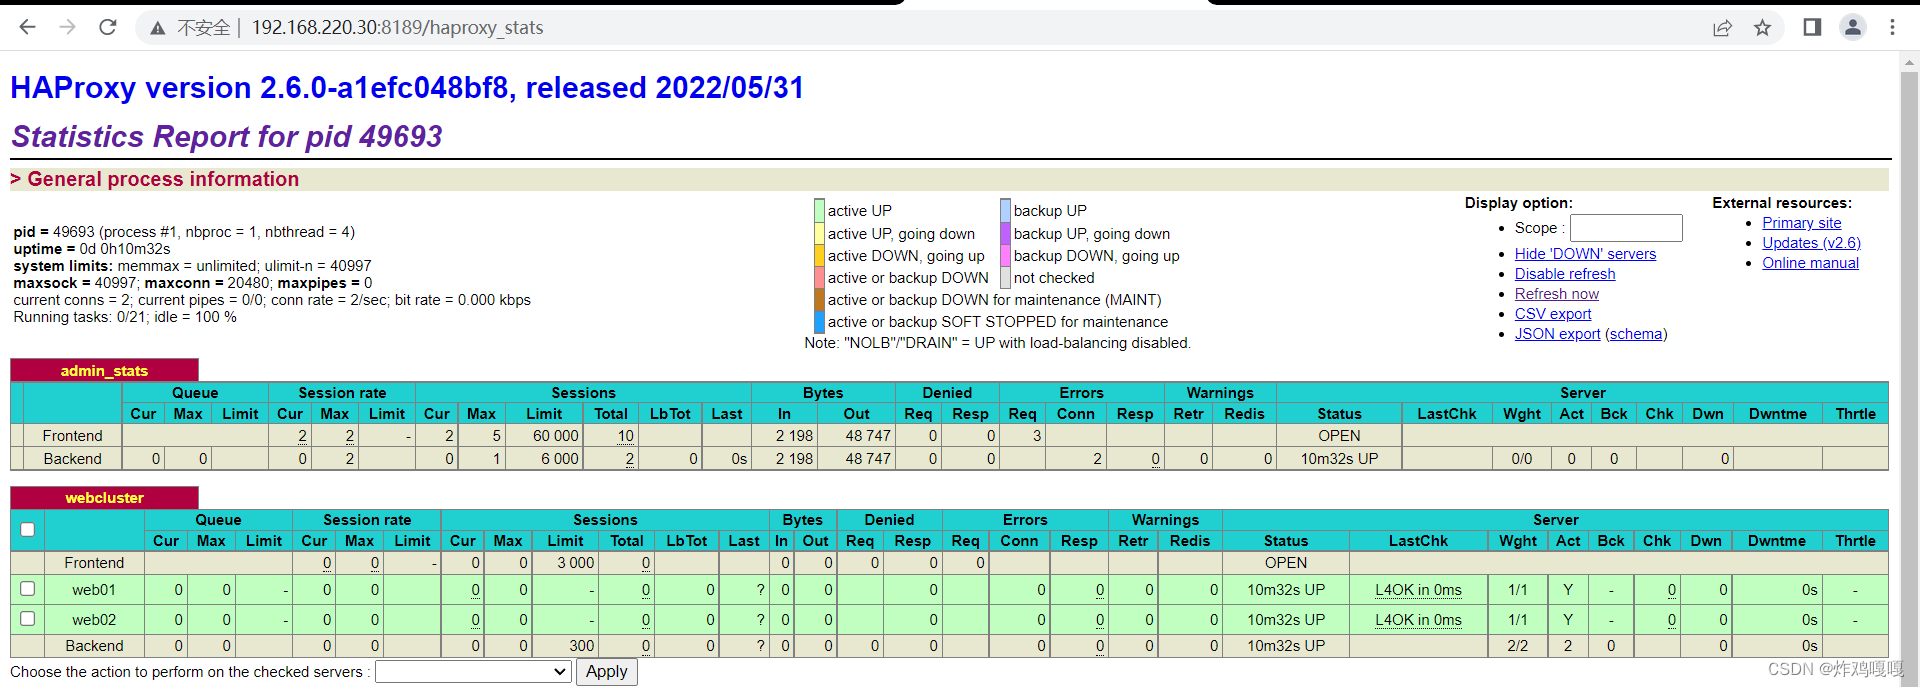
#创建haproxy目录
[root@haproxy ~]# mkdir /etc/haproxy
[root@haproxy ~]# cd /etc/haproxy/

#创建haproxy.cfg 文件
[root@haproxy haproxy]# cat haproxy.cfg
#--------------全局配置----------------
global
    log 127.0.0.1 local0  info
    #log loghost local0 info
    maxconn 20480
#chroot /usr/local/haproxy
    pidfile /var/run/haproxy.pid
    #maxconn 4000
    user haproxy
    group haproxy
    daemon
#---------------------------------------------------------------------
#common defaults that all the 'listen' and 'backend' sections will
#use if not designated in their block
#---------------------------------------------------------------------
defaults
    mode http
    log global
    option dontlognull
    option httpclose
    option httplog
    #option forwardfor
    option redispatch
    balance roundrobin
    timeout connect 10s
    timeout client 10s
    timeout server 10s
    timeout check 10s
    maxconn 60000
    retries 3
#--------------统计页面配置------------------
listen admin_stats
    bind 0.0.0.0:8189
    stats enable
    mode http
    log global
    stats uri /haproxy_stats   //网页登录后续会用到
    stats realm Haproxy\ Statistics
    stats auth admin:admin   //网页登陆的用户和密码
    #stats hide-version
    stats admin if TRUE
    stats refresh 30s
#---------------web设置-----------------------
listen webcluster
    bind 0.0.0.0:80
    mode http
    #option httpchk GET /index.html
    log global
    maxconn 3000
    balance roundrobin
    cookie SESSION_COOKIE insert indirect nocache
    server web01 192.168.220.10:80 check inter 2000 fall 5   //RS1
    server web02 192.168.220.20:80 check inter 2000 fall 5   //RS2
    #server web01 192.168.80.102:80 cookie web01 check inter 2000 fall 5
- 1
- 2
- 3
- 4
- 5
- 6
- 7
- 8
- 9
- 10
- 11
- 12
- 13
- 14
- 15
- 16
- 17
- 18
- 19
- 20
- 21
- 22
- 23
- 24
- 25
- 26
- 27
- 28
- 29
- 30
- 31
- 32
- 33
- 34
- 35
- 36
- 37
- 38
- 39
- 40
- 41
- 42
- 43
- 44
- 45
- 46
- 47
- 48
- 49
- 50
- 51
- 52
- 53
- 54
- 55
- 56
- 57
- 58
- 59
- 60
haproxy.service文件编写
[root@haproxy ~]# cat /usr/lib/systemd/system/haproxy.service
[Unit]
Description=HAProxy Load Balancer
After=syslog.target network.target

[Service]
ExecStartPre=/usr/local/haproxy/sbin/haproxy -f /etc/haproxy/haproxy.cfg   -c -q
ExecStart=/usr/local/haproxy/sbin/haproxy -Ws -f /etc/haproxy/haproxy.cfg  -p /var/run/haproxy.pid
ExecReload=/bin/kill -USR2

[Install]
WantedBy=multi-user.target

[root@haproxy ~]# systemctl daemon-reload
[root@haproxy haproxy]# systemctl enable --now haproxy  /启动并设置开机自启

[root@haproxy system]# systemctl status haproxy.service
● haproxy.service - HAProxy Load Balancer
   Loaded: loaded (/usr/lib/systemd/system/haproxy.service; enabled; vendor preset>
   Active: active (running) since Mon 2022-08-15 18:29:31 CST; 9s ago
  Process: 49688 ExecStartPre=/usr/local/haproxy/sbin/haproxy -f /etc/haproxy/hapr>
 Main PID: 49691 (haproxy)
    Tasks: 5 (limit: 11175)
- 1
- 2
- 3
- 4
- 5
- 6
- 7
- 8
- 9
- 10
- 11
- 12
- 13
- 14
- 15
- 16
- 17
- 18
- 19
- 20
- 21
- 22
- 23
- 24
启用日志
[root@haproxy ~]# vim /etc/rsyslog.conf
local0.*                        /var/log/haproxy.log
[root@haproxy ~]# systemctl enable --now rsyslog
- 1
- 2
- 3
- 4
网页登陆测试
声明:本文内容由网友自发贡献,版权归原作者所有,本站不承担相应法律责任。如您发现有侵权的内容,请联系我们。转载请注明出处:【wpsshop博客】
推荐阅读
相关标签

