
热门标签
热门文章
- 1ubuntu查看 固态硬盘位置_在Ubuntu(Linux)中启用固态硬盘(固态硬盘)TRIM | MOS86...
- 2刚拿到的《HarmonyOS应用开发者高级认证》,全网整理的题目,将近300题,100%通过_鸿蒙 关于video组件的回调事件,下列说法错误的是
- 3传感器概述_传感器 csdn
- 4Unity开发1 Unity简介
- 5Docker相关的概念
- 6MYSQL my.ini 详细配置_my.ini怎么配置
- 7亚马逊云VPC涉及到的知识点有哪些?
- 8chatgpt赋能python:Python遍历指南:掌握5种常用方法实现高效遍历_python遍历循环
- 9指定区间的链表反转问题|力扣leetcode92反转链表2(cpp、Java实现)_链表内指定区间翻转 递归
- 10PyCharm:简化工作与生活,提升生产力的理想工具_pycharm优势
当前位置: article > 正文
ubuntu 16.04 tightvncserver VNC 安装配置,安装xrdp,x11vnc、Ubuntu 18.04
作者:IT小白 | 2024-03-10 05:33:53
赞
踩
tightvncserver
ubuntu 安装 VNC
1,ubuntu 安装 VNC
- ubuntu系统版本
# cat /etc/issue
Ubuntu 16.04 LTS \n \l
- 1
- 2
- tightvncserver安装
# apt-cache search tightvncserver
tightvncserver - virtual network computing server software
tightvnc-java - TightVNC java applet and command line program

# apt-get install -y tightvnserver
# apt-get install -y xfce4 xfce4-goodies
- 1
- 2
- 3
- 4
- 5
- 6
- 7
2,VNC配置
- VNC设置密码
# vncserver

You will require a password to access your desktops.

Password:
- 1
- 2
- 3
- 4
- 5
- 选择N
Would you like to enter a view-only password (y/n)? n
- 1
- 关闭VNC服务
# ps aux | grep vnc
root     14031  0.0  0.3  14904  6448 ?        S    12月12   0:00 Xtightvnc :1
root     16565  0.0  0.2   8164  4952 ?        S    12月12   0:00 Xtightvnc :2

# vncserver -kill :1
Killing Xtightvnc process ID 14031

# vncserver -kill :2
Killing Xtightvnc process ID 16565
- 1
- 2
- 3
- 4
- 5
- 6
- 7
- 8
- 9
- 修改VNC配置文件添加
startxfce4 &
# vim .vnc/xstartup

#!/bin/sh

#/etc/X11/Xresources/x11-common
xrdb $HOME/.Xresources
startxfce4 &
- 1
- 2
- 3
- 4
- 5
- 6
- 7
- 运行VNC
# vncserver
New 'X' desktop is ubuntu:1
- 1
- 2
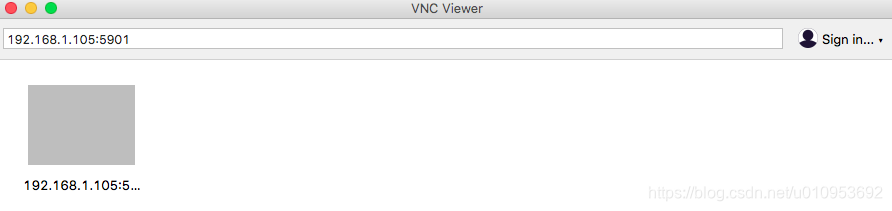
3,macOS VNC Viewer 安装
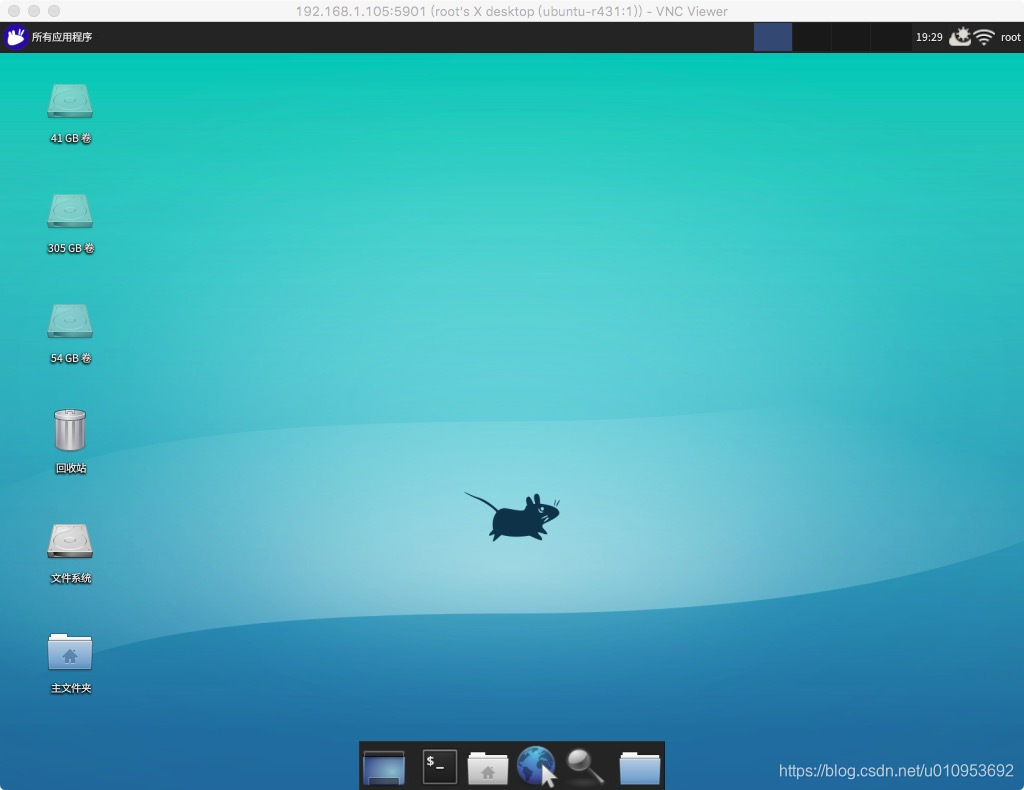
- VNC连接
- 连接成功,但不是实时画面
4,安装xrdp
# apt-get install -y  xrdp

# apt-cache search vnc4server
vnc4server - Virtual network computing server software
# apt-get install -y vnc4server

# /etc/init.d/xrdp restart
[ ok ] Restarting xrdp (via systemctl): xrdp.service.
- 1
- 2
- 3
- 4
- 5
- 6
- 7
- 8
- 9
5,macOS 使用Microsoft Remote Desktop 连接ubuntu
- Microsoft Remote Desktop百度网盘地址
链接:https://pan.baidu.com/s/1pUrgIL1i8MC1Ax2cL_1BcQ 密码:5lib
- 1


- 连接成功 没有背景
# apt-get install -y xubuntu-desktop
# reboot

# pwd
/root
# touch .xsession
# chmod 775 .xsession
# echo xfce4-session > .xsession

# cat .xsession
xfce4-session

# vim /etc/xrdp/startwm.sh
#!/bin/sh

if [ -r /etc/default/locale ]; then
  . /etc/default/locale
  export LANG LANGUAGE
fi

xfce4-session
. /etc/X11/Xsession

# /etc/init.d/xrdp restart
[ ok ] Restarting xrdp (via systemctl): xrdp.service.

- 1
- 2
- 3
- 4
- 5
- 6
- 7
- 8
- 9
- 10
- 11
- 12
- 13
- 14
- 15
- 16
- 17
- 18
- 19
- 20
- 21
- 22
- 23
- 24
- 25

6,安装teamviewer实时控制桌面
# apt-cache search teamviewer
teamviewer - Remote control and meeting solution

# apt-get install -y teamviewer
- 1
- 2
- 3
- 4
7,x11vnc 安装,实时远程桌面
- 安装 x11vnc
# apt-cache search x11vnc
# apt-get install -y x11vnc
# x11vnc -storepasswd

# cd /lib//systemd/system
# touch x11vnc.service
# chmod 775 x11vnc.service
# vim /lib/systemd/system/x11vnc.service

[Unit]
Description=Start x11vnc at startup.
After=multi-user.target

[Service]
Type=simple
ExecStart=/usr/bin/x11vnc -auth guess -forever -loop -noxdamage -repeat -rfbauth /root/.vnc/passwd -rfbport 5901  -shared

[Install]
WantedBy=multi-user.target
- 1
- 2
- 3
- 4
- 5
- 6
- 7
- 8
- 9
- 10
- 11
- 12
- 13
- 14
- 15
- 16
- 17
- 18
- 19
- 20
- 21
- 运行 x11vnc
# systemctl daemon-reload
# systemctl start x11vnc.service
# systemctl status x11vnc.service

# systemctl enable x11vnc.service
- 1
- 2
- 3
- 4
- 5
- x11vnc 运行报错
# x11vnc
XOpenDisplay("") failed.
- 1
- 2
- 更新软件和系统
# apt-get update && apt-get upgrade && apt-get dist-upgrade
- 1
- 升级gnome
# apt-get install -y gnome-shell ubuntu-gnome-desktop
# gnome-shell --version
GNOME Shell 3.18.5
- 1
- 2
- 3
- 在本机运行x11vnc,使用其它主机ssh远程访问运行x11vnc会报错
XOpenDisplay("") failed.
- 1
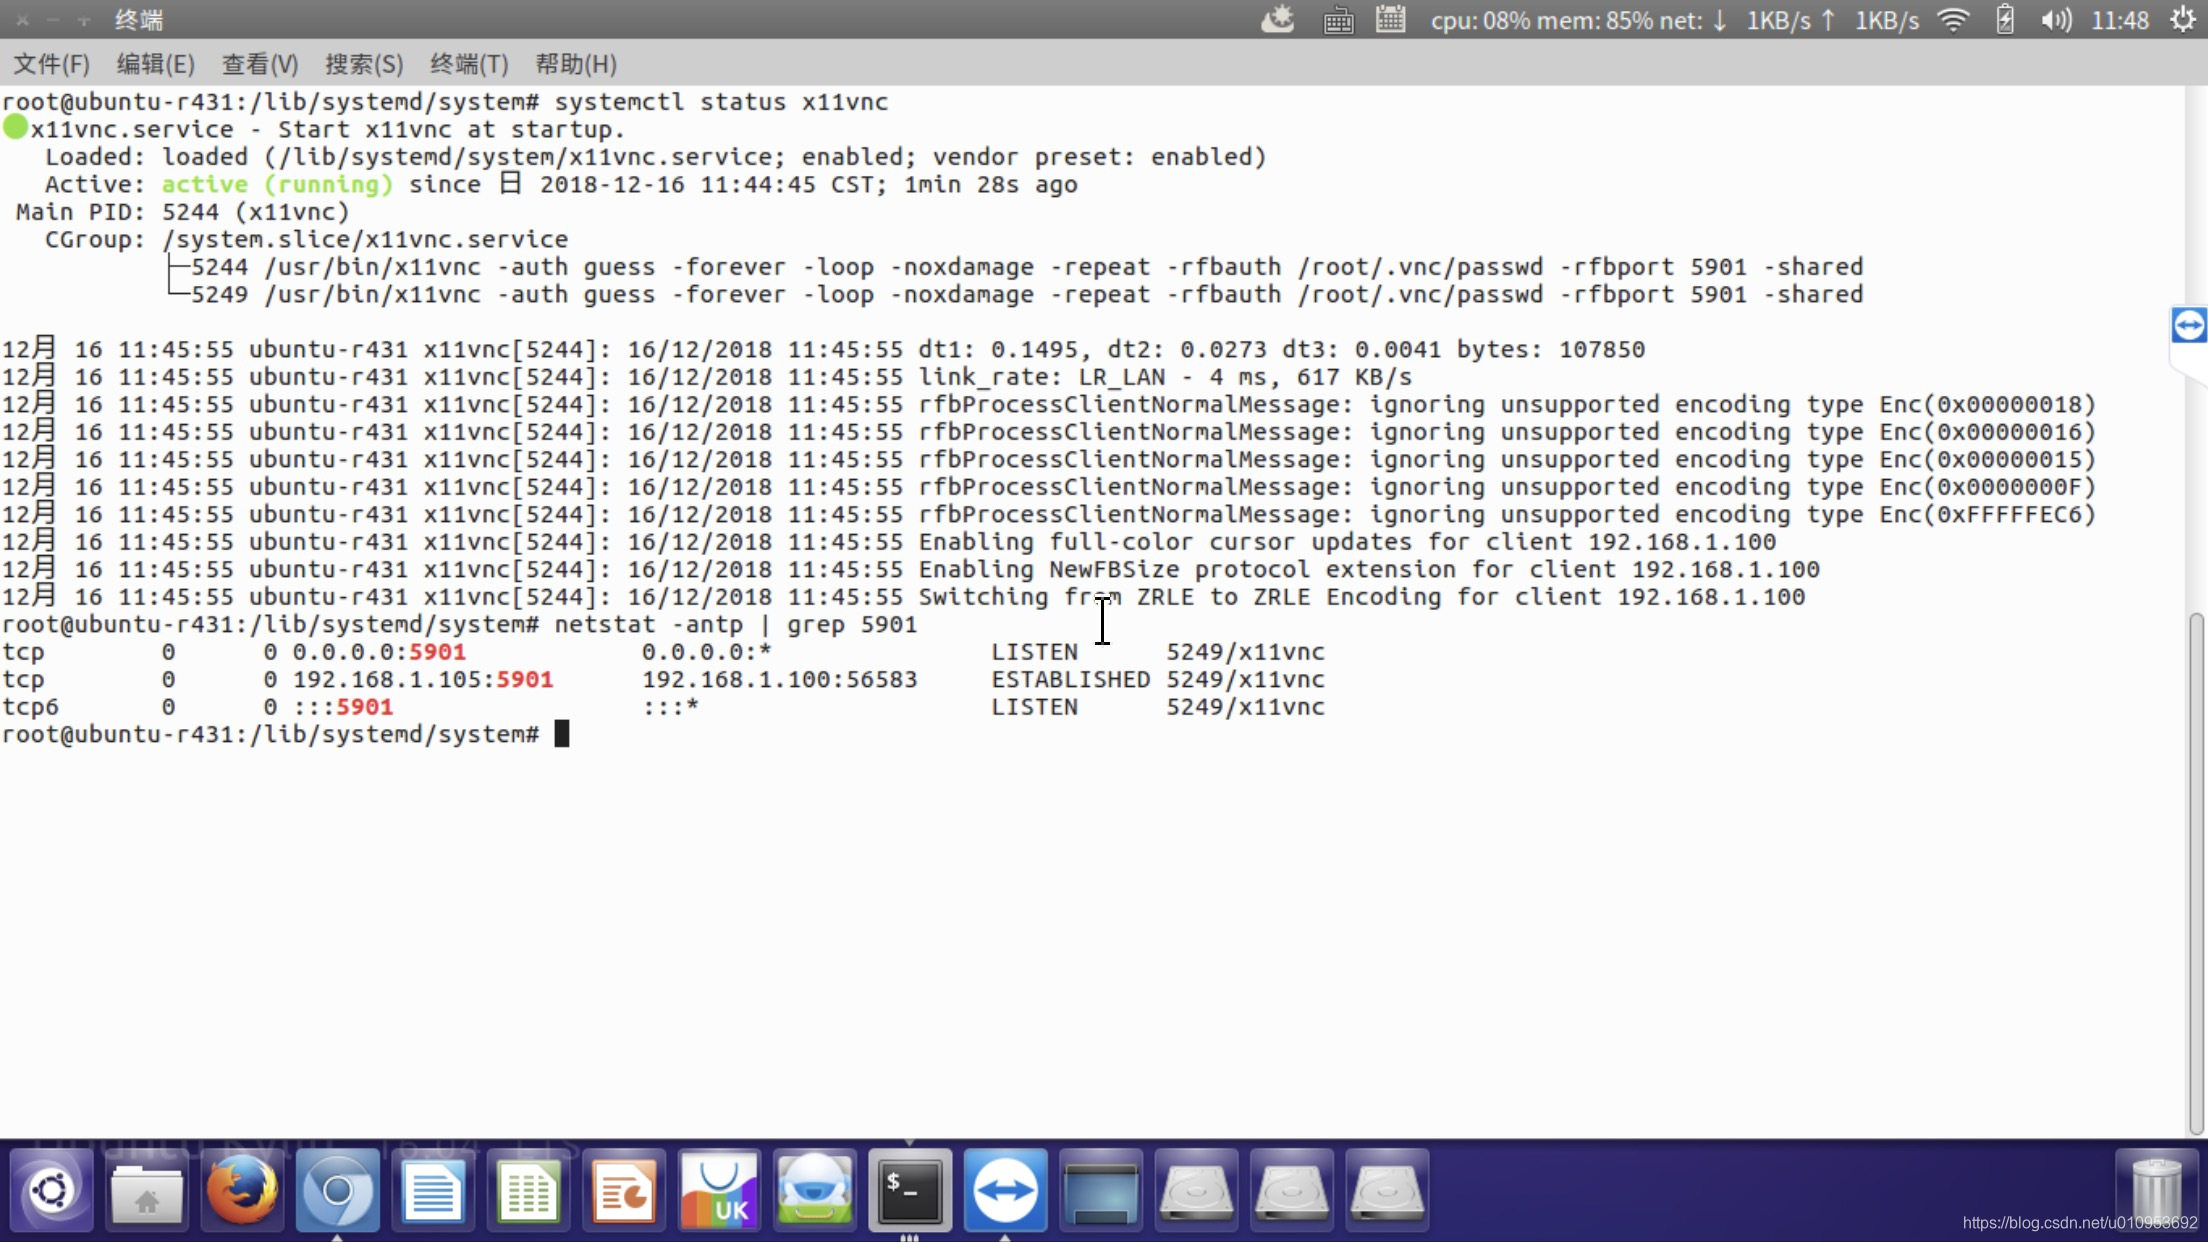
- 使用vnc viewer 连接 X11vnc
# systemctl status x11vnc
● x11vnc.service - Start x11vnc at startup.
   Loaded: loaded (/lib/systemd/system/x11vnc.service; enabled; vendor preset: enabled)
   Active: active (running) since 日 2018-12-16 11:44:45 CST; 1min 28s ago
 Main PID: 5244 (x11vnc)
   CGroup: /system.slice/x11vnc.service
           ├─5244 /usr/bin/x11vnc -auth guess -forever -loop -noxdamage -repeat -rfbauth /root/.vnc/passwd -rfbport 5901 -shared
           └─5249 /usr/bin/x11vnc -auth guess -forever -loop -noxdamage -repeat -rfbauth /root/.vnc/passwd -rfbport 5901 -shared
- 1
- 2
- 3
- 4
- 5
- 6
- 7
- 8
- 9
-
使用 frp + x11vnc 替代 teamviewer
-
frp 安装
内网穿透 frp,ssh远程访问内网 -
修改frpc.ini 转发5901端口到VPS服务器
# vim frpc.ini
[x11vnc]
type = tcp
local_ip = 127.0.0.1
local_port = 5901
remote_port = 5901
- 1
- 2
- 3
- 4
- 5
- 6
- 7
- 8
- 远程连接X11vnc ,服务器ip:5901
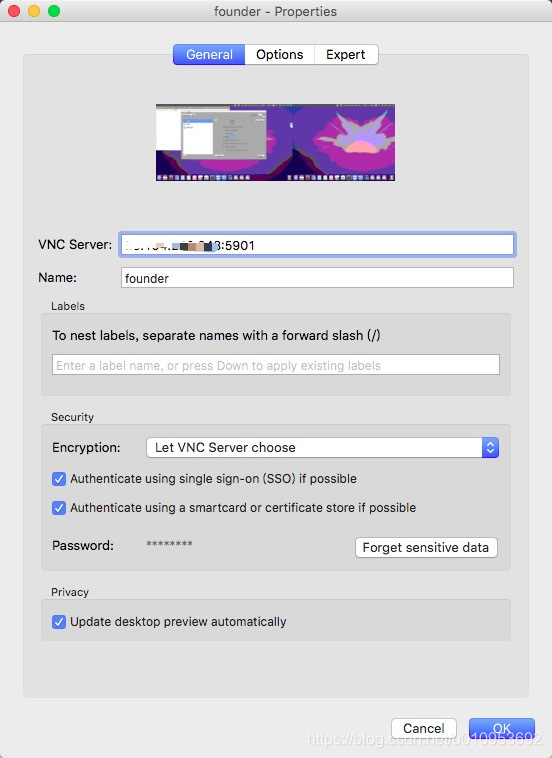
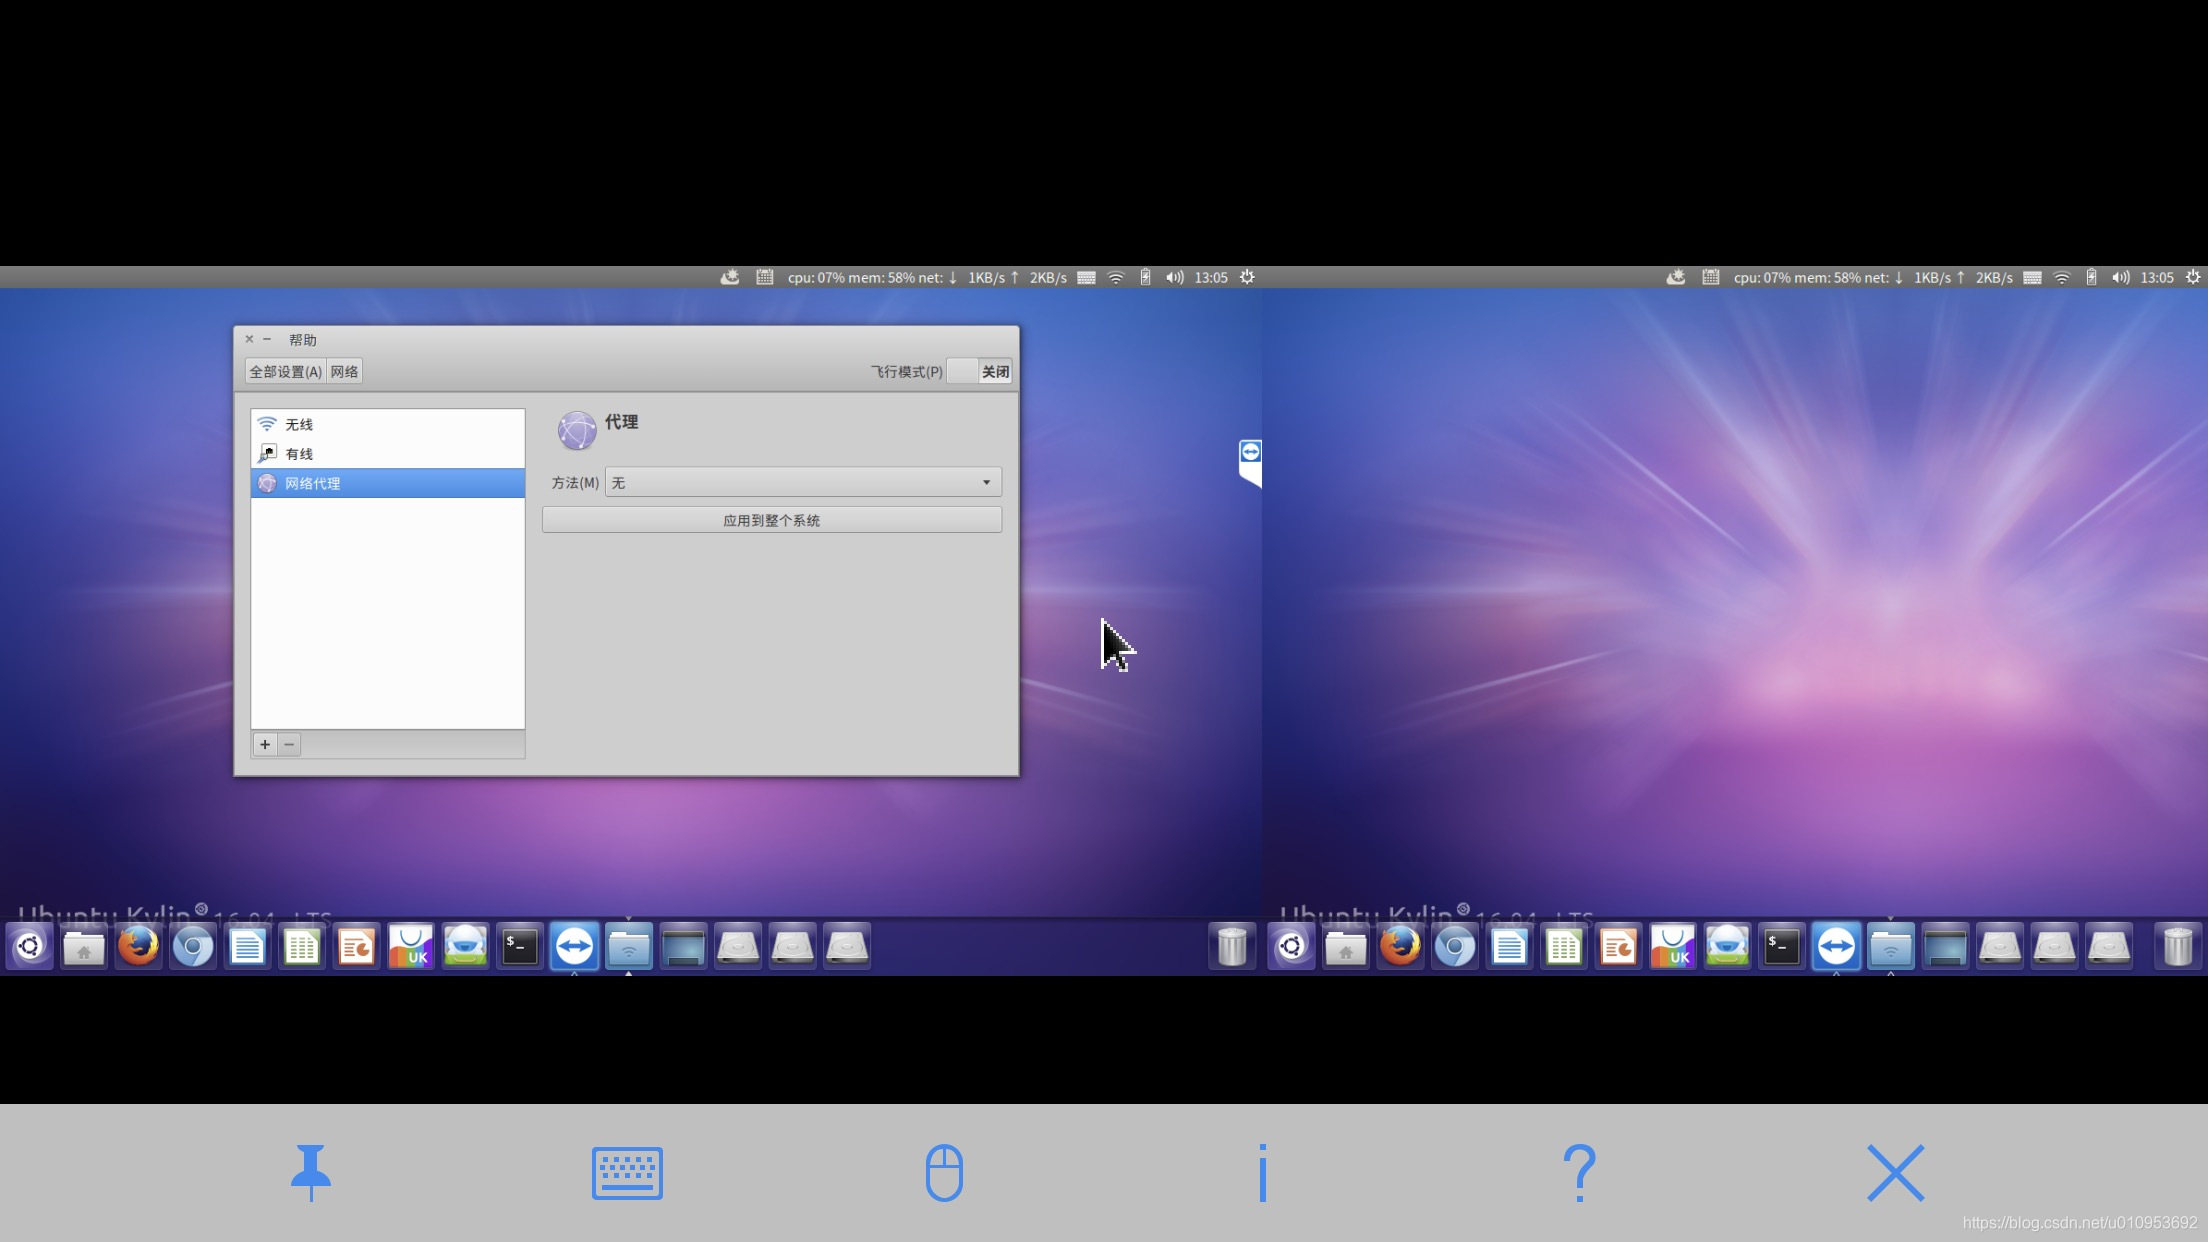
问题:有2个画面,分辨率不对
- 设置ubuntu分辨率,关闭unknow display

8,Ubuntu 18.04安装 x11vnc
- 测试x11vnc
# x11vnc
The VNC desktop is:      R:0
PORT=5900
- 1
- 2
- 3


- x11vnc 使用密码连接
# x11vnc -storepasswd
# x11vnc -rfbauth /root/.vnc/passwd
- 1
- 2
# x11vnc -forever -loop -noxdamage -repeat -rfbauth /root/.vnc/passwd -rfbport 5900 -shared -o /var/log/x11vnc.log
- 1
- 2
- 使用服务器代理端口5900
[common]
server_addr =  服务器IP地址
server_port = 7000

[x11vnc]
type = tcp
local_ip = 127.0.0.1
local_port = 5900
remote_port = 5900
- 1
- 2
- 3
- 4
- 5
- 6
- 7
- 8
- 9

参考:
声明:本文内容由网友自发贡献,不代表【wpsshop博客】立场,版权归原作者所有,本站不承担相应法律责任。如您发现有侵权的内容,请联系我们。转载请注明出处:https://www.wpsshop.cn/w/IT小白/article/detail/217295
推荐阅读
相关标签

