
热门标签
热门文章
- 1[ATF]-ATF启动--BL31跳转到optee和uboot_atf怎么跳uboot
- 2全面超越DPO:陈丹琦团队提出简单偏好优化SimPO,还炼出最强8B开源模型
- 3 哲理故事三百篇 _落魄的三个人那个人问他请问这个森林有尽头吗那,那个时代的国度现在已经落魄
- 4Matlab读取CSV文件_matlab读csv
- 5最强开源大模型面世:阿里发布Qwen2_qwen2 开源
- 6TPC-H建表语句(MySQL语法)
- 7机器学习引领教育革命:智能教育的新时代
- 8Selenium IDE使用指南六(指令列表)_drag and drop to object
- 9TreeSet集合的使用_treeset的原理是什么?使用需要注意什么?
- 10短剧系统上架抖音需要什么资质?
当前位置: article > 正文
springboot集成mqtt(emqx)_springboot emqx
作者:Guff_9hys | 2024-06-23 00:24:37
赞
踩
springboot emqx
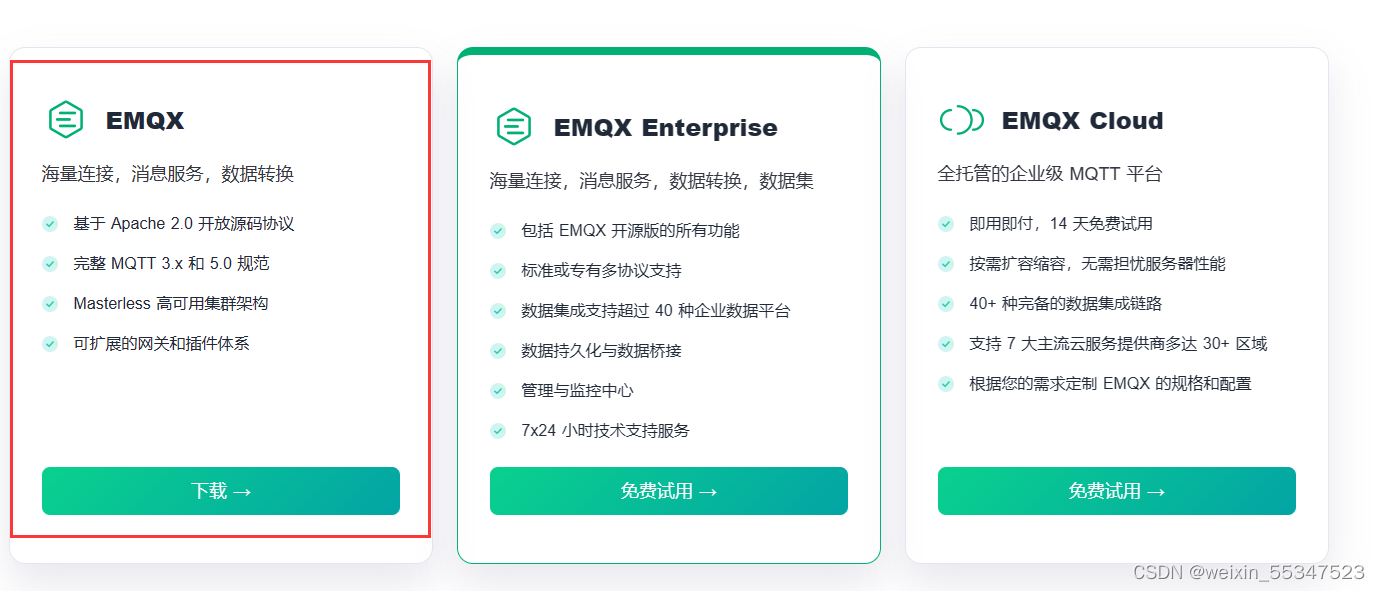
emqx官网下载地址 :https://www.emqx.io/zh
选择开源版本 就够用
这里有各种操作系统版本供选择

先来windows 配置
下载完成后安装进入bin目录
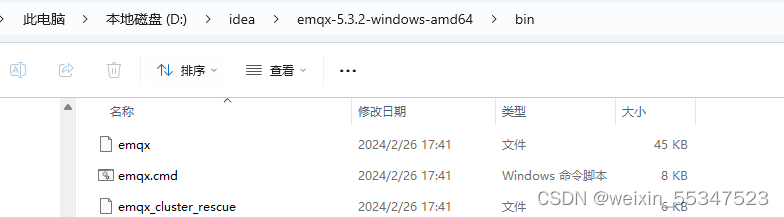
直接cmd
- .\emqx.cmd console //控制台启动
- .\emqx.cmd start //后台启动
- 启动完成 访问localhost:18083 默认控制台web端口
- 默认控制台账号密码 admin public
- 默认长连接 tcp://localhost:1883
这里因为只有一台电脑就直接搭建伪集群了
- windows集群搭建
-
-
- //node称之为节点 name节点名称 每个节点唯一 cookie 当搭建集群时 cookie 是节点通信的关键
- node {
- name = "emqx2@127.0.0.1"
- cookie = "emqxsecretcookie"
- data_dir = "data"
- }
- //集群配置 name集群名称 集群下所有的节点都是这个名称 static静态配置集权节点 seeds 节点信息
- cluster {
- name = emqxcl
- discovery_strategy = static
- static {
- seeds = ["emqx@127.0.0.1","emqx2@127.0.0.1"]
- }
- }
- //默认监听端口tcp max_connections 最大连接数
- listeners.tcp.default{
- bind = "0.0.0.0:1885"
- max_connections = 1024000
- }
-
- listeners.ws.default{
- bind = "0.0.0.0:8085"
- }
- listeners.ssl.default{
- bind = "0.0.0.0:8885"
- }
- listeners.wss.default{
- bind = "0.0.0.0:8086"
- }
- //默认控制台端口
- dashboard {
- listeners.http {
- bind = 18084
- }
- }
- 这里修改端口是防止端口被占用

-
- node {
- name = "emqx@127.0.0.1"
- cookie = "emqxsecretcookie"
- data_dir = "data"
- }
-
- cluster {
- name = emqxcl
- discovery_strategy = static
- static {
- seeds = ["emqx@127.0.0.1","emqx2@127.0.0.1"]
- }
- }
- dashboard {
- listeners.http {
- bind = 18083
- }
- }
- 因为刚刚的实例已经把端口分开了这里直接使用默认端口了,这样集群就实现了
下期发布linux docker搭建emqx(单个以及集群)
声明:本文内容由网友自发贡献,不代表【wpsshop博客】立场,版权归原作者所有,本站不承担相应法律责任。如您发现有侵权的内容,请联系我们。转载请注明出处:https://www.wpsshop.cn/w/Guff_9hys/article/detail/748085
推荐阅读
相关标签

