
热门标签
热门文章
- 1DevEco Studio安装模拟器和遇到错误的解决方法_deveco studio本地模拟器没有应用
- 2(七十)c#Winform自定义控件-饼状图_c# winform 饼图
- 3numpy保留小数位数
- 4Oracle19C图形界面安装教程
- 5Docker进阶教程 - 2 Docker部署SpringBoot项目_docker jar包在target目录下
- 6Windows 新增远程桌面会话连接数_windows2016 关闭远程连接多个会话
- 7微信公众平台的开发过程及其要点
- 8计算机毕业设计Java网上教学管理系统(源码+系统+mysql数据库+Lw文档)_网络教学系统实现代码
- 9Docker基础入门实战(一)_docker基础实战教程一:入门
- 10PowerShell批量启动/关闭Azure VM
当前位置: article > 正文
ROS驱动乐视相机(LeTMC-520)并获取图像(RGB和RGBD)_letmc520
作者:Cpp五条 | 2024-03-21 09:57:52
赞
踩
letmc520
目录
前言
项目要求:使用乐视相机和NVIDIA XAVIR 开发板实现定位与建图。我先在笔记本在把这个乐视相机驱动起来再移植到板子上进行开发。
乐视相机
我用的是奥比中光代工的乐视LeTMC-520。简单介绍一下,乐视三合一体感摄像头的各个功能模组分部图,包括两个MIC麦克风,一个红外投影模组,一个面部接近感知模组,一个RGB相机模组,以及一个IR相机模组。分别实现体感,手势,视频聊天的功能。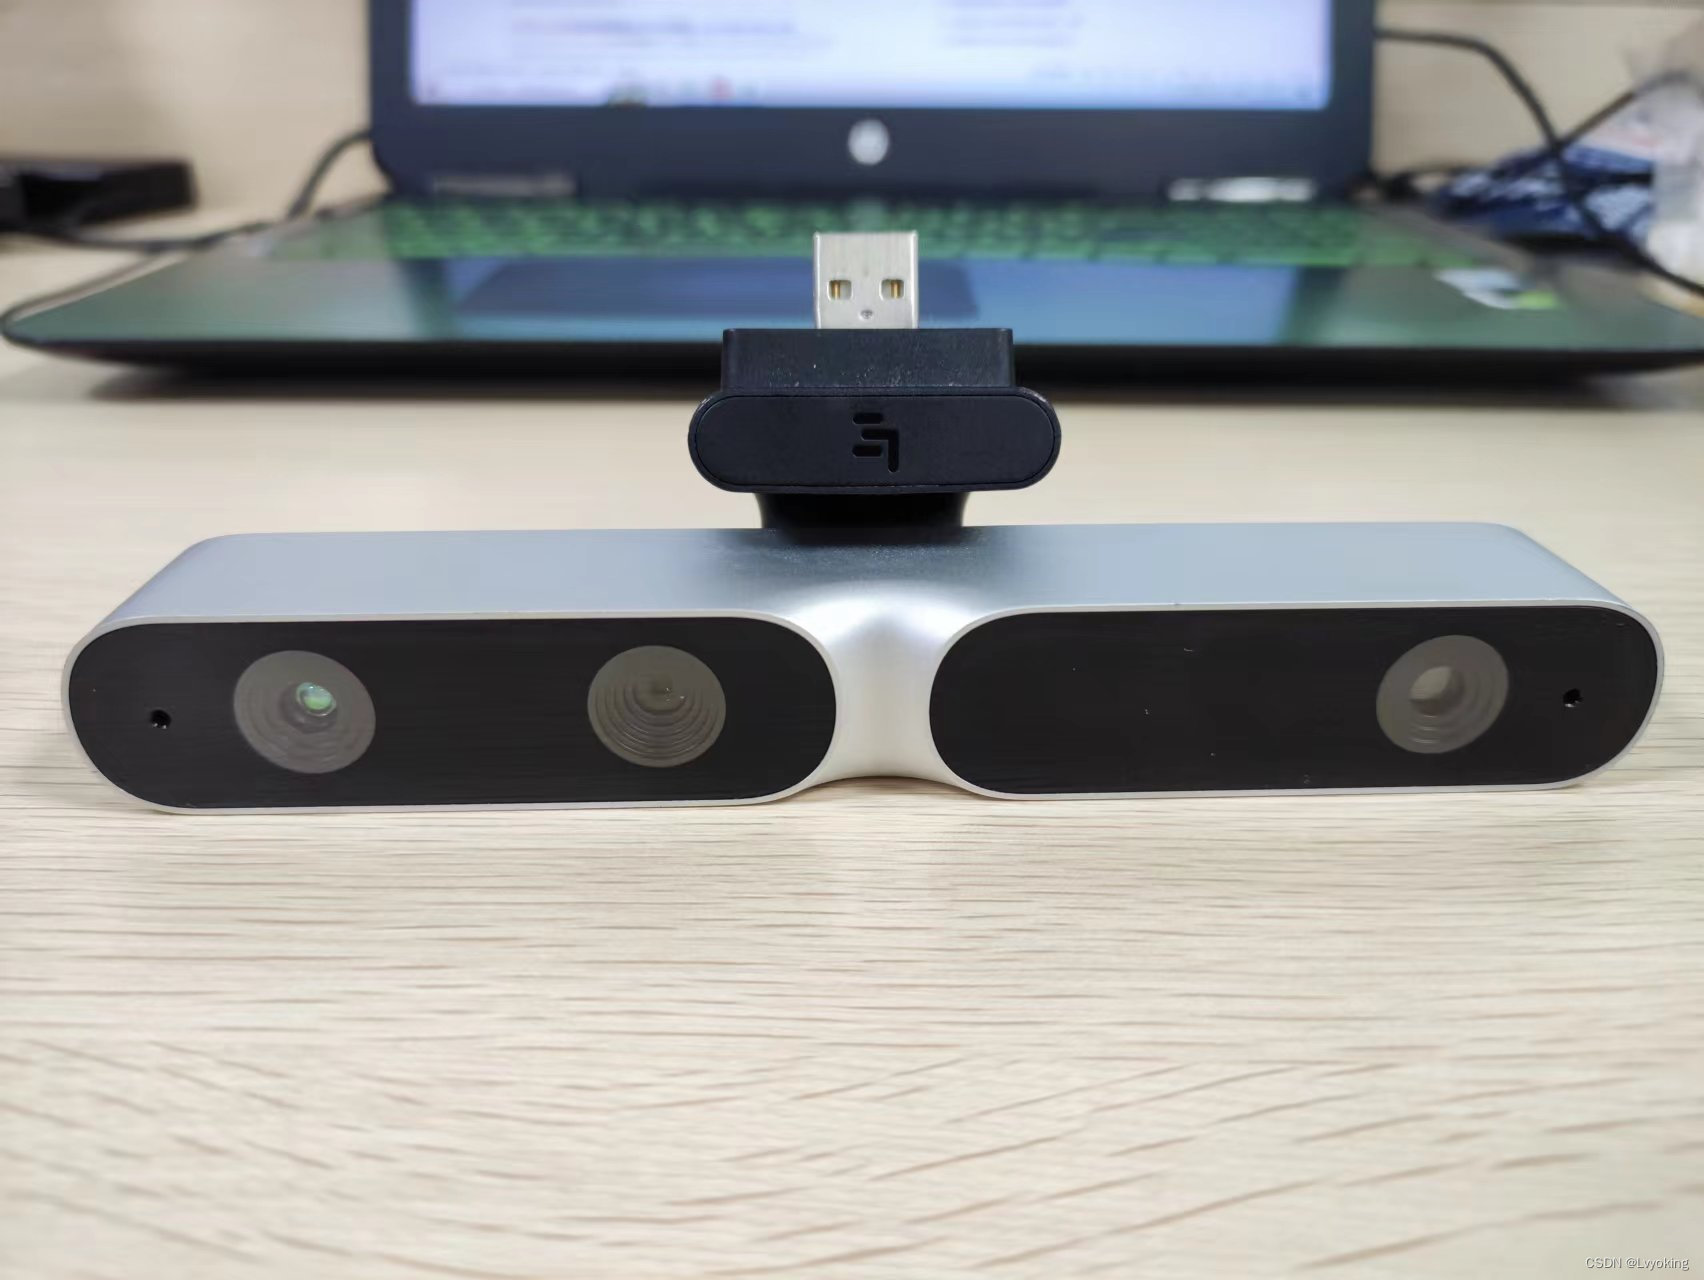
ubuntu18.04(melodic)安装ROS
1. Ubuntu18.04换源
为了避免后期的一些库下载失败,我们先提前给Ubuntu换源。这里我分享一个清华镜像源的网站给大家,针对版本不同选择自己合适的镜像源。(Ubuntu和NVIDIA XAVIR的镜像源是不同的)
Ubuntu18.04的清华镜像源:
- # 默认注释了源码镜像以提高 apt update 速度,如有需要可自行取消注释
- deb https://mirrors.tuna.tsinghua.edu.cn/ubuntu/ bionic main restricted universe multiverse
- # deb-src https://mirrors.tuna.tsinghua.edu.cn/ubuntu/ bionic main restricted universe multiverse
- deb https://mirrors.tuna.tsinghua.edu.cn/ubuntu/ bionic-updates main restricted universe multiverse
- # deb-src https://mirrors.tuna.tsinghua.edu.cn/ubuntu/ bionic-updates main restricted universe multiverse
- deb https://mirrors.tuna.tsinghua.edu.cn/ubuntu/ bionic-backports main restricted universe multiverse
- # deb-src https://mirrors.tuna.tsinghua.edu.cn/ubuntu/ bionic-backports main restricted universe multiverse
- deb https://mirrors.tuna.tsinghua.edu.cn/ubuntu/ bionic-security main restricted universe multiverse
- # deb-src https://mirrors.tuna.tsinghua.edu.cn/ubuntu/ bionic-security main restricted universe multiverse
-
- # 预发布软件源,不建议启用
- # deb https://mirrors.tuna.tsinghua.edu.cn/ubuntu/ bionic-proposed main restricted universe multiverse
- # deb-src https://mirrors.tuna.tsinghua.edu.cn/ubuntu/ bionic-proposed main restricted universe multiverse
- # 打开终端输入以下命令:
-
- # 1.备份默认的源
- sudo cp /etc/apt/sources.list /etc/apt/sources_default.list
-
- # 2.打开sources.list文件
- cd etc/apt
- sudo gedit sources.list
-
- # 3.将原始内容删除并把以上的清华镜像源复制上,保存后更新
- sudo apt-get update
-
2. 安装ROS
2.1 设置软件源
sudo sh -c '. /etc/lsb-release && echo "deb http://mirrors.tuna.tsinghua.edu.cn/ros/ubuntu/ $DISTRIB_CODENAME main" > /etc/apt/sources.list.d/ros-latest.list'2.2 设置密钥
sudo apt-key adv --keyserver keyserver.ubuntu.com --recv-keys F42ED6FBAB17C6542.3 安装ROS melodic 完整版
- # 1.先更新一下
- sudo apt-get update
-
- # 2.安装
- sudo apt-get install ros-melodic-desktop-full
2.4 安装相关的依赖
sudo apt install python-rosdep python-rosinstall python-rosinstall-generator python-wstool build-essential
2.5 ROS初始化
- sudo rosdep init
-
- rosdep update
注意:update网络延时可以看这个博客。
2.6 设置环境变量
- echo "source /opt/ros/melodic/setup.bash" >> ~/.bashrc
-
- source ~/.bashrc
2.7 小乌龟测试
- # 1.第一个终端输入:
- roscore
-
- # 2.第二个终端输入:
- rosrun turtlesim turtlesim_node
-
- # 3.第三个终端输入:
- rosrun turtlesim turtle_teleop_key
-
- # 4.可以看到有个小乌龟,并可以了键盘控制移动,证明安装ROS成功
奥比中光ROS驱动文件
1. 安装依赖
sudo apt install ros-$ROS_DISTRO-rgbd-launch ros-$ROS_DISTRO-libuvc ros-$ROS_DISTRO-libuvc-camera ros-$ROS_DISTRO-libuvc-ros ros-$ROS_DISTRO-uvc-camera
2. 创建ROS工作空间
mkdir -p ~/ros_ws/src
3. 下载Astra驱动文件
- cd ~/ros_ws/src
-
- git clone https://github.com/orbbec/ros_astra_camera
4. 编译Astra驱动文件
- cd ~/ros_ws/
-
- catkin_make
期间可能会遇到opencv版本不对的问题,例如出现:
CMake Error at /opt/ros/melodic/share/cv_bridge/cmake/cv_bridgeConfig.cmake:113 (message):
解决方法:换掉ros的默认opencv版本
- # 1. 打开cv_bridgeConfig文件
- sudo gedit /opt/ros/melodic/share/cv_bridge/cmake/cv_bridgeConfig.cmake
-
- # 2. 找到以下内容:
- if(NOT "include;/usr/include;/usr/include/opencv " STREQUAL " ")
- set(cv_bridge_INCLUDE_DIRS "")
- set(_include_dirs "include;/usr/include;/usr/include/opencv")
-
- # 3. 更改为:
- if(NOT "include;/usr/local/include/opencv4 " STREQUAL " ")
- set(cv_bridge_INCLUDE_DIRS "")
- set(_include_dirs "include;/usr/local/include/opencv4")
-
- # 4. 找到以下内容:
- set(libraries "cv_bridge;/usr/lib/x86_64-linux-gnu/libopencv_core.so.3.2.0;/usr/lib/x86_64-linux-gnu/libopencv_imgproc.so.3.2.0;/usr/lib/x86_64-linux-gnu/libopencv_imgcodecs.so.3.2.0")
-
- # 5. 更改为:
- set(libraries "cv_bridge;/usr/local/lib/libopencv_core.so.4.3.0;/usr/local/lib/libopencv_imgproc.so.4.3.0;/usr/local/lib/libopencv_imgcodecs.so.4.3.0")
- foreach(library ${libraries})

期间也有可能遇到一些库文件没找到,可以用sudo apt-get install ros-melodic-*** (你需要安装的库文件)。
使用步骤
1. 在ros工作空间打开终端,输入:
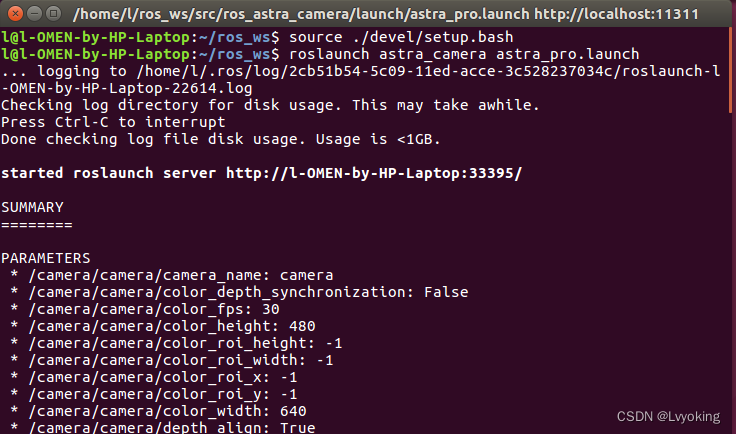
roslaunch astra_camera astra_pro.launch
如果出现以下错误,有可能的原因:1. 查看打开终端的路径是否有错 2. 查看launch文件名称是否有错 3.环境没有配置好

我这里是环境没配置好。所以要先输入 source ./devel/setup.bash,后面正常。
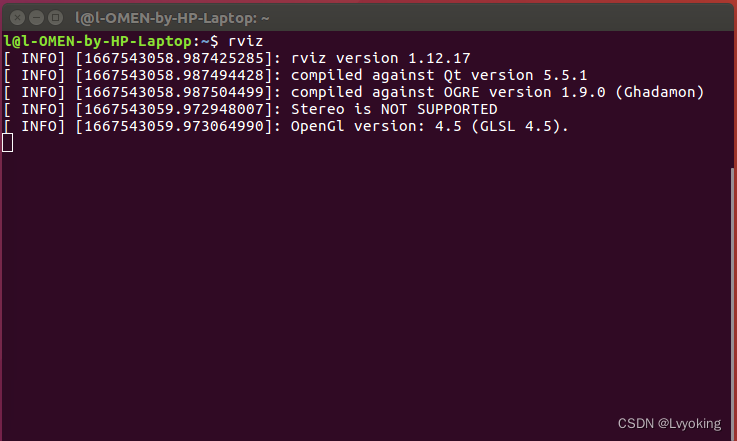
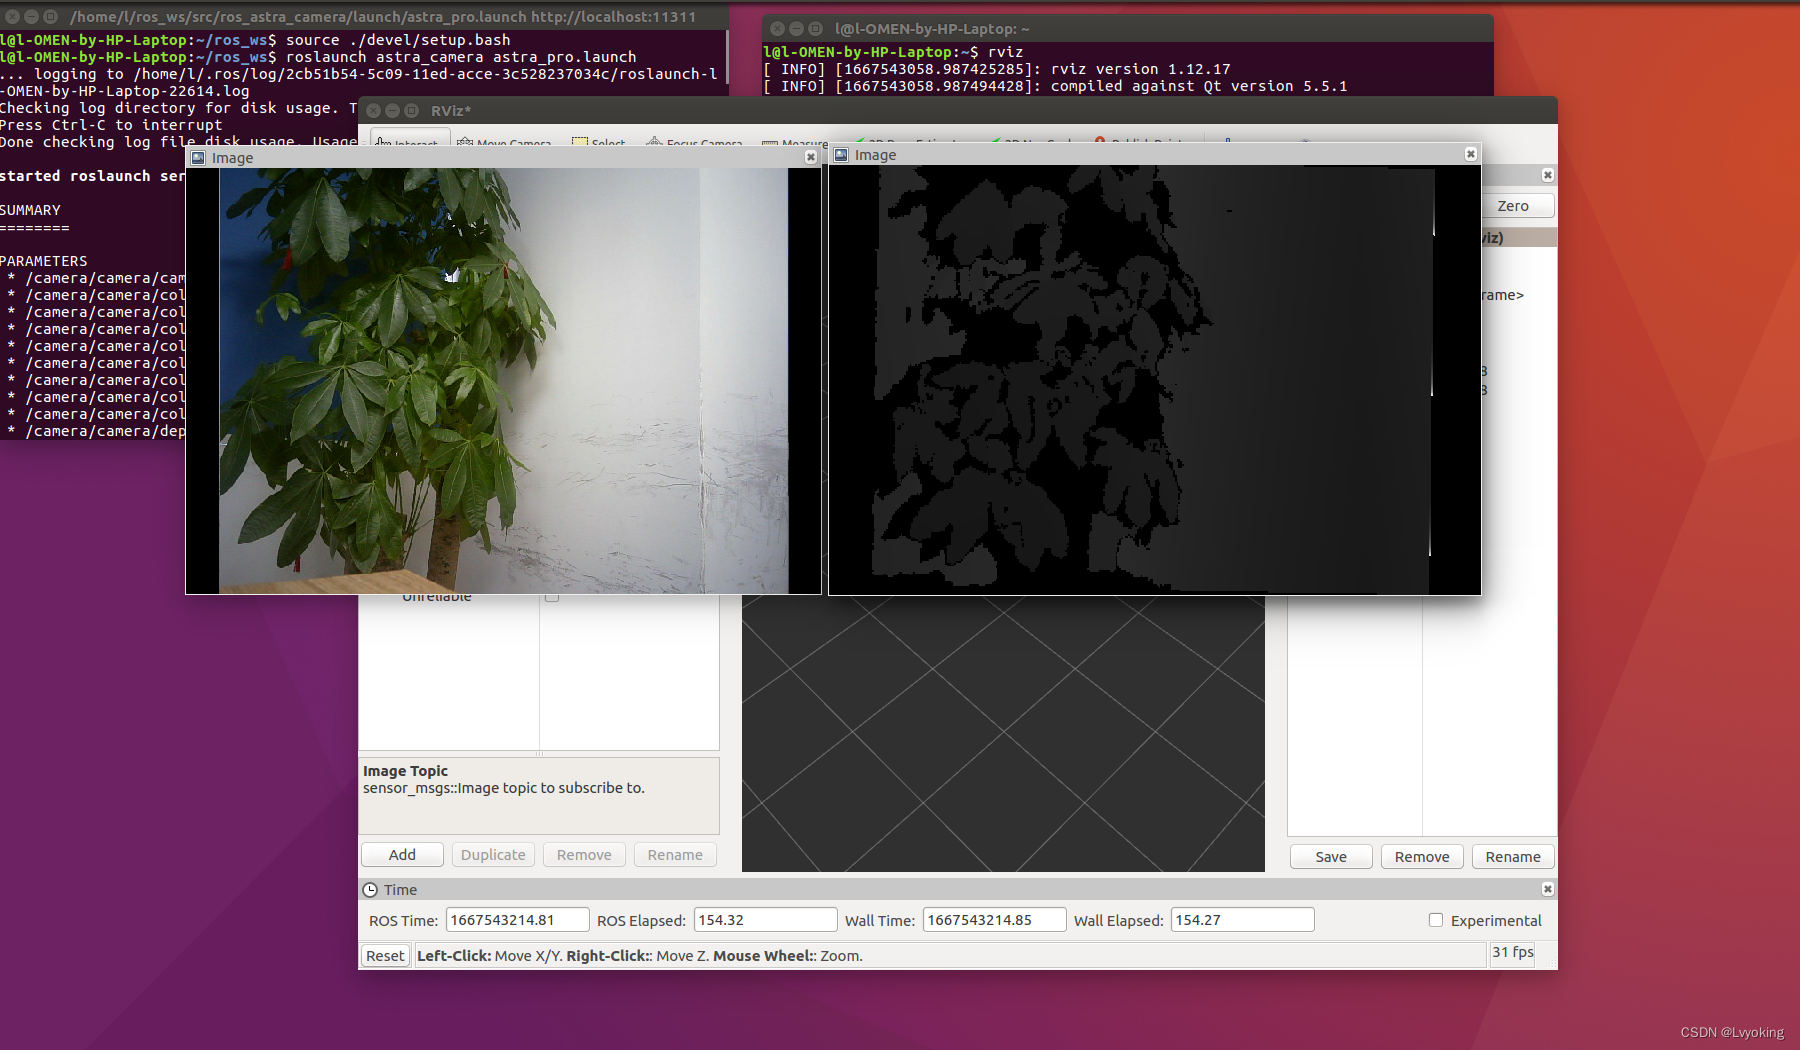
2. 再打开一个终端,输入rviz 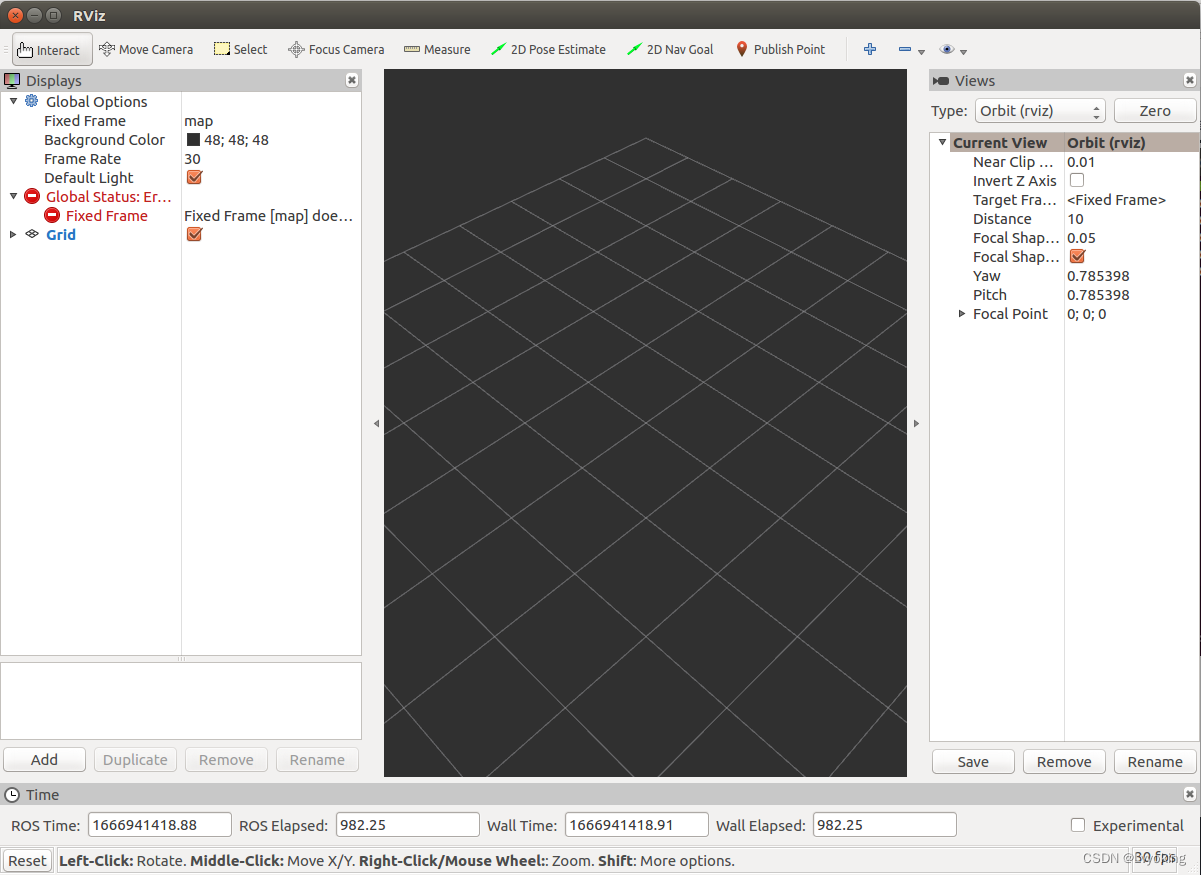
3. 订阅RGB和RBG-D相机
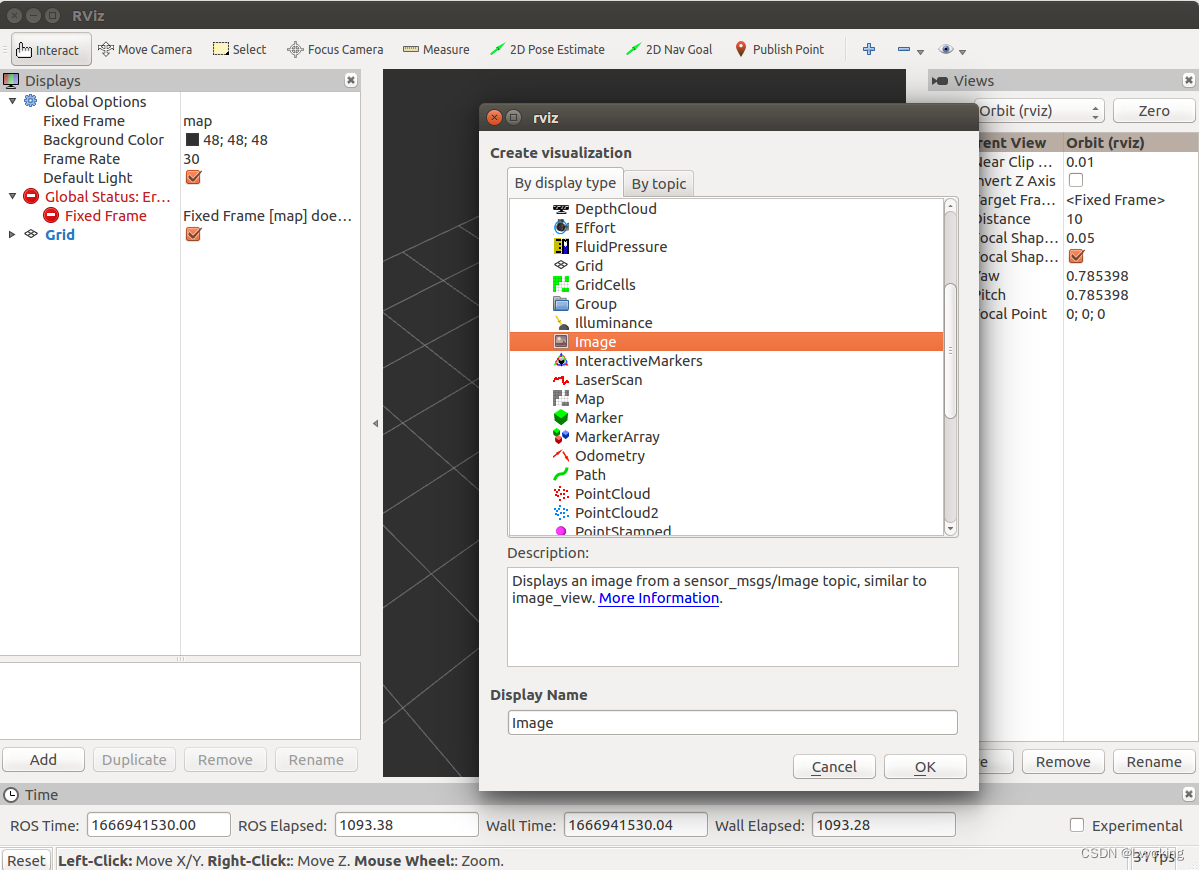
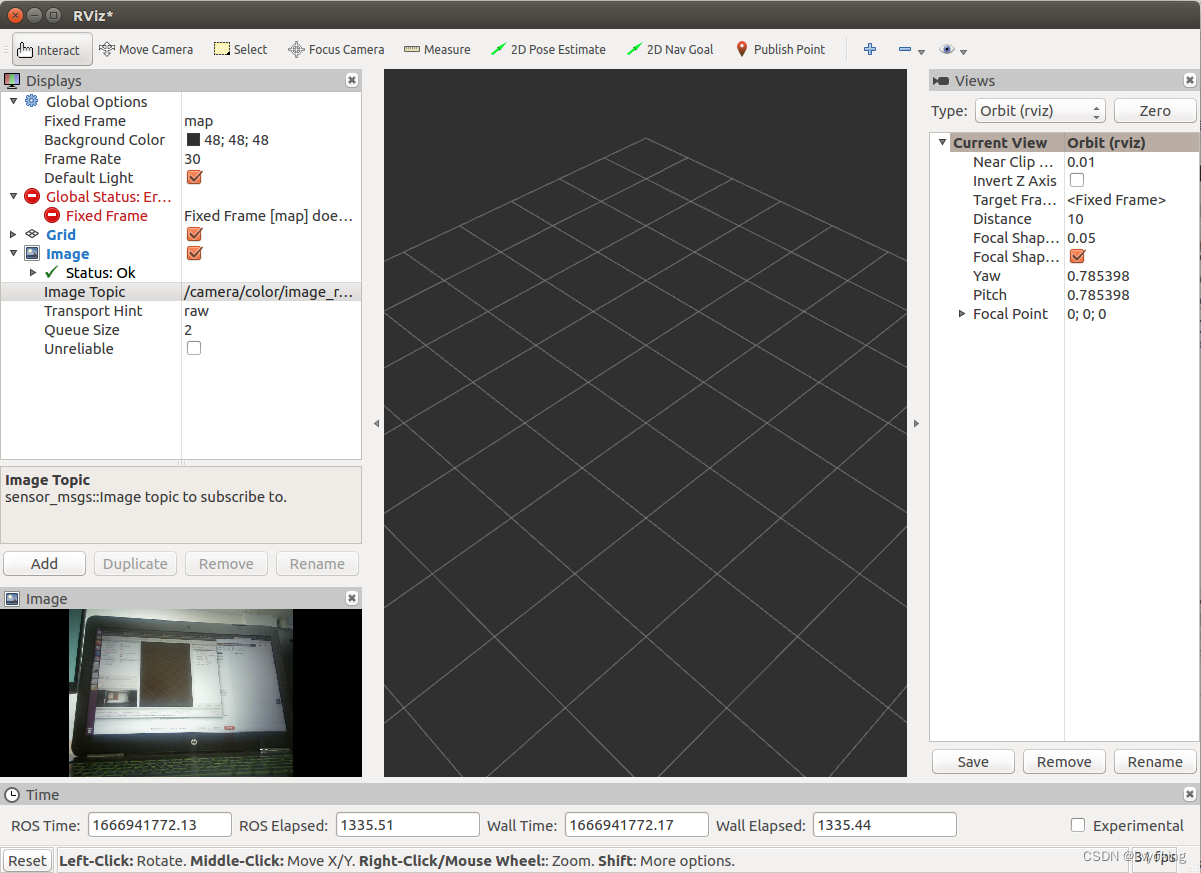
RBG-D相机同理添加即可。
4. 获取RGB和RGB-D图像
利用python文件进行图像的提取与保存,以下是代码:
- #!/usr/bin/env python
- # -*- coding: utf-8 -*-
-
- import rospy
- from geometry_msgs.msg import PointStamped
- from nav_msgs.msg import Path
- from sensor_msgs.msg import Image
- import cv2 as cv
- import numpy as np
- from cv_bridge import CvBridge
-
- class save_image():
- def __init__(self):
- self.count = 0
- self.cvbridge = CvBridge()
-
- def message(self, data):
- print(data.encoding)
-
-
- def save_image(self, data):
- image = self.cvbridge.imgmsg_to_cv2(data, desired_encoding='8UC3')
- image = cv.cvtColor(image,cv.COLOR_BGR2RGB)
-
-
- if self.count < 10:
- name = '00000{}'.format(self.count)
- elif self.count < 100 and self.count >= 10:
- name = '0000{}'.format(self.count)
- elif self.count < 1000 and self.count >= 100:
- name = '00{}'.format(self.count)
- elif self.count < 10000 and self.count >= 1000:
- name = '0{}'.format(self.count)
- elif self.count < 100000 and self.count >= 10000:
- name = '{}'.format(self.count)
- else:
- name = '0000000000000'
-
- cv.imwrite('/home/l/ros_ws/src/image/{}.ppm'.format(name), image)
-
- print('image: {}'.format(name))
-
-
-
-
- def save_depth(self, data):
- depth = self.cvbridge.imgmsg_to_cv2(data, desired_encoding='16UC1')
-
-
- if self.count < 10:
- name = '00000{}'.format(self.count)
- elif self.count < 100 and self.count >= 10:
- name = '0000{}'.format(self.count)
- elif self.count < 1000 and self.count >= 100:
- name = '000{}'.format(self.count)
- elif self.count < 10000 and self.count >= 1000:
- name = '00{}'.format(self.count)
- elif self.count < 100000 and self.count >= 10000:
- name = '0{}'.format(self.count)
- else:
- name = '0000000000000'
-
- cv.imwrite('/home/l/ros_ws/src/depth/{}.pgm'.format(name), depth)
-
- print('depth: {}'.format(name))
- self.count += 1
-
- '''-------------define main----------------'''
- if __name__ == '__main__':
- try:
- a = save_image()
- rospy.init_node('save_image', anonymous = True)
- rospy.Subscriber("/camera/color/image_raw",
- Image,
- a.save_image)
- rospy.Subscriber("/camera/depth/image_raw",
- Image,
- a.save_depth)
- rospy.spin()
- except rospy.ROSInterruptException:
- pass
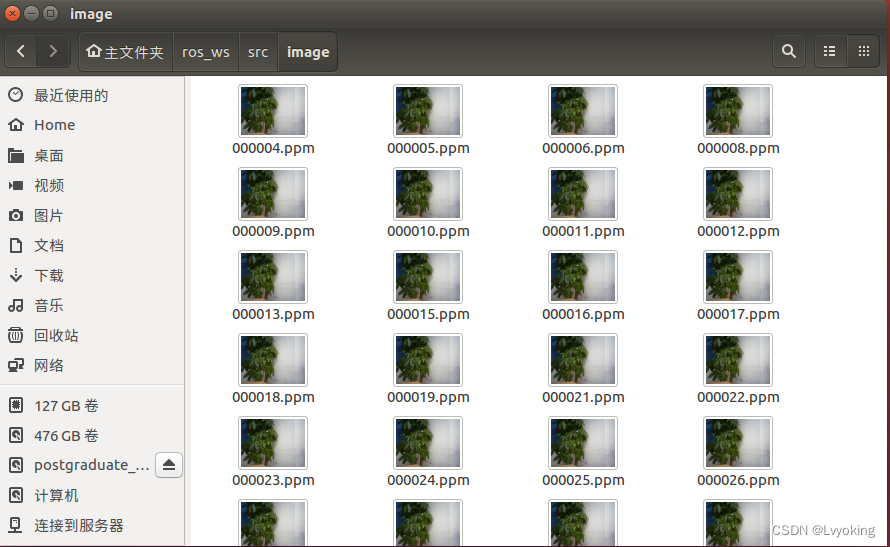
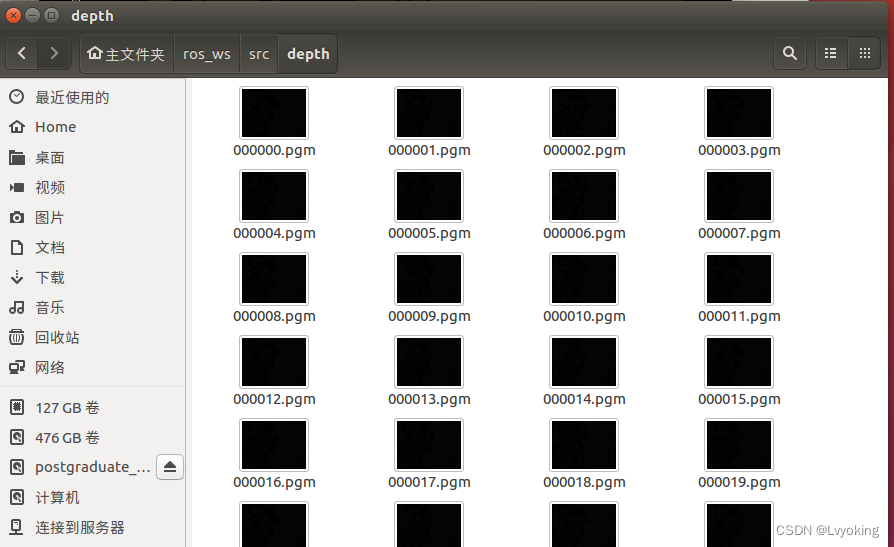
注意需要在python文件同目录下新建名为depth和image文件夹,用于保存图片。
4.1 在ROS工作空间打开终端
- # 环境初始化
- source ./devel/setup.bash
-
- # 运行launch文件
- roslaunch astra_camera astra_pro.launch
4.2 打开rviz
- # 在另一个终端输入
- rviz
-
- # 按照上述步骤订阅color和depth相机
4.3 运行python文件
- # 在你保存的文件目录下打开终端并输入
- python catch.py(你的python文件名)
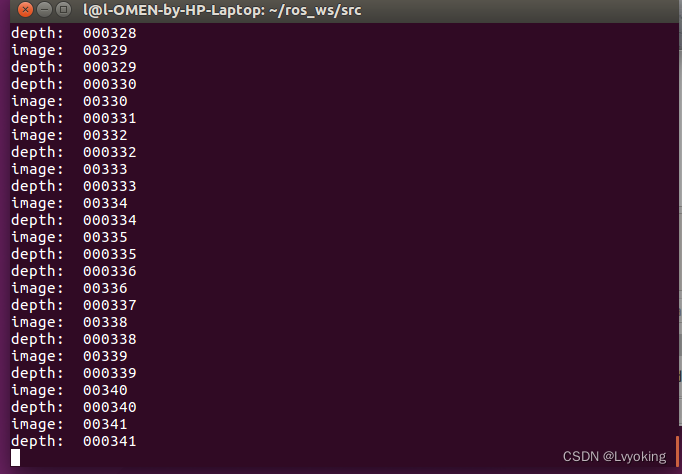
然后在同目录下的image和depth文件夹里面有你保存的图像
总结
本篇主要是环境的搭建,后续更新项目的搭建。
声明:本文内容由网友自发贡献,不代表【wpsshop博客】立场,版权归原作者所有,本站不承担相应法律责任。如您发现有侵权的内容,请联系我们。转载请注明出处:https://www.wpsshop.cn/w/Cpp五条/article/detail/280224
推荐阅读
相关标签

