
热门标签
热门文章
- 1基于python flask茶叶网站数据大屏设计与实现,可以做期末课程设计或者毕业设计
- 2MySQL 5.7 服务端 错误码 (机翻)_er_error_on_close
- 3云计算-运维笔记_type="ethernet
- 4Unity Shader零基础入门1:纯色物体_unity3d物体没有白色
- 5从 Amazon Connect 全球云呼叫中心服务 SSO 构建流程
- 6CSAPP Bomb lab(内含答案)_bomblab所有答案总结
- 7Java高并发解决方案_java高并发解决方案技术
- 8Windows主机中构建适用于K8S Operator开发环境_k8s windows搭建
- 9【笔记】LeetCode字符串匹配_leetcode 字符串匹配
- 10一个心塞的手忙脚乱的项目结束后的总结_项目结束各奔天涯
当前位置: article > 正文
springboot完整项目开发_如何实现java项目的快速开发?Spring Boot +SSM 入门教程
作者:代码探索者 | 2024-02-03 18:36:07
赞
踩
java项目快速开发接口
如何实现java项目的快速开发?5分钟搭建好框架!Spring Boot +SSM 入门教程
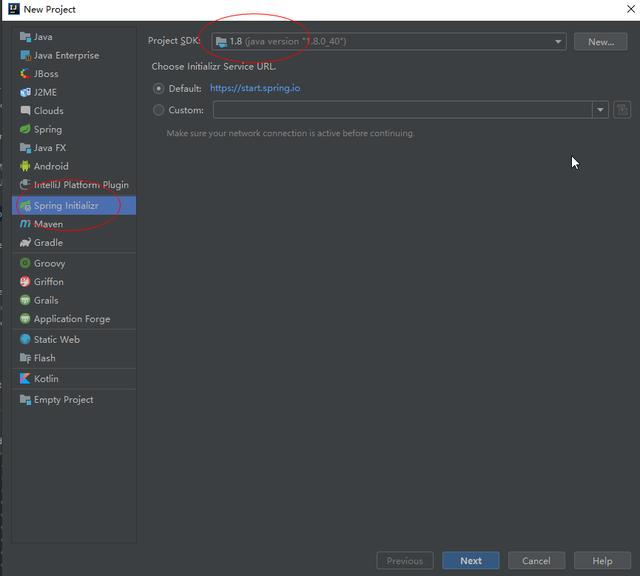
初始化项目
- 新建项目选择Spring Initializr
- 选择SDK 1.8
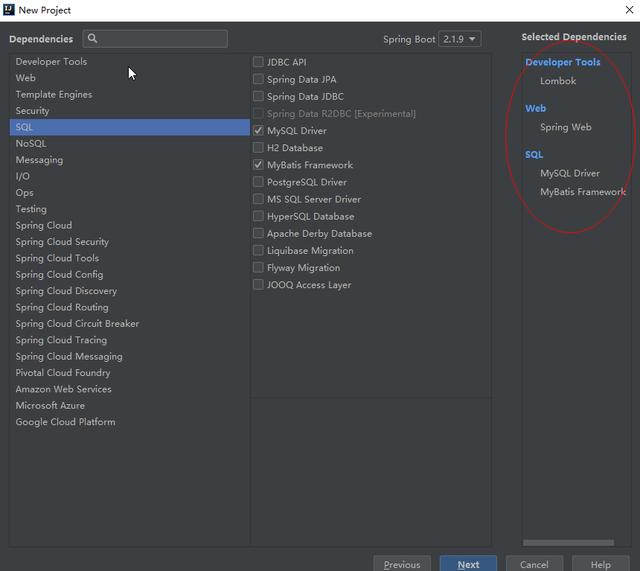
3.添加框架
- Lomboc (实体自动属性)
- Spring Web
- MySQL Driver
- MyBatis Framework
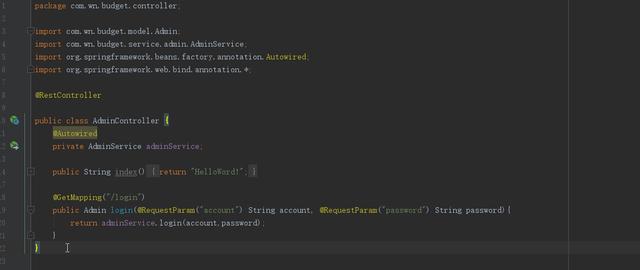
项目结构

- Controller
2.Model

3.Service
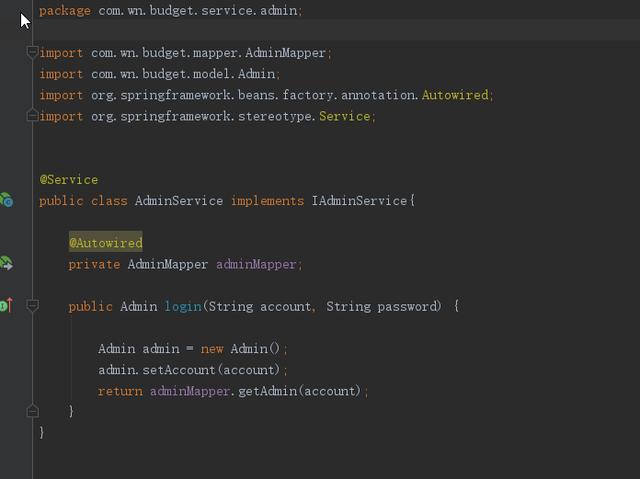
4.Iservice
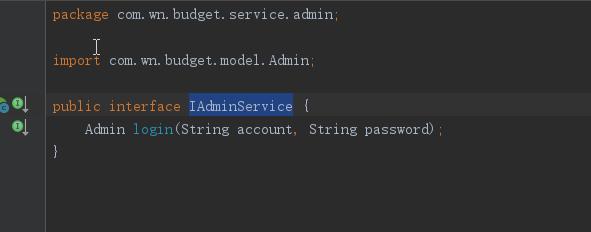
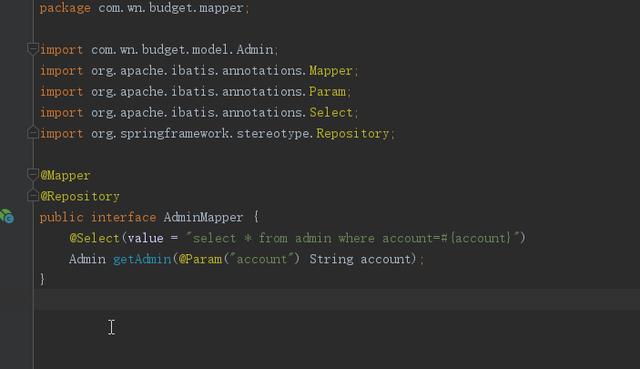
5.mapper
pom.xml 加入 Swaggerio.springfox springfox-swagger2 2.9.2io.springfox springfox-swagger-ui 2.9.2启动项 加入@EnableSwagger2 注解
application.properties 设置
#访问根路径#应用名称spring.application.name=springboot-demo#访问端口号server.port=8080#编码格式server.tomcat.uri-encoding=utf-8#数据库相关配置spring.datasource.driver-class-name=com.mysql.cj.jdbc.Driverspring.datasource.url=jdbc:mysql://10.0.2.25:3306/budget?supervision=utf8&autoReconnect=true&useSSL=truespring.datasource.username=rootspring.datasource.password=1234.abcdspring.datasource.max-idle=10spring.datasource.max-wait=10000spring.datasource.min-idle=5spring.datasource.initial-size=5#session生命周期server.servlet.session.timeout=30m启动 非常快 就几秒钟
http://localhost:8080/swagger-ui.html
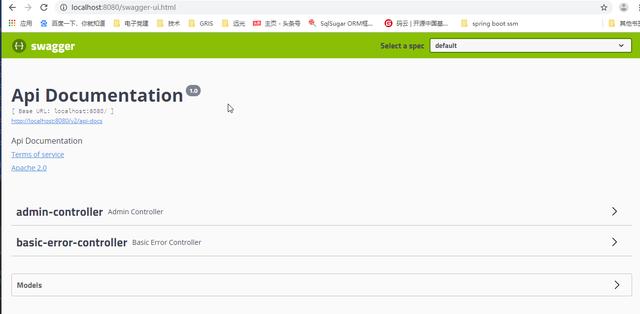
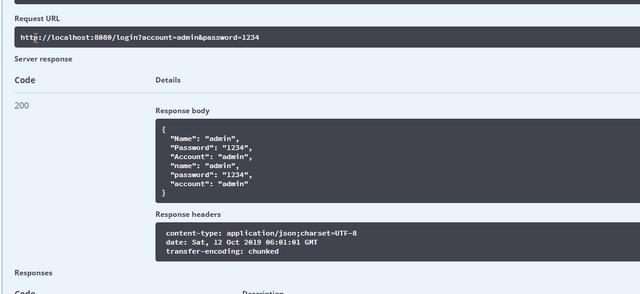
或者在浏览器 输入
http://localhost:8080/login?account=admin&password=1234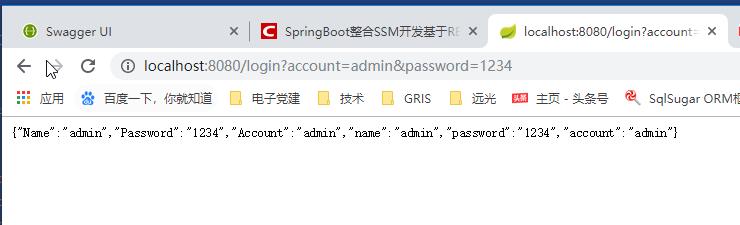
各位小伙伴,有了Spring Boot 后,搭建一个restful风格的框架是不是很简单呢?
声明:本文内容由网友自发贡献,不代表【wpsshop博客】立场,版权归原作者所有,本站不承担相应法律责任。如您发现有侵权的内容,请联系我们。转载请注明出处:https://www.wpsshop.cn/article/detail/57603
推荐阅读


![[ 云计算 | AWS 实践 ] Java 如何重命名 Amazon S3 中的文件和文件夹_jav](https://img-blog.csdnimg.cn/direct/f6b4b45ef01445aa9a147e7c5f1a8f15.png?x-oss-process=image/resize,m_fixed,h_300,image/format,png)
相关标签

