
热门标签
热门文章
- 1盘点2023年Q3的开源模型,这些值得推荐!_exllamav2hf
- 2在Flask中实现websocket_flask websocket
- 3关于“React 和 Vue 该用哪个”我真的栓Q_react vue 选型
- 4网络安全工具——Wireshark抓包工具_抓包工具wireshark
- 5数学基础--均值、方差、标准差、协方差_均值和标准差
- 6自回归模型(Autoregressive model)(auto)
- 7SpringBoot多数据源切换,AOP实现动态数据源切换_dynamicdatasource.adddatasource()
- 8西瓜视频登录页面_69av
- 9Qt - Clion使用cmake运行QtCreator创建的qmake项目,无改动切换自如_clion 创建qmake 项目
- 10Git使用总结_git topic
当前位置: article > 正文
CentOS从零开始搭建wxWidgets,erlang,RabbitMQ(单机版)(超详细绝对的从零开始搭建)_centos 安装wxwidgets运行环境
作者:zyabc | 2024-01-16 14:39:03
赞
踩
centos 安装wxwidgets运行环境
前言
本篇文章主要讲RabbitMQ安装
1、安装wxWidgets环境
- 由于rabbitmq是erlang语言编写的,安装rabbitmq之前,需要先安装erlang,安装erlang之前需要安装wxWidgets,安装wxWidgets之前需要安装gtk2-devel与binutils-devel,废话不多说赶紧开始吧。
- 首先我们先更新系统
yum update- 1
- 安装wxWidgets相关依赖,不装这个就会报以下错误
yum -y install gtk2-devel binutils-devel- 1
checking for GTK+ version...
checking for pkg-config... /usr/bin/pkg-config
checking for GTK+ - version >= 2.6.0... no
*** Could not run GTK+ test program, checking why...
*** The test program failed to compile or link. See the file config.log for the
*** exact error that occurred. This usually means GTK+ is incorrectly installed.
checking for pkg-config... (cached) /usr/bin/pkg-config
checking for GTK+ - version >= 3.0.0... no
*** Could not run GTK+ test program, checking why...
*** The test program failed to compile or link. See the file config.log for the
*** exact error that occured. This usually means GTK+ is incorrectly installed.
checking for gtk-config... no
checking for GTK - version >= 1.2.7... no
*** The gtk-config script installed by GTK could not be found
*** If GTK was installed in PREFIX, make sure PREFIX/bin is in
*** your path, or set the GTK_CONFIG environment variable to the
*** full path to gtk-config.
checking for gtk-config... (cached) no
checking for GTK - version >= 1.2.3... no
*** The gtk-config script installed by GTK could not be found
*** If GTK was installed in PREFIX, make sure PREFIX/bin is in
*** your path, or set the GTK_CONFIG environment variable to the
*** full path to gtk-config.
configure: error:
The development files for GTK+ were not found. For GTK+ 2, please
ensure that pkg-config is in the path and that gtk+-2.0.pc is
installed. For GTK+ 1.2 please check that gtk-config is in the path,
and that the version is 1.2.3 or above. Also check that the
libraries returned by 'pkg-config gtk+-2.0 --libs' or 'gtk-config
--libs' are in the LD_LIBRARY_PATH or equivalent.
- 1
- 2
- 3
- 4
- 5
- 6
- 7
- 8
- 9
- 10
- 11
- 12
- 13
- 14
- 15
- 16
- 17
- 18
- 19
- 20
- 21
- 22
- 23
- 24
- 25
- 26
- 27
- 28
- 29
- 30
- 由于erlang依赖wxWidgets,我们下载下载wxWidgets安装包,wxWidgets版本为2.8.4或更高版本,这里我们下载最新版本3.1.3版本,建意使用迅雷下载
wxWidgets官网下载地址wget https://github.com/wxWidgets/wxWidgets/releases/download/v3.1.3/wxWidgets-3.1.3.tar.bz2- 1
- 创建wxWidgets的安装路径文件夹
mkdir -p /usr/local/wxWidgets- 1
- 解压wxWidgets
tar -xvf wxWidgets-3.1.3.tar.bz2- 1
- 进入wxWidgets目录
cd wxWidgets-3.1.3/- 1
- 编译wxWidgets
./configure --with-regex=builtin --with-gtk --enable-unicode --disable-shared --prefix=/usr/local/wxWidgets- 1
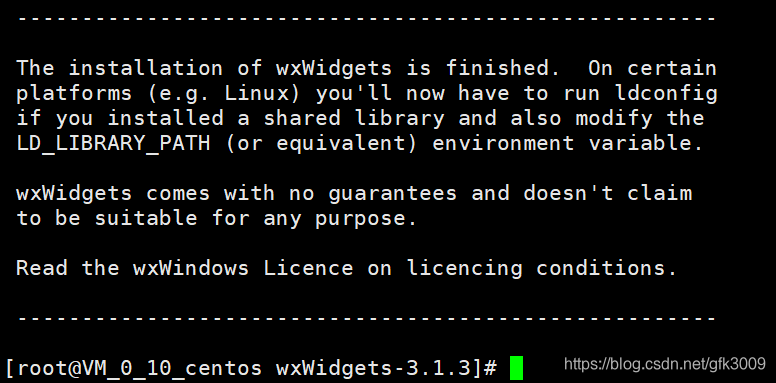
- 开始安装wxWidgets,等待过程非常的久,我一度以为是出现异常信息了(其实根本没有出现异常信息,只是在编译文件),反正一定要耐心等待文件编译完成,有异常会中途停止的,出现如下图就表示安装成功,
make && make install- 1
- 准备设置其动态库
cd /etc/ld.so.conf.d/- 1
- 创建文件
touch wxWidgets.conf- 1
- 打开文件
vim wxWidgets.conf- 1
- 增加以下内容
/usr/local/lib- 1
- 重新加载动态库配置信息
ldconfig- 1
- 配置wxWidgets环境变量=
vim /etc/profile- 1
- 将以下内容存储至profile文件中,保存并退出
export WXPATH=/usr/local/wxWidgets/ export PATH=$WXPATH/bin:$PATH- 1
- 2
- 使环境变量刷新并生效
source /etc/profile- 1
- 查看wx版本号
wx-config --version- 1
- 首先我们先更新系统

2、安装java开发环境
-
检查我们的JDK
java version

-
如果没有安装,请根据以下命令安装
浏览JDK版本
yum -y list java*
选择适合自己的版本进行安装,这里我选择1.8
yum install java-1.8.0-openjdk-devel.x86_64
由yum安装的jdk位置为/usr/lib/jvm -
开始设置环境变量
vim /etc/profile
接着文档最下面部分输入下面的代码,保存退出export JAVA_HOME=/usr/lib/jvm/java-1.8.0-openjdk-1.8.0.242.b08-0.el7_7.x86_64 export CLASSPATH=.:$JAVA_HOME/jre/lib/rt.jar:$JAVA_HOME/lib/dt.jar:$JAVA_HOME/lib/tools.jar export PATH=$PATH:$JAVA_HOME/bin- 1
- 2
- 3
-
这样我们的JDK安装完成了
3、开始安装 erlang相关依赖项
- 此时此刻,我仿佛舒缓了一口气,因为当你看到这里时,我已经安装失败了6次了
- 开始安装erlang相关依赖项
yum install -y epel-release- 1
yum install -y make gcc gcc-c++ m4 openssl openssl-devel ncurses-devel unixODBC unixODBC-devel java java-devel- 1
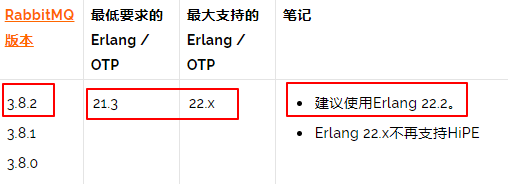
- 由于Rabbit-3.8.2版本只支持erlang版本【21.3至22.x】,而yum源只有3.3版本的,所以我们下载erlang/otp-22.2压缩包,然后再说明一点,erlang下载地址太难找了,我找了一个小时,这里将附上erlang下载地址
wget http://erlang.org/download/otp_src_22.2.tar.gz- 1
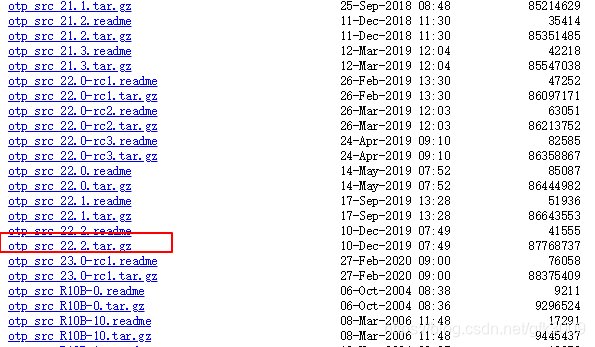
erlang版本列表下载地址(加载时间老慢了,如果没有加载出来,并且页面停止加载的小伙伴,请耐心等待,重新刷新一遍即可,如果还是不行就多刷新几遍。)
- 对erlang压缩包进行解压至opt目录下
tar -xvf otp_src_22.2.tar.gz -C /opt- 1
- 创建erlang目录
mkdir -p /usr/local/erlang- 1
- 进入解压目录
cd /opt/otp_src_22.2/- 1
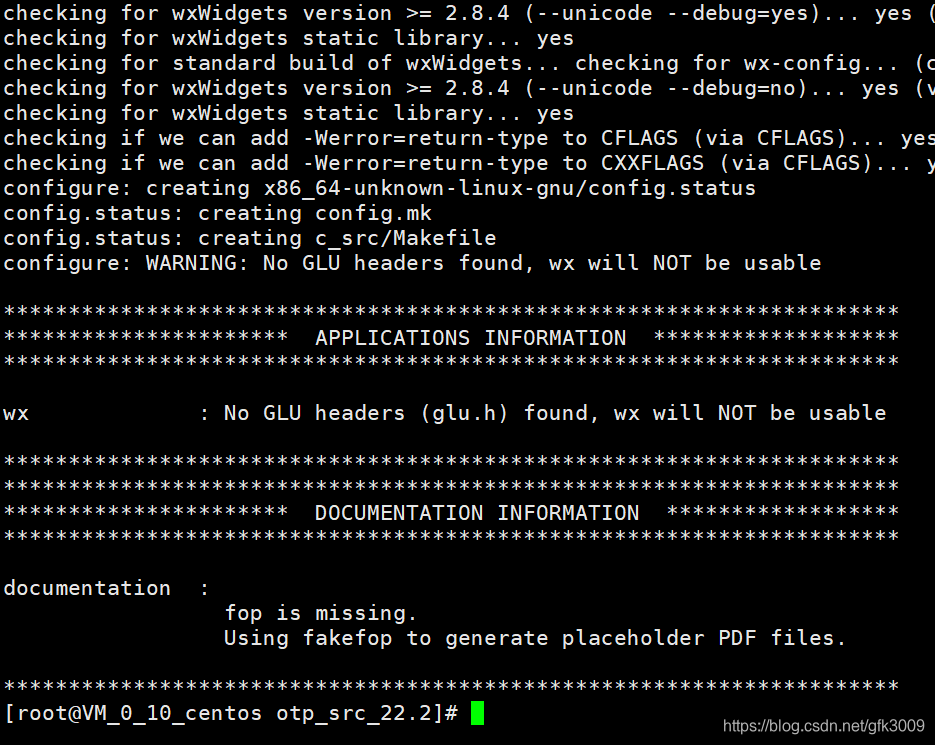
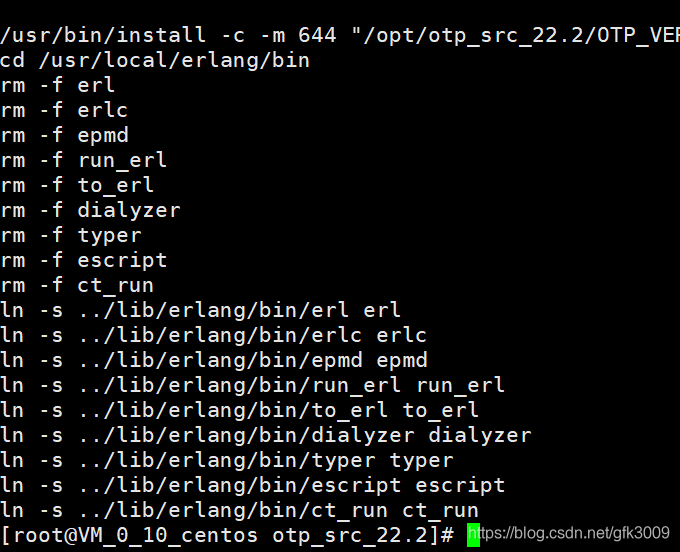
- 开始编译erlang(不进入解压目录也没关系),完成后会出现如下图。关于警告不管他。
/opt/otp_src_22.2/configure --prefix=/usr/local/erlang- 1
- 安装erlang,安装过程比较漫长请耐心等待,安装成功后如下图所示
make && make install- 1
- 修改环境变量
vim /etc/profile- 1
- 将以下内容存储至profile文件中,保存并退出
export ERLPATH=/usr/local/erlang export PATH=$ERLPATH/bin:$PATH- 1
- 2
- 使环境变量刷新并生效
source /etc/profile- 1
- 验证erlang是否安装成功,出现下图中的内容表示搭建成功
erl- 1
- 开始安装erlang相关依赖项

* 直至目前写入的环境变量展示

4、获最新版本的RabbitMQ安装包
- 由于使用yum命令获取RabbitMQ版本列表,只能获取到3.3.5版本,所以这里我们采用压缩包的形式安装最新版-3.8.2版本。
- 首先,我们将当前位置移动至opt目录下
cd /opt- 1
- 开始下载RabbitMQ-3.8.2压缩包
wget https://github.com/rabbitmq/rabbitmq-server/releases/download/v3.8.2/rabbitmq-server-generic-unix-3.8.2.tar.xz- 1
- 不好意思啊,我这边github上下载太慢了,我直接用迅雷下载了,地址给你们附上
https://github.com/rabbitmq/rabbitmq-server/releases/download/v3.8.2/rabbitmq-server-generic-unix-3.8.2.tar.xz- 1
- 首先,我们将当前位置移动至opt目录下
5、开始搭建RabbitMQ环境
- 这里没有标题
- 对压缩包进行解压
tar -xvf rabbitmq-server-generic-unix-3.8.2.tar.xz- 1
- 此时我们RabbitMQ的安装位置在【/opt/rabbitmq_server-3.8.2】,现在我们准备添加环境变量
vim /etc/profile- 1
- 将以下内容存储至profile文件中,保存并退出,这个环境变量要是不想设置也每关系,直接去文件里运行文件即可
PATH=$PATH:/opt/rabbitmq_server-3.8.2/sbin- 1
- 使环境变量刷新并生效
source /etc/profile- 1
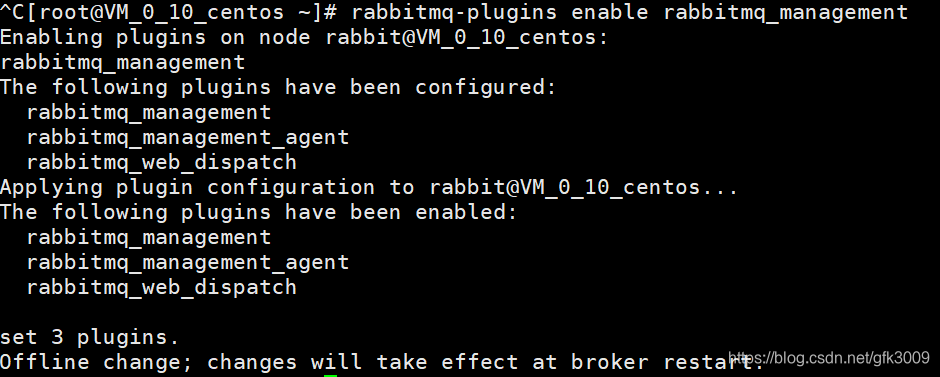
- 添加web管理插件,添加成功后如下图所示
rabbitmq-plugins enable rabbitmq_management- 1
- 在/opt/rabbitmq_server-3.8.2/etc/rabbitmq创建配置文件(其实也不用创建,设置为默认即可,因为我们现在是单机环境搭建),rabbitMq默认是不自带配置文件的,可以去github上复制一份
- RabbitMQ配置文件下载
vim /opt/rabbitmq_server-3.8.2/etc/rabbitmq/rabbitmq.conf- 1
- 输入你需要修改的内容,保存并退出
- 对压缩包进行解压
6、 开启端口或关闭防火墙
- 临时关闭防火墙命令
systemctl stop firewalld- 1
- 开启相关端口(推荐)
firewall-cmd --zone=public --add-port=5672/tcp --permanent firewall-cmd --zone=public --add-port=15672/tcp --permanent- 1
- 2
- 更新防火墙规则
firewall-cmd --complete-reload- 1
- 查看当前所开放的端口
firewall-cmd --zone=public --list-ports- 1
- 2
7、启动RibbitMQ
-
后台启动RibbitMQ
rabbitmq-server start -detached- 1
-
其他命令
启动
rabbitmq-server stop
状态
rabbitmq-server status
8、建立新用户
- rabbitmq有一个默认的用户名和密码,guest和guest,但为了安全考虑,该用户名和密码只允许本地访问,如果是远程操作的话,需要创建新的用户名和密码;
rabbitmqctl add_user username passwd //添加用户,后面两个参数分别是用户名和密码 rabbitmqctl set_permissions -p / username ".*" ".*" ".*" //添加权限 rabbitmqctl set_user_tags username administrator //修改用户角色,将用户设为管理员- 1
- 2
- 3
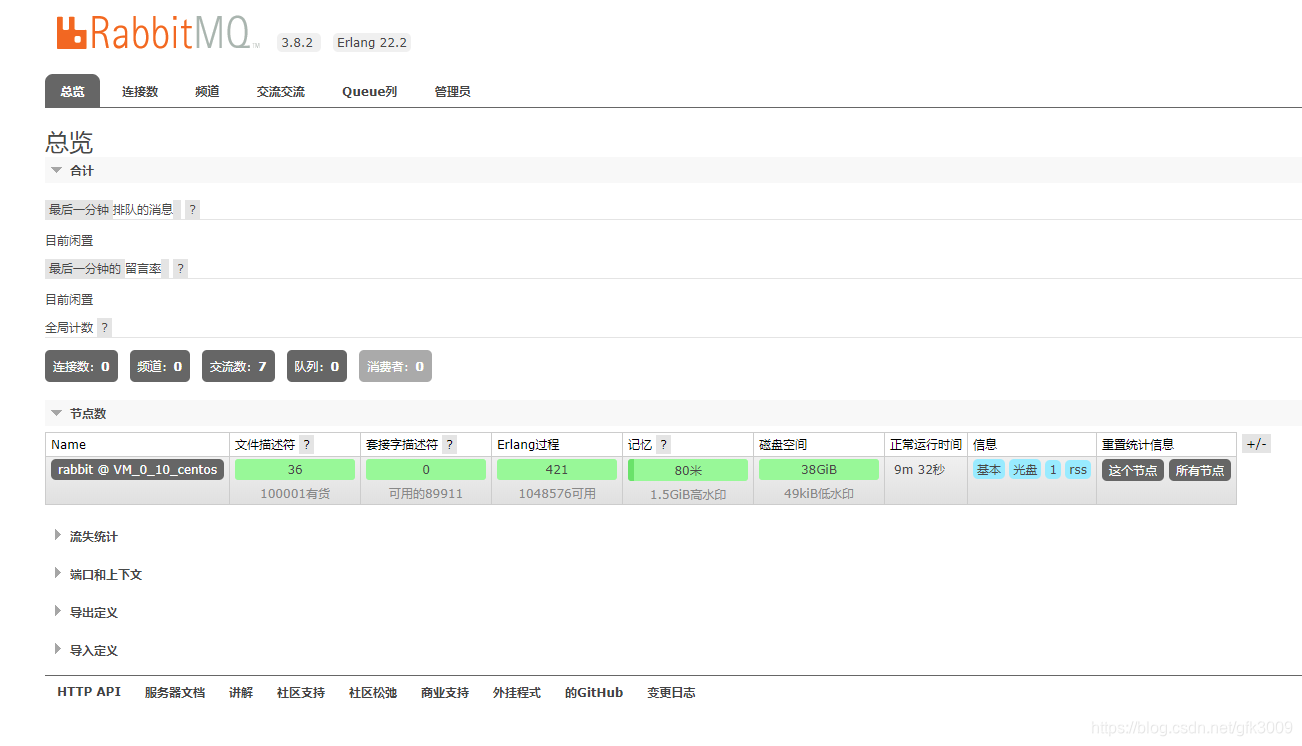
8、进入RibbitMQ管理界面
127.0.0.1:15672
输入账号密码即可登录
声明:本文内容由网友自发贡献,不代表【wpsshop博客】立场,版权归原作者所有,本站不承担相应法律责任。如您发现有侵权的内容,请联系我们。转载请注明出处:https://www.wpsshop.cn/article/detail/40345
推荐阅读
相关标签

