
- 1bp神经网络隐含层神经元个数_CNN,残差网络,BP网络
- 2String中null变为"null"字符串的问题_将string中的null转为“”
- 3如何在VSCode中打包Vue项目?_vscode打包vue项目命令
- 4C/C++基础知识——字符串_输入一个字符串,倒序输出该字符串。其中字符串的长度最长不超过200字符,可以含有
- 5TCP协议特性总结_tcp的特性
- 6flex布局_flex 竖排
- 7我的Java应用为什么Crash!_this crash may be caused by an invalid java
- 8js获取当前日期的后几天_计算某日期往后加三天 js
- 9使用GPU运行python项目_怎么用gpu跑python程序
- 10JAVA面试学习资料_学习资料赤
Yolov5训练自己的数据集_from models.experimental import attempt_load
赞
踩
本文介绍了如果通过Yolov5框架训练自己的数据集,主要内容包括数据集格式、数据集拆分方法、描述文件修改以及训练和测试方法。
还没有搭建Yolov5环境的可以参考我上一篇博文:
Yolov5目标检测环境搭建过程(Cuda+Pytorch+Yolov5)
本文描述的所有代码均已放到Github上,感兴趣的可以直接下载:
(后续放上)
一、准备材料:图片集,标签集
1、没有标签的需要先使用labelimg工具制作标签,比较简单,具体制作方法可以参考以下链接
https://blog.csdn.net/weixin_44403922/article/details/110914740
2、标签格式转换
labelimg工具生成的标签是xml格式的,之前的目标检测框架用的都是xml格式,但是yolov5框架使用的是txt格式,所以第一步需要将xml格式的标签转换为txt格式
将xml数据标签转换为yolo所需的txt格式标签,用以下转换代码voctoyolo.py进行转换就行。
- import xml.etree.ElementTree as ET
- import pickle
- import os
- from os import listdir, getcwd
- from os.path import join
-
-
-
-
- def convert(size, box):
-
- x_center = (box[0] + box[1]) / 2.0
- y_center = (box[2] + box[3]) / 2.0
- x = x_center / size[0]
- y = y_center / size[1]
-
- w = (box[1] - box[0]) / size[0]
- h = (box[3] - box[2]) / size[1]
-
-
- return (x, y, w, h)
-
-
- def convert_annotation(xml_files_path, save_txt_files_path, classes):
- xml_files = os.listdir(xml_files_path)
- print(xml_files)
- for xml_name in xml_files:
- print(xml_name)
- xml_file = os.path.join(xml_files_path, xml_name)
- out_txt_path = os.path.join(save_txt_files_path, xml_name.split('.')[0] + '.txt')
- out_txt_f = open(out_txt_path, 'w')
- tree = ET.parse(xml_file)
- root = tree.getroot()
- size = root.find('size')
- w = int(size.find('width').text)
- h = int(size.find('height').text)
-
- for obj in root.iter('object'):
- difficult = obj.find('difficult').text
- cls = obj.find('name').text
- if cls not in classes or int(difficult) == 1:
- continue
- cls_id = classes.index(cls)
- xmlbox = obj.find('bndbox')
- b = (float(xmlbox.find('xmin').text), float(xmlbox.find('xmax').text), float(xmlbox.find('ymin').text),
- float(xmlbox.find('ymax').text))
- # b=(xmin, xmax, ymin, ymax)
- print(w, h, b)
- bb = convert((w, h), b)
- out_txt_f.write(str(cls_id) + " " + " ".join([str(a) for a in bb]) + '\n')
-
-
- if __name__ == "__main__":
-
- classes = ['blackgan', 'mei']
- # 1、voc格式的xml标签文件路径
- xml_files1 = r'D:\2021file\Biye\yolov5-master\VOC2007\Annotations'
- # 2、转化为yolo格式的txt标签文件存储路径
- save_txt_files1 = r'D:\2021file\Biye\yolov5-master\VOC2007\labels'
-
- convert_annotation(xml_files1, save_txt_files1, classes)
-

网上的有的报错:ttributeError: 'NoneType' object has no attribute 'text'
可能是因为下面这行代码(我看有的写的是Difficult,改成difficult就不报错了)
difficult = obj.find('difficult').text
生成后的标签在VOC2007/labes文件下,如下图所示:


3、手动分割训练集、测试集
将xml转换为txt后,我们对数据集进行手动分割,将图片和标签放到对应的文件夹下,文件组成如下:

注意放入文件中的images和labels要能一一对应
备注:
由于之前在yolov3训练VOC数据时会通过代码生成train、trainval、val、test四个txt描述文件,对数据集进行分割(yolov3目标检测搭建过程可以查看我另一篇博文,后续放上),所以我看网上很多教程都是先生成以上文件,然后通过以上文件再转换得到label的txt文件,但是最后发现代码并不能使用train、val,所以最后我放弃了自动分割数据集的方法,直接采用手动分割的方式。
二、描述文件修改
1、对data文件夹下的voc.yaml文件进行修改,我直接复制了副本并将文件名修改为myvoc.yaml

其中,train和val分别对应刚刚建立的放置图片的文件夹路径
nc为类别数
names中为对应的类别名称
其余内容均可删掉
2、对models文件夹下的yolov5.yaml文件进行修改(我们采用yolov5s.pt作为初始模型,在其基础上进行训练,所以要对yolov5.yaml中的参数进行修改)

只需要修改类别数即可
三、训练
1、我们对train.py中对应的路径进行修改

将yolov5s.pt、yolov5s.yaml、myvoc.yaml对应的路径修改即可
2、最后运行train.py文件开始训练,若报错内存容量不足,可将其中的batch-size修改小一点
通过tensorboard查看训练过程:
点击Terminal,输入命令
tensorboard --logdir="runs/train/exp11"
其中,runs/train/exp11自动生成的文件夹,里面保存了训练过程文件,exp11是我这里最新的文件,因为每运行一次程序都会生成一个新的文件,所以需要对runs/train查看最新的文件即为当前对应的训练文件,执行命令后点击生成的http://localhost:6006/进入浏览器查看

训练过程:

训练结果:

四、测试
训练完成后在runs\train\exp11\weights文件夹中会保存训练好的权重,一共两个,一个是最后一轮保存的,一个是训练过程中最优的一次保存的,我们选择best.pt
在detect中修改对应的权重路径:

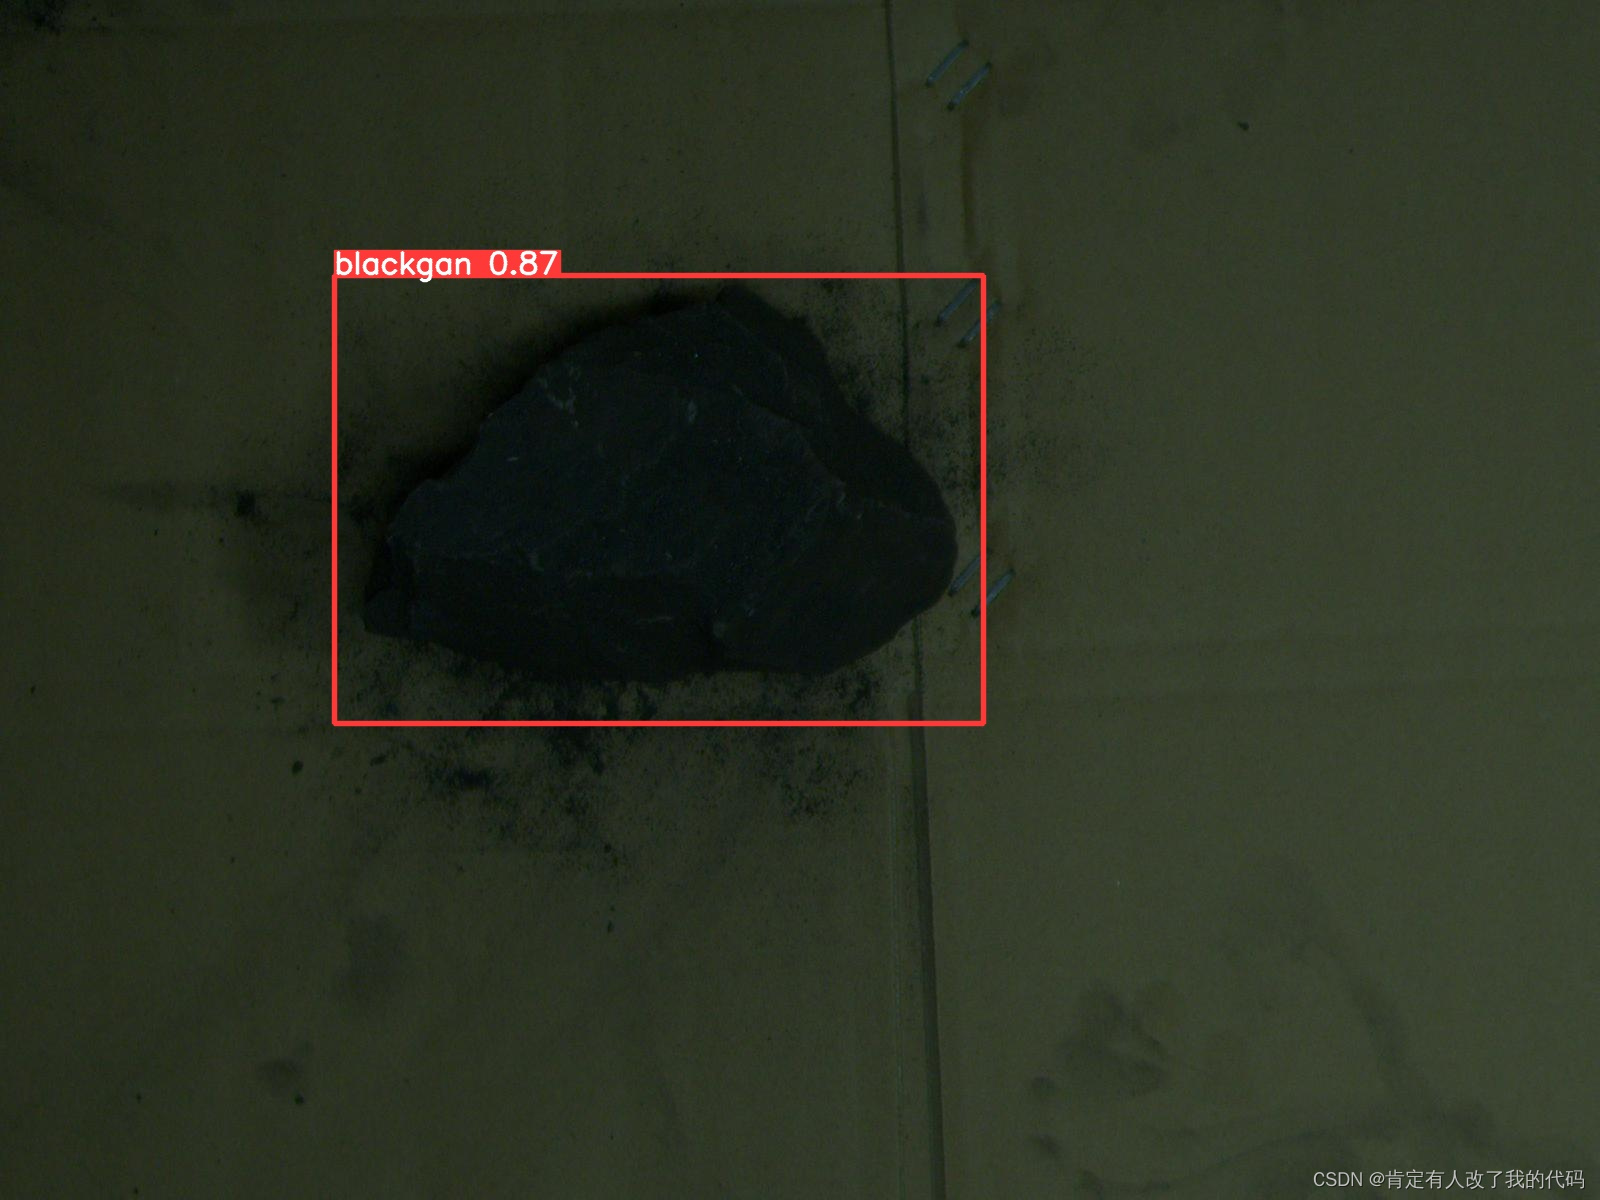
1、测试文件夹下的所有图片
data\images\mytestdata里面是我放的测试图片,一共放了五张,程序会自动检测文件夹下的所有图片,并保存在runs\detect\exp中

2、为了方便调用,自己写了一个直接读取图片然后输出结果的代码mydetect.py
- from numpy import random
- import torch
- from models.experimental import attempt_load
- from utils.datasets import LoadStreams, LoadImages
- from utils.general import (
- check_img_size, non_max_suppression, apply_classifier, scale_coords,
- xyxy2xywh, strip_optimizer, set_logging)
- from utils.torch_utils import select_device, load_classifier
- import os
- import shutil
-
- # Initialize
-
- set_logging()
-
- device = select_device('')
- half = device.type != 'cpu' # half precision only supported on CUDA
-
- # Load model
- model = attempt_load('models/yolov5s.pt', map_location=device) # load FP32 model
- imgsz = check_img_size(512, s=model.stride.max()) # check img_size
- if half:
- model.half() # to FP16
-
-
-
-
- # Get names and colors
- names = model.module.names if hasattr(model, 'module') else model.names
- colors = [[random.randint(0, 255) for _ in range(3)] for _ in range(len(names))]
- img = torch.zeros((1, 3, imgsz, imgsz), device=device) # init img
- _ = model(img.half() if half else img) if device.type != 'cpu' else None # run once
-
-
- def PoseDect(path, imgsz=512):
- res = []
- dataset = LoadImages(path, img_size=imgsz)
-
- for path, img, im0s, vid_cap in dataset:
- img = torch.from_numpy(img).to(device)
- img = img.half() if half else img.float() # uint8 to fp16/32
- img /= 255.0 # 0 - 255 to 0.0 - 1.0
- if img.ndimension() == 3:
- img = img.unsqueeze(0)
-
- # Inference
- #t1 = time_synchronized()
- pred = model(img, augment=False)[0]
-
- # Apply NMS
- pred = non_max_suppression(pred, 0.4, 0.5, classes=None, agnostic=False)
-
-
-
- # Process detections
- for i, det in enumerate(pred): # detections per image
- gn = torch.tensor(im0s.shape)[[1, 0, 1, 0]] # normalization gain whwh
- if det is not None and len(det):
- # Rescale boxes from img_size to im0 size
- det[:, :4] = scale_coords(img.shape[2:], det[:, :4], im0s.shape).round()
-
- for *xyxy, conf, cls in reversed(det):
- x, y, w, h = (xyxy2xywh(torch.tensor(xyxy).view(1, 4)) / gn).view(-1).tolist()
- res.append([names[int(cls)], float(conf), x, y, w, h])
-
- return res
-
- if __name__ == '__main__':
-
- path = r'D:\2021file\Biye\yolov5-master\data\images\bus.jpg'
- s = PoseDect(path=path)
- print(s)
- import cv2
-
- img = cv2.imread(r'D:\2021file\Biye\yolov5-master\data\images\bus.jpg')
- for box in s:
- cla,p=box[:2]
- x1, y1, x2, y2 = box[2:]
- # 映射原图尺寸
- x = int(x1 * img.shape[1])
- y = int(y1 * img.shape[0])
- w = int(x2 * img.shape[1])
- h = int(y2 * img.shape[0])
- # 计算出左上角和右下角:原x,y是矩形框的中心点
- a = int(x - w / 2)
- b = int(y - h / 2)
- c = int(x + w / 2)
- d = int(y + h / 2)
-
- print(x1, y1, x1 + x2, y1 + y2)
- print(x, y, x + w, y + h)
- print(a, b, c, d)
-
- cv2.rectangle(img, (a, b), (c, d), (255, 0, 0), 2)
- cv2.putText(img, cla+":"+str(round(p, 2)), (a+5, b+20), cv2.FONT_HERSHEY_SIMPLEX, 0.6, (0, 255,0), 1)
- cv2.imshow('dst', img)
- cv2.waitKey()
- cv2.destroyAllWindows()

