
- 13D姿态估计的评价指标MPJPE及其变种
- 2LoRa模块在智能灌溉系统中的应用特点介绍
- 3关于uniapp中长图片父盒子宽度自适应的需求实现
- 4一图在手,中国网络安全行业全景无忧!_中国网络安全行业竞争热度分析图 glab it实验室 2024
- 5计算机必背单词——术语和缩写_计算机用户界面常用的英语词汇
- 6【游戏引擎之路】登神长阶(九)——《3D游戏编程大师技巧》:我想成为游戏之神!
- 7开源AI智能名片商城系统:重塑大零售生态的创新实践与深度分析
- 8JVM超全面试题_jvm面试题
- 9对dropout的理解详细版_dropout的公式
- 10年薪15万的80后小本科:只要6分钟,告诉你少走6年弯路_成事在天:机遇在市场及人生中的隐蔽角色 下载
WebContainer/api 基础(Web IDE 技术探索 一)
赞
踩
前言
随着web技术的发展,在网页端直接运行node.js、实现微型操作系统已经不再是难事。今天介绍的 WebContainers就是一个基于浏览器的运行时,用于执行 Node.js 应用程序和操作系统命令,它完全运行在您的浏览器页面中,提供了文件系统、运行进程的能力,同时内置了 nodejs、npm/yarn/pnpm 等包管理器。也就是说,基于WebContainers,可以直接在网页端运行 node -v、npm install、npm run dev等命令,甚至能对文件系统进行操作,例如fs.writeFile、 fs.readFile(但是这个仅是在虚拟环境中,并不会在系统上真正生成文件)。
如果想在Web 端实现代码编辑、项目运行、执行文件等操作,还是有必要学习下的。
技术应用
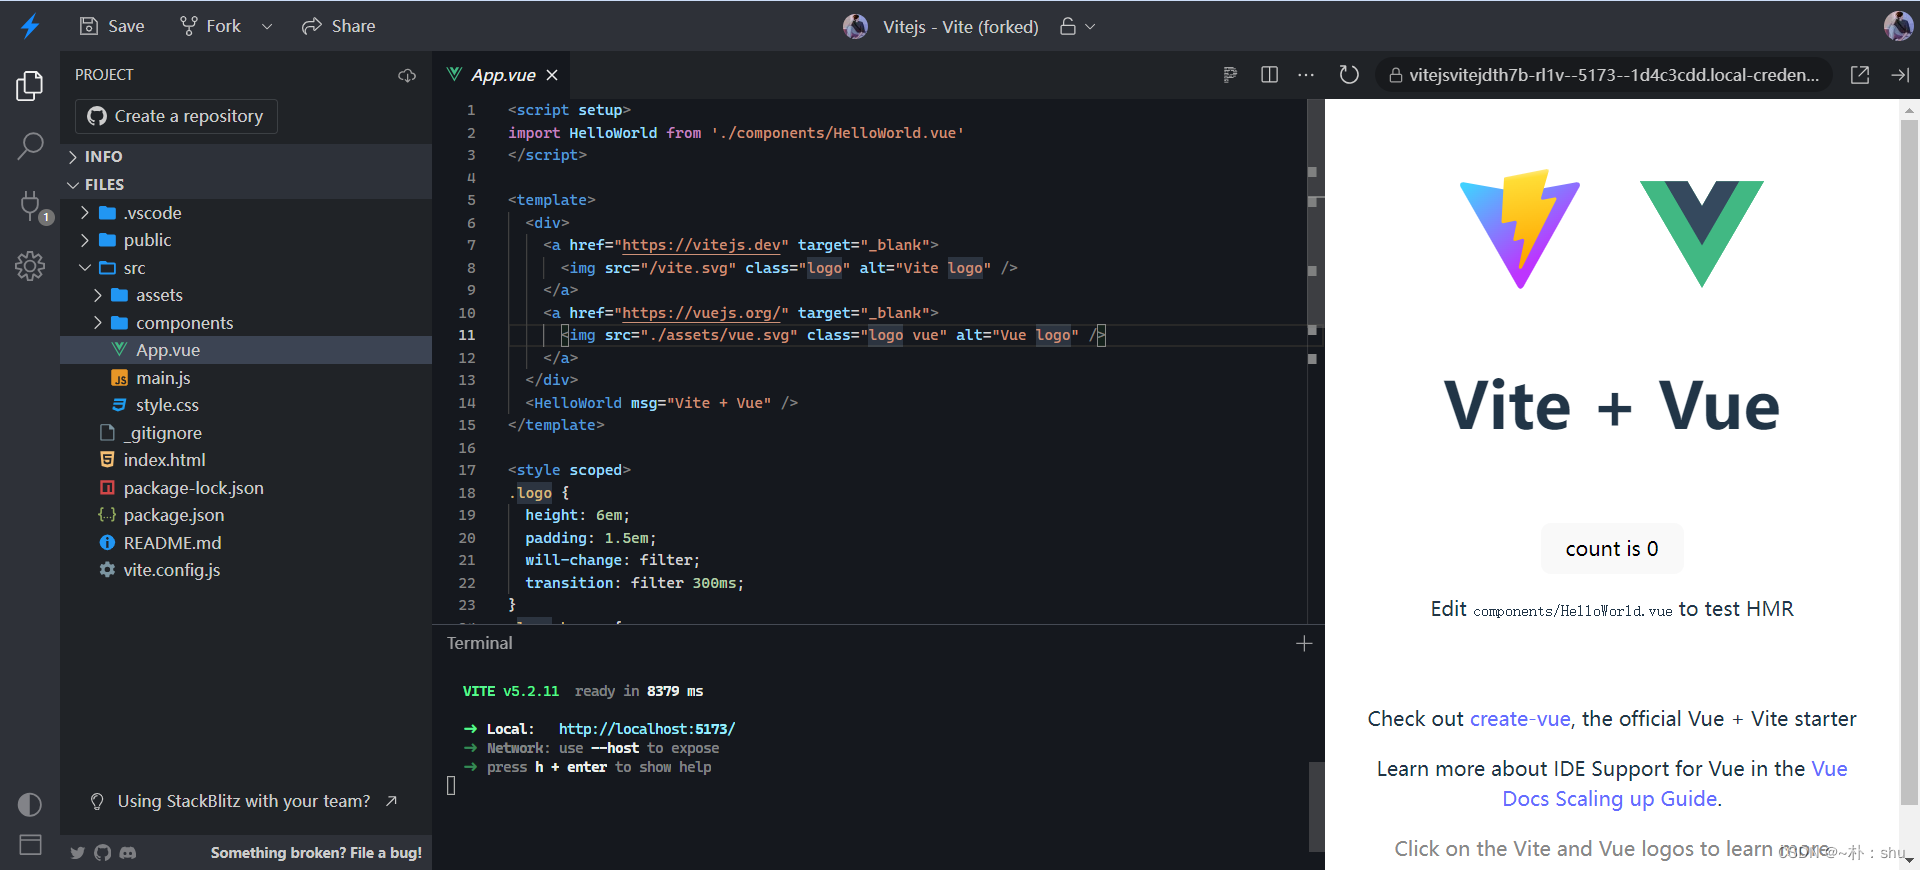
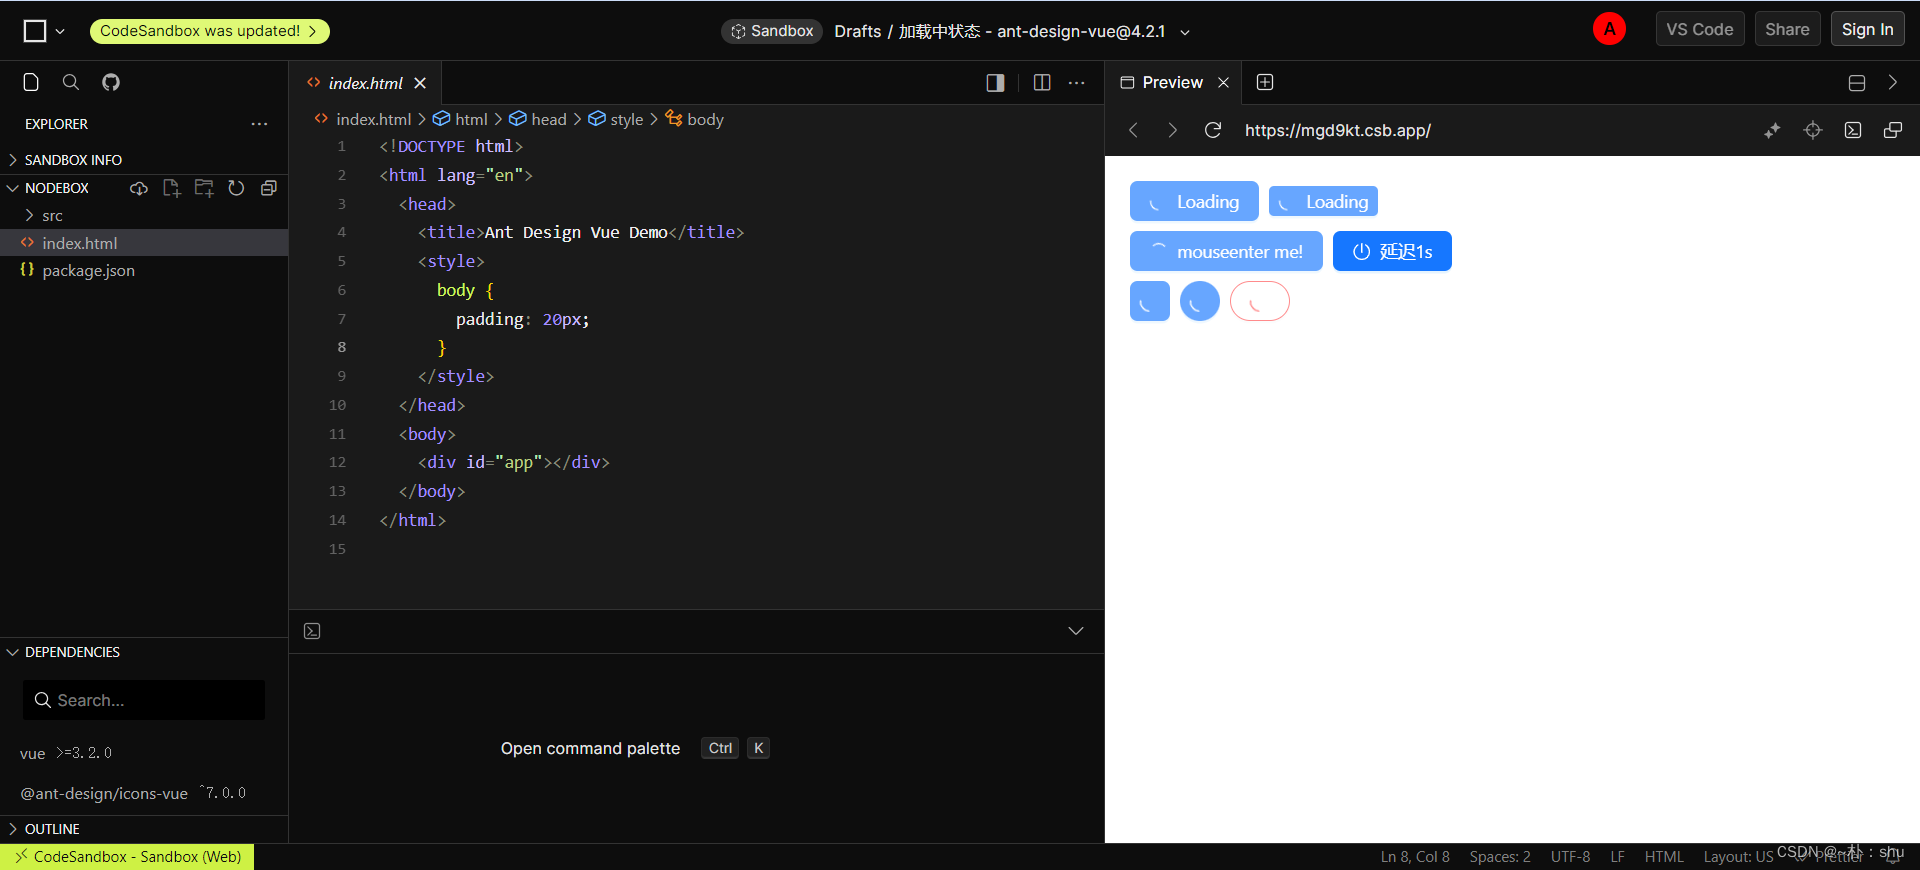
CodeSandBox
Web Containers
官网 :Dev environments In your web app.
网上学习资源较少,如若有误,望海涵哈!WebContainer API非常适合交互式编码体验,它最常见的用例包括生产级IDE、编程教程、下一代文档、人工智能应用程序或员工入职平台。WebContainers已经由StackBlitz经典编辑器、Codeflow、官方SveltKit教程和Cloudflare Wrangler工作人员等数百万用户进行了测试,因此稳定性及可靠性无容置疑。
安装
npm i @webcontainer/api
使用
- <template>
- <div>App</div>
- </template>
-
- <script setup>
- import { onMounted } from "vue";
- import { WebContainer } from "@webcontainer/api";
-
- async function initContainer() {
- // Call only once
- const webcontainerInstance = await WebContainer.boot();
- }
-
- onMounted(initContainer);
- </script>
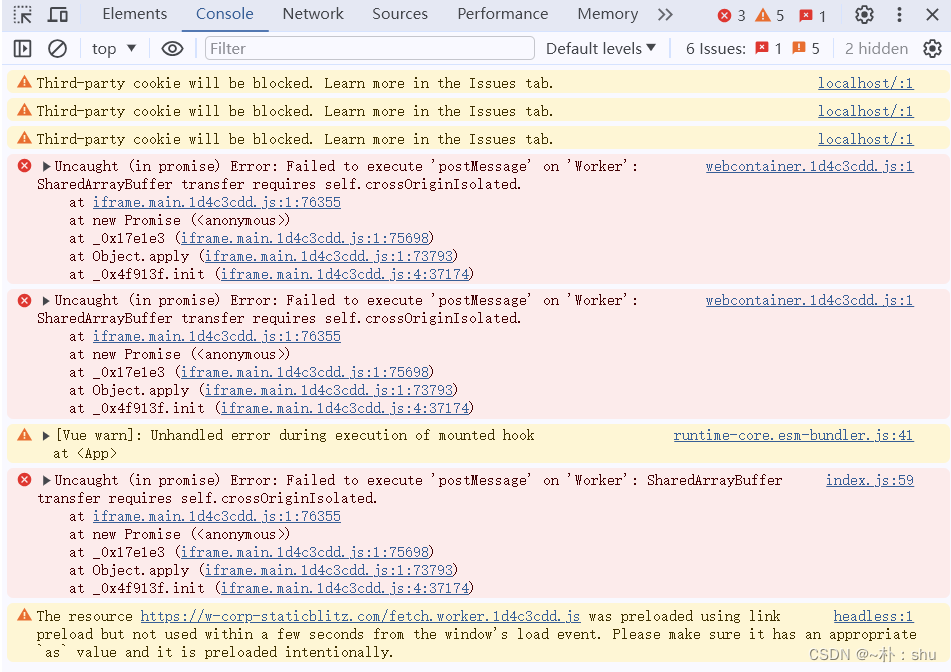
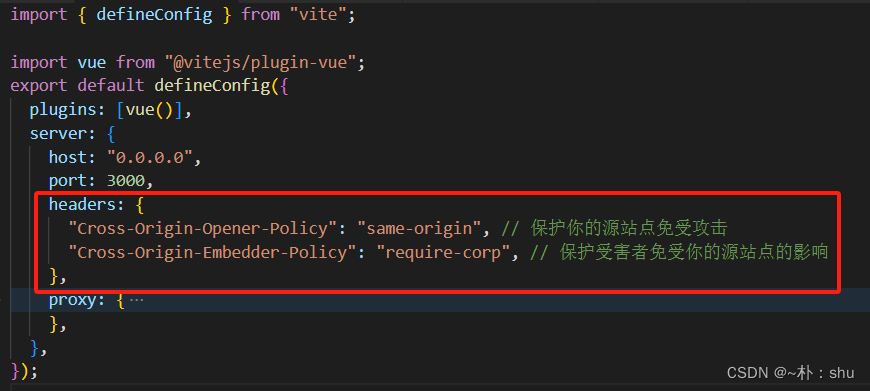
正常是要报错的,WebContainers需要SharedArray Buffer,而这反过来又要求它们运行的网站是跨源隔离的。
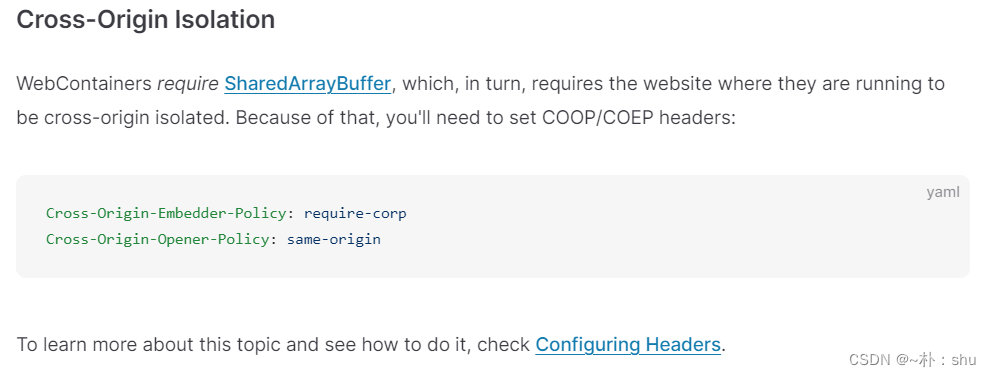
配置跨源隔离
- // 配置 WebContainer/api 跨源隔离
- headers: {
- "Cross-Origin-Embedder-Policy": "require-corp",
- "Cross-Origin-Opener-Policy": "same-origin",
- },
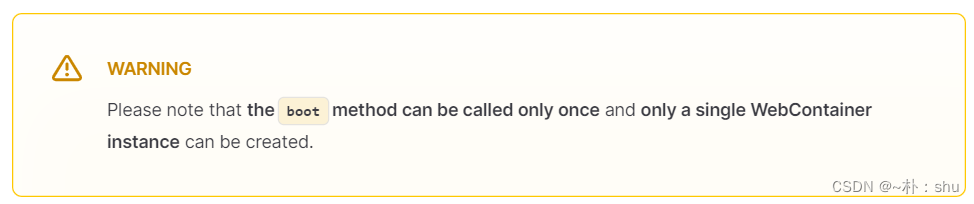
并且!官网还给了我们警告:请注意,boot方法只能调用一次,并且只能创建一个WebContainer实例。
spawn
spawn 是执行命令的关键函数,必须要学会哈,返回值是WebContainerProcess,例如:
- // 执行 npm install
- const install = await webcontainerInstance.spawn('npm', ['i']);
如上例,我们想要执行并输出 node -v、npm -v 怎么操作呢?
- const nodeV = await webcontainerInstance.spawn("node", ["-v"]);
- console.log(nodeV);
这显然不是我们想要的结果,因为返回值是一个WebContainerProcess,如下:

WebContainerProcess
exit: Promise<number>:进程的退出代码的状态,其实可以理解为 await Promise 的状态,它的返回值是Promise,因此需要等待哦!
input:WritableStream<string>:可以理解为传入终端的附加参数,具体的还没研究透。
output:ReadableStream<string>: 接收所有终端输出的流,包括派生进程及其子进程发出的stdout和stderr。这个就可以接收终端的输出了,具体用法如下:
- const nodeV = await webcontainerInstance.spawn("node", ["-v"]);
- nodeV.output.pipeTo(
- new WritableStream({
- write(data) {
- console.log("node -v ==>", data);
- },
- })
- );
![]()
Methods:kill()杀死/结束一个process。
Methods:resize()调整附着终端的大小。
如上,便是WebContainerProcess 的所有属性及方法,我们常用的是exit、output、kill。
teardown
销毁WebContainer实例,使其不可用,并释放其资源。之后,可以通过调用boot来获得一个新的WebContainer实例。
FileSystemTree
FileSystemTree和FileSystemAPI是整个WebContainer的核心,因此必须先介绍这两个东西,有了这基础,后面去操作API才不会那么吃力,很多博主就开始照着官网卡卡操作,什么含义也没讲清楚。
FileSystemTree,如名,是一种树状结构,用于描述要装入的文件夹的内容,在webcontainer中,如何来创建或描述文件间的关系?
file
const tree = {}如上,这就是个空目录,根路径为 '/',给它添加 一个文件,先手动添加哈,后面介绍API会给大家讲解:
- const tree = {
- 'index.js': {
- file: { // 标识是文件 [file | directory]
- contents: 'const x = 1;', // 文件内容
- },
- },
- }
mount
将上诉文件使用 mount 挂载到container上:
await webcontainerInstance.mount(tree);readdir
使用API读取目录,查看目录结构:
- // Call only once
- const webcontainerInstance = await WebContainer.boot();
-
- await webcontainerInstance.mount(fileTree);
- // readdir 读取目录结构
- const files = await webcontainerInstance.fs.readdir("/");
- console.log(files);
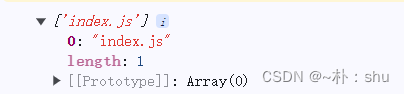
可以看到,index.js 已经挂载上去了。
directory
进行文件夹创建及挂载,使用 directory 标识:
- export const fileTree = {
- "index.js": {
- file: {
- contents: `const x=1;`,
- },
- },
- // 创建 src 目录
- src: {
- directory: {
- // directory 标识是目录
- // 里面有文件夹的话,继续嵌套 directory 标识
- // 创建 src/main.js
- "main.js": {
- file: {
- contents: `console.log('main.js')`,
- },
- },
- },
- },
- };

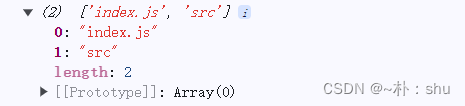
当我们在读取 / 的时候,发现并没有将main.js 文件一并输出,我们可以使用递归查询,后面到API在介绍。
FileSystemAPI
API无非就是node fs API的思想:
mkdir
创建文件夹,如果目录已经存在,则会抛出异常!
readdir
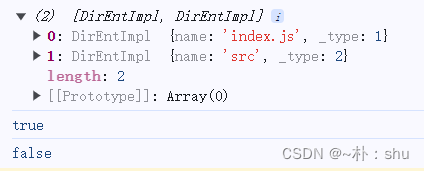
读取给定的目录并返回其文件和目录的数组,这个是读取不了下级目录结构的哈,需要使用递归实现。可通过传递配置项,以获取更多信息,例如判断文件是文件夹还是文件:
- // 执行 readdir 的时候,可以进行参数传递,以获取不同的返回值
-
- interface Options {
- encoding?: BufferEncoding;
- withFileTypes?: boolean;
- }
-
- // 当传递 withFileTypes = true 的时候,会返回Dirent objects 的数组
- /**
- * @description 读取目录结构
- * @param { string } } root
- */
- async function readDir(root) {
- let result = {}; // 存储所有的目录结构
-
- // 读取
- const files = await webcontainerInstance.fs.readdir(root, {
- withFileTypes: true,
- });
- // 解析
- files.forEach(async (item) => {
- // 如果是文件夹,则继续调用自身
- if (item.isDirectory()) {
- result[item.name] = await readDir(`${root}/${item.name}`);
- }
- // 是文件,则存储到 result 中
- else result[item.name] = item.name;
- });
-
- return result;
- }

这样才能读取到完整的目录结构,看项目中的实际应用哈!
readFile
读取给定路径的文件。如果该文件不存在,它将引发一个错误。
const bytes = await webcontainerInstance.fs.readFile('/package.json');const content = await webcontainerInstance.fs.readFile('/index.js', 'utf-8'); rename
文件重命名,路径必须存在哈,不能这个文件命名为另外文件夹下的文件!
await webcontainerInstance.fs.rename('/src/index.js', '/src/main.js');非法!!不同目录下不能rename。
await webcontainerInstance.fs.rename('/src/index.js', '/demo/main.js');rm
删除文件或目录。如果路径是一个文件,它将删除该文件。如果路径是目录,则需要第二个参数,并将选项递归设置为true,以删除目录及其内部的所有内容,包括嵌套文件夹。可传递参数
- interface Options {
- force?: boolean;
- recursive?: boolean;
- }
-
- force:当为true时,如果路径不存在,则会忽略异常。
- recursive:如果为true,它将递归地删除目录,包括嵌套目录。
1. 删除文件
await webcontainerInstance.fs.rm("/src/main.js", { recursive: true });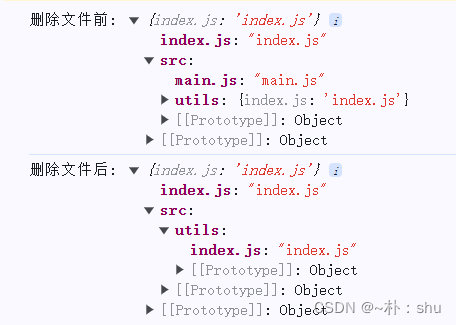
2. 删除文件夹(必须删除子项 ==> recursive: true)
await webcontainerInstance.fs.rm("/src/utils", { recursive: true });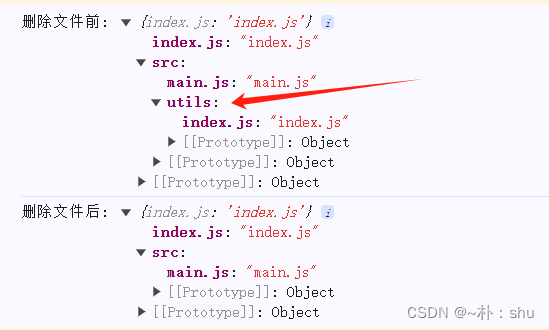
writeFile
又来一个关键方法!写入文件。将文件写入给定的路径。如果该文件不存在,它将创建一个新文件,如果该文件存在,它将覆盖该文件。支持写入string | Uint8Array,还能指定字符编码格式。
await webcontainerInstance.fs.writeFile('/src/main.js', 'console.log("Hello from WebContainers!")');- // writeFile 写入文件
- await webcontainerInstance.fs.writeFile(
- "/package.json",
- JSON.stringify({
- name: "my-app",
- version: "0.0.1",
- dependencies: {
- vite: "^5.0.0",
- },
- scripts: {
- dev: "vite",
- },
- })
- );
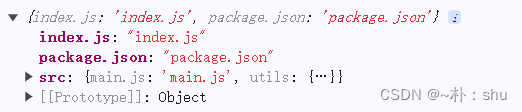
读取package.json 的内容:
- // 读取文件夹结构
- const json = await webcontainerInstance.fs.readFile("/package.json", {
- encoding: "utf-8",
- });
- console.log("json", json);
![]()
watch
监听文件/文件夹的修改,自身返回监听对象,身上有 close 方法,用于停止监听:
- let watchFile = webcontainerInstance.fs.watch('/src/main.js', (event) => {
- console.log(`action: ${event}`);
- });
-
- // ... your code
-
- watchFile.close() // 停止监听
- webcontainerInstance.fs.watch('/src', { recursive: true }, (event, filename) => {
- console.log(`file: ${filename} action: ${event}`);
- });
搭建应用
上诉讲述了WebContainers API、FileTree、 FileAPI,望大家好好理解,下面正式开始实践:
node -v
- let version = await webcontainerInstance.spawn("node", ["-v"]);
- version.output.pipeTo(
- new WritableStream({
- write(data) {
- console.log("node -v :", data);
- },
- })
- );
在不需要文件的情况下,你甚至可以不挂载文件。
ls -l
- // Call only once
- webcontainerInstance = await WebContainer.boot();
- await webcontainerInstance.mount(fileTree);
- let ls = await webcontainerInstance.spawn("ls", ["-l"]);
- ls.output.pipeTo(
- new WritableStream({
- write(data) {
- console.log("ls -l:", data);
- },
- })
- );

node index.js
- // 注意路径的写法,不带根路径哈
- await webcontainerInstance.spawn("node", ["src/main.js"]);
npm run dev
run dev 是前端项目常用的命令,需要依赖的文件有 package.json、index.html:
- export const fileTree = {
- "index.html": {
- file: {
- contents: `<!DOCTYPE html>
- <html lang="en">
- <head>
- <meta charset="UTF-8" />
- <link rel="icon" type="image/svg+xml" href="/vite.svg" />
- <meta name="viewport" content="width=device-width, initial-scale=1.0" />
- <title>Vite + Vue</title>
- </head>
- <body>
- <div id="app">这是 WebContainer 测试页面</div>
- </body>
- </html>
- `,
- },
- },
- "package.json": {
- file: {
- contents: `{
- "name": "my-app",
- "version": "0.0.1",
- "dependencies": {
- "vite": "^5.0.0"
- },
- "script": {
- "dev": "vite"
- }
- }
- `,
- },
- },
- };
json文件必须是JSON格式哈,不然会报错:
完整代码如下:
- // Call only once
- webcontainerInstance = await WebContainer.boot();
- // 1. 挂载文件
- await webcontainerInstance.mount(fileTree);
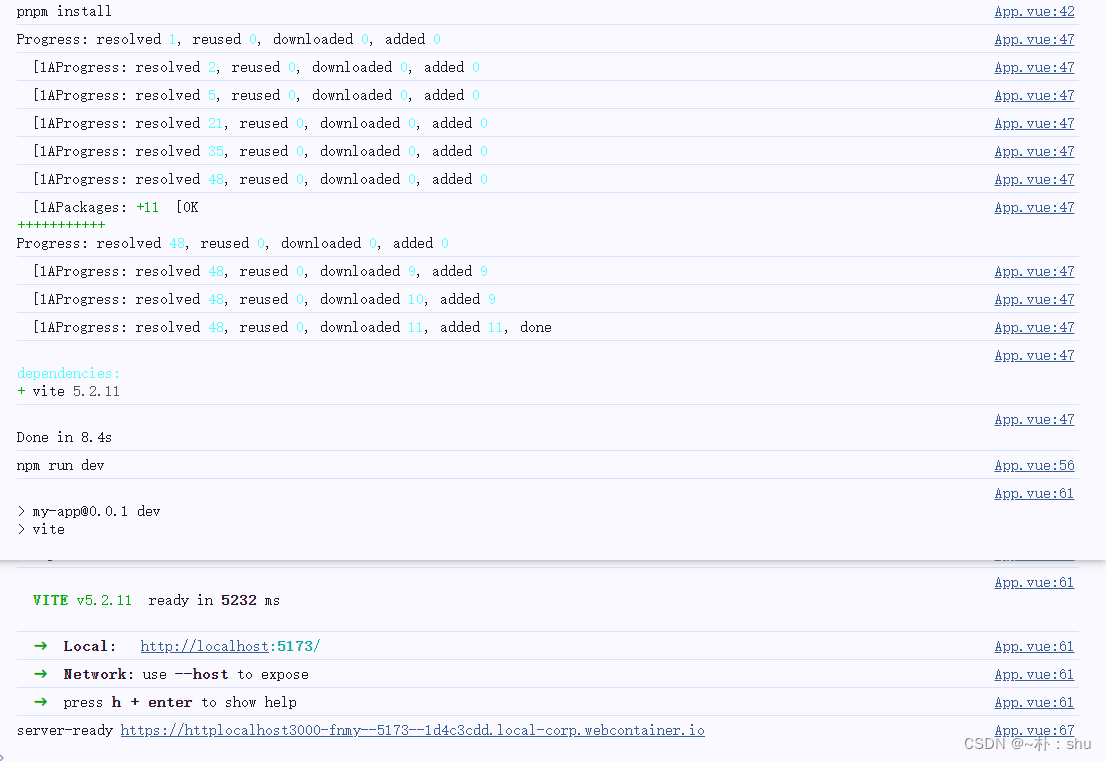
- // 2. 下载依赖
- console.log("pnpm install");
- const install = await webcontainerInstance.spawn("pnpm", ["install"]);
- install.output.pipeTo(
- new WritableStream({
- write(data) {
- console.log(data);
- },
- })
- );
- // 3. 判断exit 状态
- let code = await install.exit;
- if (code !== 0) return console.error("error to install.");
-
- // 4. 启动服务
- console.log("npm run dev");
- const process = await webcontainerInstance.spawn("npm", ["run", "dev"]);
- process.output.pipeTo(
- new WritableStream({
- write(data) {
- console.log(data);
- },
- })
- );
- // 5. 监听服务启动
- webcontainerInstance.on("server-ready", (port, url) => {
- console.log("server-ready", url);
- });
当我们打开url时,报错,这个是限制预览哈,大家感兴趣可以关注 issue
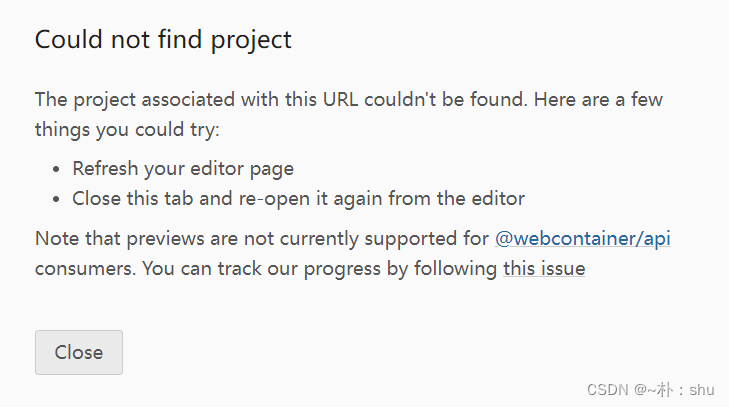
那我们启动后,如何预览页面呢?使用Iframe!
- // 5. 监听服务启动
- webcontainerInstance.on("server-ready", (port, url) => {
- console.log("server-ready", url);
- const iframe = document.querySelector("iframe");
- iframe.src = url;
- });
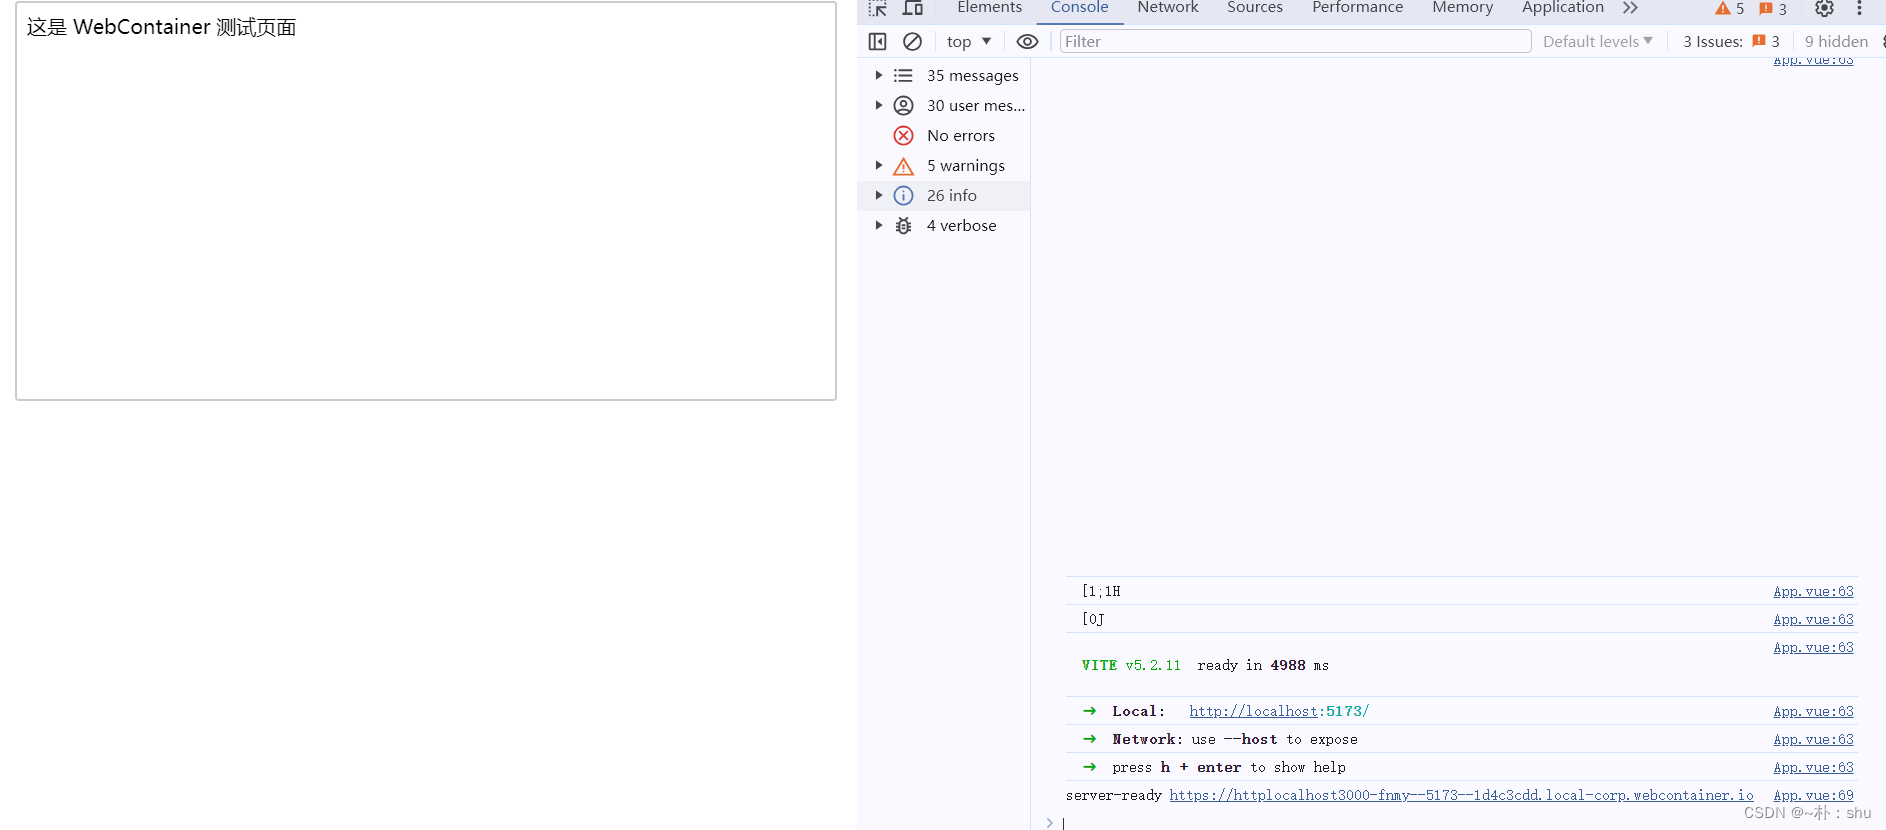
如上,使用iframe即可正常预览,至于生产环境能不能直接 open new tab,还得验证。
总结
从Webcontainer基础、FileSystemTree、FileSystemAPI,再到实践,一步步进行技术验证,望大家对webcontainers有一个基础的认识与了解,相信大家也能看出,webcontainer是操作的核心,其他的什么内容编辑、terminal都是其他技术型,所以在本篇中,没有涉及其他多余的技术,就是希望大家明白,webcontainer 才是核心。
至于如何结合Terminal、monaco实现Web IDE,我们下一节继续讲解!

