- 1品达通用权限系统(Day 5~Day 6)_pinda.itheima.net
- 2Win7 77条tip个人精简6条版(可惜不是7。。)
- 3Flink实时数仓同步:流水表实战详解
- 4跟姥爷深度学习1 浅用tensorflow做个天气预测_tensorflow天气预测
- 5RuntimeError: invalid multinomial distribution (encountering probability entry < 0)_runtimeerror: invalid multinomial distribution (su
- 6python程序开机自启动_python打包exe开机自动启动的实例(windows)
- 7STM32单片机的 Hard-Fault 硬件错误问题追踪与分析_stm32hardfault定位
- 8Fonts字体简介_font中ttf都代表的是什么字体
- 9mysql is not null 优化_MySQL优化系列2.1-MySQL中 IS NULL、IS NOT NULL、!= 能用上索引吗?...
- 10Quartz详解和使用CommandLineRunner在项目启动时初始化定时任务_quartz的commandlinerunner
Ubuntu20搭建pytorch深度学习框架——运行Dlinknet提取道路(一)——前期准备环境配置_pytorch ubuntu20
赞
踩
之前我是使用的Windows来配置深度学习框架
想用Windows的朋友请查看[这篇博文]
但由于项目需要以及各种各样的原因
貌似用linux系统效率会更好
因此从头开始使用ubuntu进行pytorch环境配置
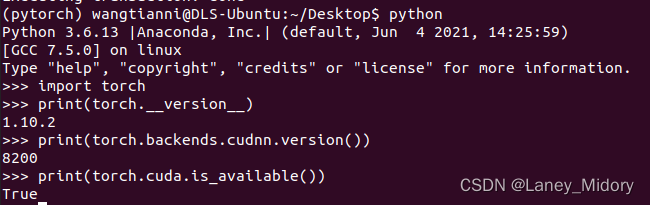
首先查看[这篇博文]
非常详细地说明了如何安装pytorch环境
注意我这里需要的是python3.6
因此我在第五步的时候
语句如下
conda create -n pytorch python=3.6
- 1
报错1
但总是遇到无法访问URL的错误

参照这篇博客进行改源
然后就可以解决这个访问不了链接的情况
报错2
但是再次报错
Warning: 8 possible package resolutions (only showing differing packages):
使用这个语句可以解决
conda update --strict-channel-priority --all
- 1
安装pytorch,去pytoch官网,根据自己的cuda版本,以及系统选择安装语句链接在这里
然后去掉后面的后缀
语句如下
conda install pytorch torchvision torchaudio cudatoolkit=11.3
- 1
报错3
报错
PackagesNotFoundError: The following packages are not available from current channels:
- torchaudio
查找了好多方法都没有直接解决这个问题的
排雷:!!!!!
这个博主的方法
需要在channels里面添加一些下载链接
成功安装
但是出错了!!!
下载的版本太低了

于是重新研究下载一个高版本的pytorch
正确方式!!!!
我的小伙伴告诉我最好使用下面的语句
这个放到.condarc
channels:
  - defaults
show_channel_urls: true
default_channels:
  - https://mirrors.tuna.tsinghua.edu.cn/anaconda/pkgs/main
  - https://mirrors.tuna.tsinghua.edu.cn/anaconda/pkgs/r
  - https://mirrors.tuna.tsinghua.edu.cn/anaconda/pkgs/msys2
custom_channels:
  conda-forge: https://mirrors.tuna.tsinghua.edu.cn/anaconda/cloud
  msys2: https://mirrors.tuna.tsinghua.edu.cn/anaconda/cloud
  bioconda: https://mirrors.tuna.tsinghua.edu.cn/anaconda/cloud
  menpo: https://mirrors.tuna.tsinghua.edu.cn/anaconda/cloud
  pytorch: https://mirrors.tuna.tsinghua.edu.cn/anaconda/cloud
  pytorch-lts: https://mirrors.tuna.tsinghua.edu.cn/anaconda/cloud
  simpleitk: https://mirrors.tuna.tsinghua.edu.cn/anaconda/cloud
- 1
- 2
- 3
- 4
- 5
- 6
- 7
- 8
- 9
- 10
- 11
- 12
- 13
- 14
- 15
然后 conda remove 之前下载的
就可以成功下载啦!!
Visual studio code安装和配置
首先可以去网上搜索如何安装VScode,教程很多
一抓一大把
然后配置还有个问题
点击图片右下角的python
选取我们创建的pytorch路径
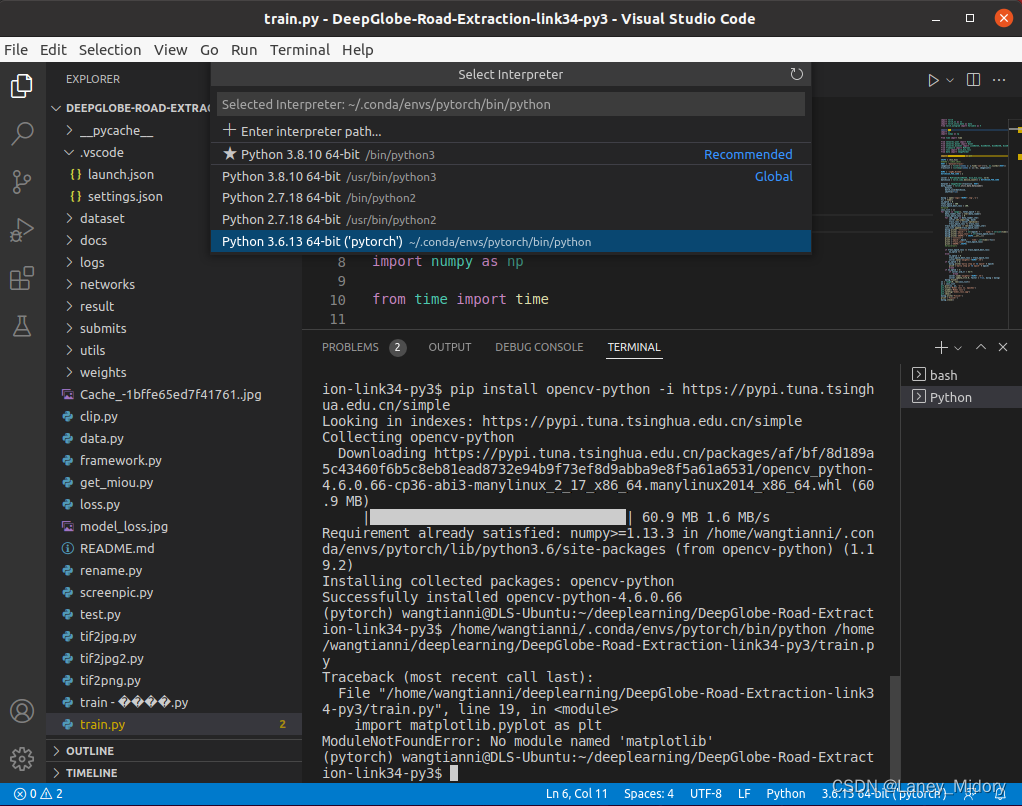
点击这个

找到自己环境里的python路径
如何查看路径使用下面的语句
conda env list
- 1
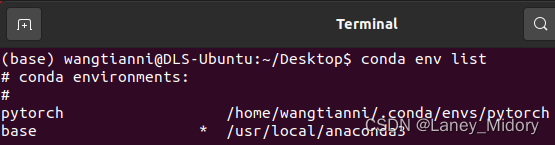
然后找到这个路径/bin/python就可以成功啦
运行后又开始报错
ModuleNotFoundError: No module named ‘cv2‘解决办法
我是直接使用这个语句安装的
conda install opencv
- 1
然后自动安装了3.4的版本
还是一样报错
找不到cv2
猜测要使用opencv-python这个库
感谢神一般的师兄!!!
只不过输入一直无反应
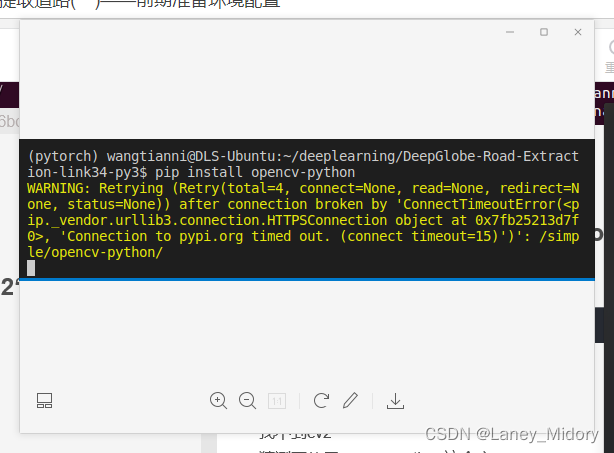
最后使用这个语句成功安装
pip install opencv-python -i https://pypi.tuna.tsinghua.edu.cn/simple
- 1
没有报错啦!!!!
如果还有其他类似的库报错
可以用这个方法来进行安装!!
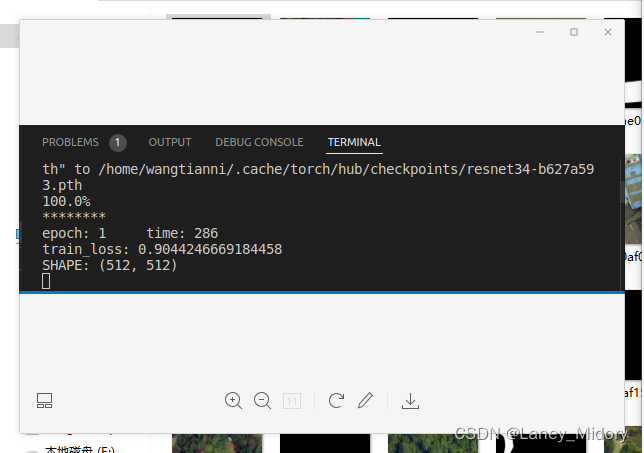
接下来开始跑样本啦!
成功运行Dinknet