
- 1Spring Boot 整合RabbitMQ
- 2AIGC,ChatGPT AI绘画 Midjourney 注册流程详细步骤
- 3头文件循环引用导致“unknown type name”的问题详解
- 4基于SSM的学生信息管理系统(选课管理系统)的设计与实现 (含源码+sql+视频导入教程)_sql学生选课管理系统
- 5C/C++大学课程信息系统_c++开课查询系统
- 6华为OD机试题【篮球比赛】用 C++ 进行编码 (2023.Q1)_华为机考篮球比赛吃+
- 7C++设计模式Learning:工厂方法_lesson learn 如何在工厂开展
- 8详解K8s Pod对象的生命周期_container lifecycle prestop
- 9三层架构实验
- 10Windows 10 |VMware开启虚拟化的最全面说明_vmware虚拟化引擎
深度学习-实验室服务器环境配置操作指南
赞
踩
一、使用Anaconda配置Python环境
安装anaconda:bash Anaconda3-2019.10-Linux-x86_64.sh
实验室服务器没有挂公网,所以只能用离线方式安装,包括下面的pytorch和TensorFlow都是一样。
panchengchang@a-node03:~/envir_packages$ bash Anaconda3-2019.10-Linux-x86_64.sh

Welcome to Anaconda3 2019.10

In order to continue the installation process, please review the license
agreement.
Please, press ENTER to continue
>>>
- 1
- 2
- 3
- 4
- 5
- 6
- 7
- 8
- 9
按要求一直回车,要输yes就输yes就可以。
Do you accept the license terms? [yes|no]
[no] >>> yes

Anaconda3 will now be installed into this location:
/raid/620/panchengchang_19/anaconda3

  - Press ENTER to confirm the location
  - Press CTRL-C to abort the installation
  - Or specify a different location below

[/raid/620/panchengchang_19/anaconda3] >>>
- 1
- 2
- 3
- 4
- 5
- 6
- 7
- 8
- 9
- 10
- 11
-按ENTER确认位置
-按CTRL-C中止安装
-或者在下面指定其他位置
- 1
- 2
- 3
直接回车就进行安装了,后面还需要再输一次yes
Preparing transaction: done
Executing transaction: done
installation finished.
Do you wish the installer to initialize Anaconda3
by running conda init? [yes|no]
[no] >>> yes
no change     /raid/620/panchengchang_19/anaconda3/condabin/conda
no change     /raid/620/panchengchang_19/anaconda3/bin/conda
no change     /raid/620/panchengchang_19/anaconda3/bin/conda-env
no change     /raid/620/panchengchang_19/anaconda3/bin/activate
no change     /raid/620/panchengchang_19/anaconda3/bin/deactivate
no change     /raid/620/panchengchang_19/anaconda3/etc/profile.d/conda.sh
no change     /raid/620/panchengchang_19/anaconda3/etc/fish/conf.d/conda.fish
no change     /raid/620/panchengchang_19/anaconda3/shell/condabin/Conda.psm1
no change     /raid/620/panchengchang_19/anaconda3/shell/condabin/conda-hook.ps1
no change     /raid/620/panchengchang_19/anaconda3/lib/python3.7/site-packages/xontrib/conda.xsh
no change     /raid/620/panchengchang_19/anaconda3/etc/profile.d/conda.csh
modified      /raid/620/panchengchang_19/.bashrc

==> For changes to take effect, close and re-open your current shell. <==

If you'd prefer that conda's base environment not be activated on startup,
   set the auto_activate_base parameter to false:

conda config --set auto_activate_base false

Thank you for installing Anaconda3!

===========================================================================

Anaconda and JetBrains are working together to bring you Anaconda-powered
environments tightly integrated in the PyCharm IDE.

PyCharm for Anaconda is available at:
https://www.anaconda.com/pycharm

panchengchang@a-node03:~/envir_packages$

- 1
- 2
- 3
- 4
- 5
- 6
- 7
- 8
- 9
- 10
- 11
- 12
- 13
- 14
- 15
- 16
- 17
- 18
- 19
- 20
- 21
- 22
- 23
- 24
- 25
- 26
- 27
- 28
- 29
- 30
- 31
- 32
- 33
- 34
- 35
- 36
- 37
- 38
重启终端,输入conda或pip验证用户环境变量是否可以使用。
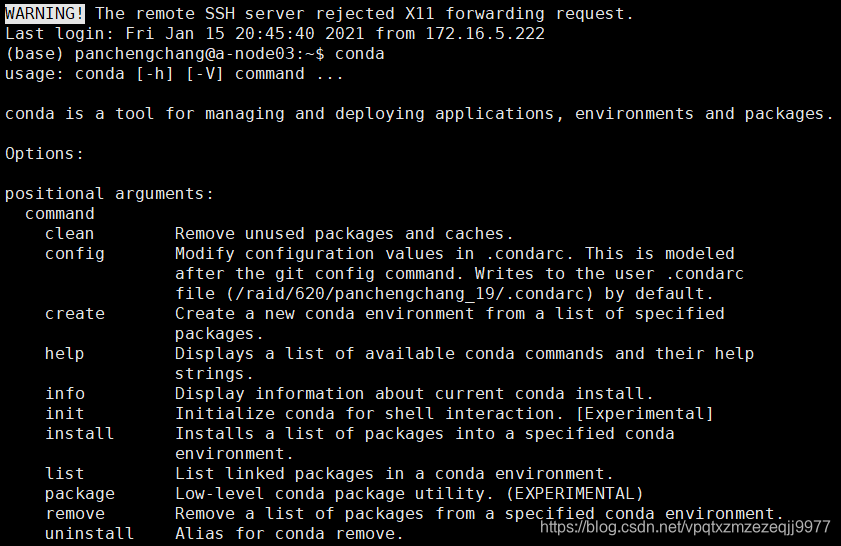
这样anaconda就安装成功了。
二、给conda配置国内源,提升下载速度
添加清华TUNA镜像源conda config --add channels https://mirrors.tuna.tsinghua.edu.cn/anaconda/pkgs/free/
设置搜索时显示通道地址conda config --set show_channel_urls yes
(base) panchengchang@a-node03:~$ conda config --add channels https://mirrors.tuna.tsinghua.edu.cn/anaconda/pkgs/free/
(base) panchengchang@a-node03:~$ conda config --set show_channel_urls yes
(base) panchengchang@a-node03:~$
- 1
- 2
- 3
三、使用conda创建虚拟环境
新建一个名叫pytorch,python版本为3.7的虚拟环境:conda create -n pytorch python=3.7
(base) panchengchang@a-node03:~$ conda create -n pytorch python=3.7
- 1
然后根据提示输y
Proceed ([y]/n)? y


Downloading and Extracting Packages
tk-8.6.10            | 3.0 MB    | ############################################################################################################################# | 100%
readline-8.0         | 356 KB    | ############################################################################################################################# | 100%
sqlite-3.33.0        | 1.1 MB    | ############################################################################################################################# | 100%
wheel-0.36.2         | 33 KB     | ############################################################################################################################# | 100%
python-3.7.9         | 45.3 MB   | ############################################################################################################################# | 100%
setuptools-51.1.2    | 739 KB    | ############################################################################################################################# | 100%
pip-20.3.3           | 1.8 MB    | ############################################################################################################################# | 100%
xz-5.2.5             | 341 KB    | ############################################################################################################################# | 100%
ncurses-6.2          | 817 KB    | ############################################################################################################################# | 100%
ld_impl_linux-64-2.3 | 568 KB    | ############################################################################################################################# | 100%
openssl-1.1.1i       | 2.5 MB    | ############################################################################################################################# | 100%
libedit-3.1.20191231 | 116 KB    | ############################################################################################################################# | 100%
ca-certificates-2020 | 121 KB    | ############################################################################################################################# | 100%
certifi-2020.12.5    | 141 KB    | ############################################################################################################################# | 100%
libffi-3.3           | 50 KB     | ############################################################################################################################# | 100%
Preparing transaction: done
Verifying transaction: done
Executing transaction: done
#
# To activate this environment, use
#
#     $ conda activate pytorch
#
# To deactivate an active environment, use
#
#     $ conda deactivate

(base) panchengchang@a-node03:~$
- 1
- 2
- 3
- 4
- 5
- 6
- 7
- 8
- 9
- 10
- 11
- 12
- 13
- 14
- 15
- 16
- 17
- 18
- 19
- 20
- 21
- 22
- 23
- 24
- 25
- 26
- 27
- 28
- 29
- 30
- 31
- 32
- 33
要激活此环境,使用conda activate pytorch
要停用活动环境,使用conda deactivate
(base) panchengchang@a-node03:~$ conda activate pytorch
(pytorch) panchengchang@a-node03:~$ conda deactivate
(base) panchengchang@a-node03:~$
- 1
- 2
- 3
四、安装pytorch(深度学习框架)
先进入虚拟环境
(base) panchengchang@a-node03:~$ conda activate pytorch
(pytorch) panchengchang@a-node03:~$
- 1
- 2
进入安装包路径下
(pytorch) panchengchang@a-node03:~$ ls
anaconda3  envir_packages
(pytorch) panchengchang@a-node03:~$ cd envir_packages/
(pytorch) panchengchang@a-node03:~/envir_packages$ ls
Anaconda3-2019.10-Linux-x86_64.sh                           torch-1.7.0+cu110-cp37-cp37m-linux_x86_64.whl
opencv_python-4.3.0.36-cp37-cp37m-manylinux2014_x86_64.whl  torchvision-0.8.1+cu110-cp37-cp37m-linux_x86_64.whl
(pytorch) panchengchang@a-node03:~/envir_packages$ pip install torch-1.7.0+cu110-cp37-cp37m-linux_x86_64.whl
- 1
- 2
- 3
- 4
- 5
- 6
- 7
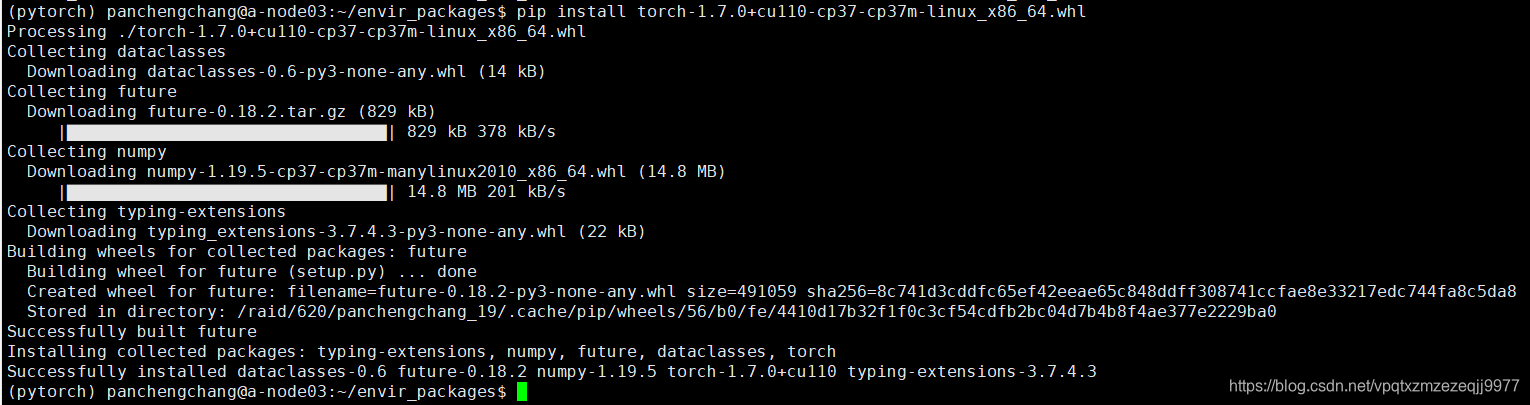
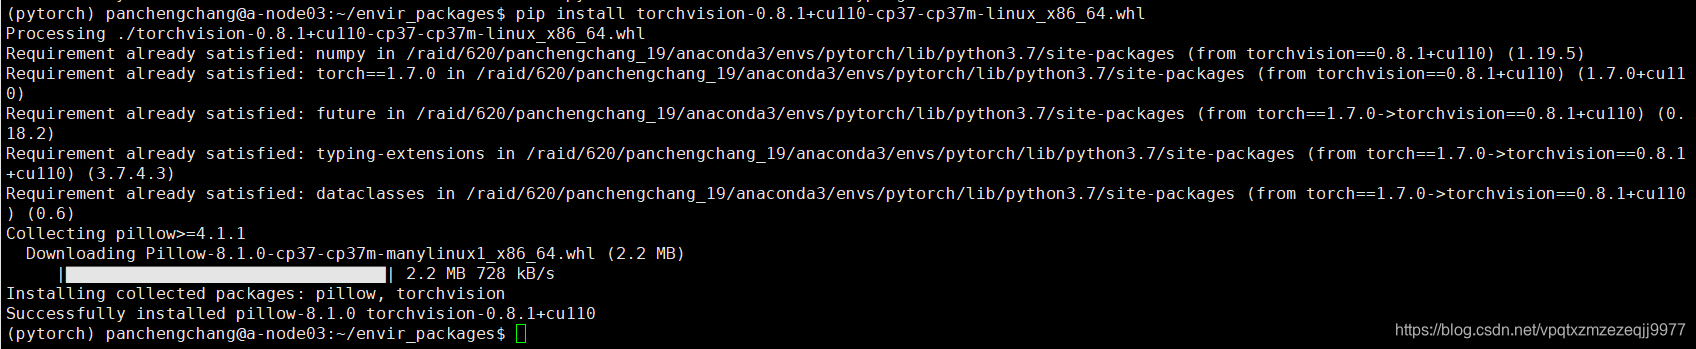
安装成功后再装另外一个
(pytorch) panchengchang@a-node03:~/envir_packages$ pip install torchvision-0.8.1+cu110-cp37-cp37m-linux_x86_64.whl
- 1
检查安装的pytorch版本是否能够使用GPU
虚拟环境下,输入python,进入python命令行
(pytorch) panchengchang@a-node03:~/envir_packages$ python
Python 3.7.9 (default, Aug 31 2020, 12:42:55)
[GCC 7.3.0] :: Anaconda, Inc. on linux
Type "help", "copyright", "credits" or "license" for more information.
>>> import torch
>>> torch.cuda.is_available()
True
>>>
- 1
- 2
- 3
- 4
- 5
- 6
- 7
- 8
返回True则证明pytorch安装已完成。
五、一些常用的命令(Linux)
1.查看系统内的GPU使用情况
(pytorch) panchengchang@a-node03:~$ nvidia-smi
Fri Jan 15 22:44:22 2021
+-----------------------------------------------------------------------------+
| NVIDIA-SMI 450.51.06    Driver Version: 450.51.06    CUDA Version: 11.0     |
|-------------------------------+----------------------+----------------------+
| GPU  Name        Persistence-M| Bus-Id        Disp.A | Volatile Uncorr. ECC |
| Fan  Temp  Perf  Pwr:Usage/Cap|         Memory-Usage | GPU-Util  Compute M. |
|                               |                      |               MIG M. |
|===============================+======================+======================|
|   0  A100-SXM4-40GB      On   | 00000000:07:00.0 Off |                    0 |
| N/A   40C    P0   313W / 400W |  21142MiB / 40537MiB |    100%      Default |
|                               |                      |             Disabled |
+-------------------------------+----------------------+----------------------+
|   1  A100-SXM4-40GB      On   | 00000000:0F:00.0 Off |                    0 |
| N/A   58C    P0   344W / 400W |  40138MiB / 40537MiB |     99%      Default |
|                               |                      |             Disabled |
+-------------------------------+----------------------+----------------------+
|   2  A100-SXM4-40GB      On   | 00000000:47:00.0 Off |                    0 |
| N/A   52C    P0   340W / 400W |  27628MiB / 40537MiB |    100%      Default |
|                               |                      |             Disabled |
+-------------------------------+----------------------+----------------------+
|   3  A100-SXM4-40GB      On   | 00000000:4E:00.0 Off |                    0 |
| N/A   53C    P0   296W / 400W |  22026MiB / 40537MiB |     93%      Default |
|                               |                      |             Disabled |
+-------------------------------+----------------------+----------------------+
|   4  A100-SXM4-40GB      On   | 00000000:87:00.0 Off |                    0 |
| N/A   30C    P0    59W / 400W |      3MiB / 40537MiB |      0%      Default |
|                               |                      |             Disabled |
+-------------------------------+----------------------+----------------------+
|   5  A100-SXM4-40GB      On   | 00000000:90:00.0 Off |                    0 |
| N/A   42C    P0    71W / 400W |      3MiB / 40537MiB |      0%      Default |
|                               |                      |             Disabled |
+-------------------------------+----------------------+----------------------+
|   6  A100-SXM4-40GB      On   | 00000000:B7:00.0 Off |                    0 |
| N/A   38C    P0    60W / 400W |      3MiB / 40537MiB |      0%      Default |
|                               |                      |             Disabled |
+-------------------------------+----------------------+----------------------+
|   7  A100-SXM4-40GB      On   | 00000000:BD:00.0 Off |                    0 |
| N/A   38C    P0    62W / 400W |      3MiB / 40537MiB |      0%      Default |
|                               |                      |             Disabled |
+-------------------------------+----------------------+----------------------+

+-----------------------------------------------------------------------------+
| Processes:                                                                  |
|  GPU   GI   CI        PID   Type   Process name                  GPU Memory |
|        ID   ID                                                   Usage      |
|=============================================================================|
|    0   N/A  N/A    255273      C   python                          21139MiB |
|    1   N/A  N/A    253640      C   python                          40135MiB |
|    2   N/A  N/A    250479      C   python                          27625MiB |
|    3   N/A  N/A    256275      C   python                          22023MiB |
+-----------------------------------------------------------------------------+
(pytorch) panchengchang@a-node03:~$
- 1
- 2
- 3
- 4
- 5
- 6
- 7
- 8
- 9
- 10
- 11
- 12
- 13
- 14
- 15
- 16
- 17
- 18
- 19
- 20
- 21
- 22
- 23
- 24
- 25
- 26
- 27
- 28
- 29
- 30
- 31
- 32
- 33
- 34
- 35
- 36
- 37
- 38
- 39
- 40
- 41
- 42
- 43
- 44
- 45
- 46
- 47
- 48
- 49
- 50
- 51
- 52
- 53
- 54
上面是静态查看,还可以动态查看:watch -n 0.1 nvidia-smi
动态查看命令中设置的0.1是指每隔0.1秒动态刷新
2.在程序中指定GPU
通常,每个服务器中具有多个GPU,GPU的编号是按照0,1,2…的顺序排列的。
在代码中加入:
import os
os.environ["CUDA_VISIBLE_DEVICES"] = "1"
- 1
- 2
这里的代码指定了使用GPU 1,“1”代表指定的GPU块,可以根据nvidia-smi显示的结果选择合适的GPU。
3.根据pid查看进程详情
(pytorch) panchengchang@a-node03:~$ lsof -p 9347
(pytorch) panchengchang@a-node03:~$ ps -ef | grep 9347
- 1
- 2
其中9347为已知pid

